Heart health should be at the top of almost everyone’s priority list for the simple fact that cardiovascular disease is the number one cause for death in the US each year. More people will die this year from heart disease than will die from all the cancers combined! So, keeping your heart healthy can translate into a longer, more vital life for many of us. The practice I am sharing with you today assumes that you do not have any active heart problems at this time. If you are not sure of your heart status, it would wise to visit your primary care doc to have a good physical exam and ask you doctor if you have any limitation on your physical activity. If you get the green light, than this practice should be both beneficial and safe for you to do.
There are 4 basic components to this practice:
Dynamic Yoga Sequences. Linked sequence of poses that you move fairly quickly, such as, the Sun Salutations, gradually warm up your body and your cardiovascular system, both strengthening and stretching the muscles and connective tissue that your body’s blood vessels pass through, thus exercising your heart and encouraging more efficient flow through the piping of your system.
Static Poses. Poses that you hold for longer periods increase what is known as the “work load” of your heart, providing a different kind of exercise and challenge for your heart. Those with high blood pressure and diabetes will have to approach these with poses caution and work into the holds very gradually, preferably under the guidance of an experienced teacher.
Gentle Inversions and Restorative Poses. These poses quiet and rest your cardiovascular system and your heart, which is equally important to testing and stressing your system. They allow your heart and nervous system to quiet, and as a result can nicely lower your blood pressure, heart rate and breathing rate.
Pranayama and Meditation Practices. These practices support the effects of the inversions and restorative poses.
Let’s get started!
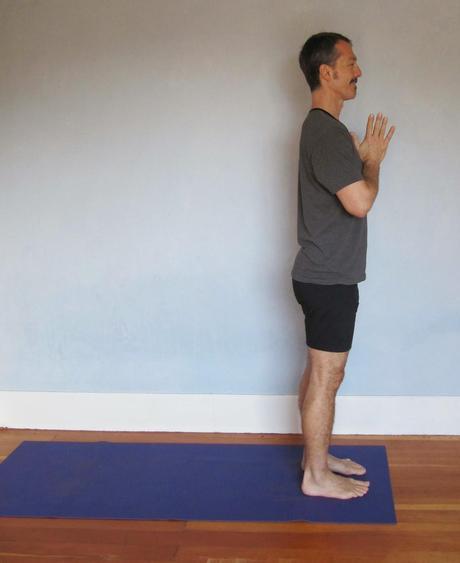
Dynamic Cardiovascular Practice1. Modified Sun Salutation (Surya Namaskar): Practice a Mini Sun Salutations as described at Featured Sequence: Mini Sun Salutation. As you stand in Mountain pose at the front of your mat, take a moment to check in with your body and your mind, setting an intention for your heart practice. Since this part of the practice will likely get the heart rate up a bit, feel free to do several rounds—anywhere from two to six.
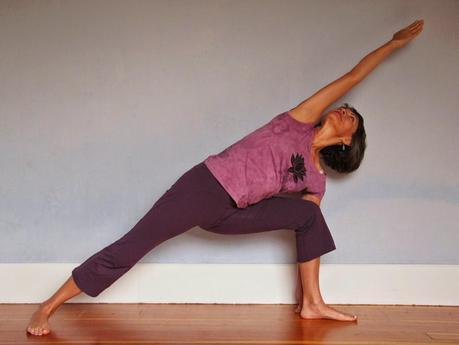
3. Side Plank Pose (Vasithasana): on the Wall and on the Floor: Although the classic version of this pose (Vasthithasana) is done on the floor, the wall version of the pose is much more accessible because you stand on the floor and bear less weight on your arm. In addition to it being an upper body strengthener, it also opens up the area of the chest that surrounds the heart!
To come into the pose, start with your right side to the wall, and reach your right arm out to your side, parallel with the floor, and place your palm on the wall with your fingers pointing up. Engage your right shoulder blade into your chest wall and down slightly towards the right side of your waist. Then, step both feet out away from the wall, until your right foot is positioned directly under your left shoulder. If your balance is good, try bending your left knee and bringing your left foot into Tree pose. Then take your left arm up and overhead, reaching strongly towards the wall with your left arm and shoulder blade, aligning it like the top arm in Extended Side Angle pose. Stay for 6 breaths and work up from there. Repeat on the second side.
If you are feeling strong, try coming into the full pose from Downward-Facing Dog pose. From Downward-Facing Dog, swing your shoulders forward almost into Plank position while keeping your hips lifted. Make your right arm stronger by contracting the muscles of the arm to the bone, and tip your heels to the right, bringing the outer edge of your right foot and the inner edge of your left foot to the floor, with your feet slightly apart. Turn your chest away from the floor and bring your left hand onto your left hip. Since this takes a lot of strength, stay just few breaths at first, and gradually add more time with more practice. To come out, swing back into Downward-Facing Dog pose and repeat the pose on the second side. Afterward, rest in Child’s pose a few breaths.
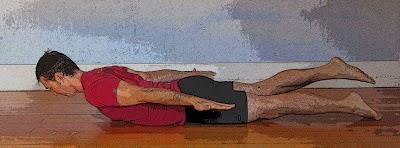
4. Locust (Salabhasana): See Locust Pose for instructions on how to do the pose dynamically. Practice the pose dynamically as a way to warm up for the full, static version. In the full, static version, you will lift both legs, your chest and your head, and hold the pose for 10 seconds to start. Gradually add more time until you can do a 30-second hold. Rest for a few breaths before moving on. Because this is a backbend, it will open your chest around your heart and lungs.
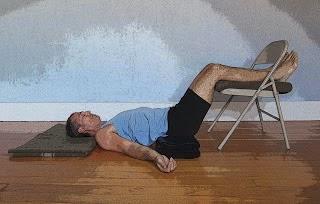
This supported, partial inversion will encourage the benefits described above. To come down, lift your hips slightly off the block and move the block out of the way, and then lower your hips straight down, like an elevator returning to the lobby floor. Then, gently roll to your side and come up to sitting.
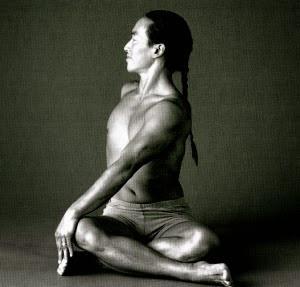
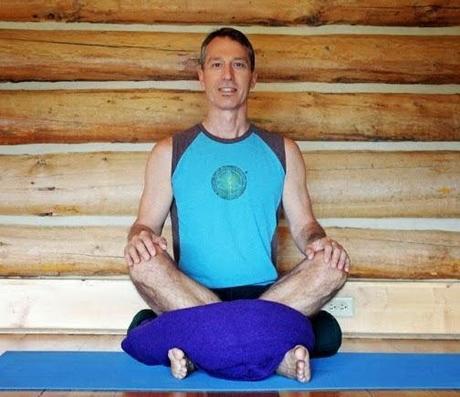
6. Simple Seated Twist (Sukasana Twist): Take whatever props you need to sit comfortably, from a folded blanket to a block or even a chair (see Learning to Sit on the Floor, Part 2). When you are comfortably seated, inhale and encourage an upward lift through your spine. Then, as you exhale, turn your chest and upper belly to the right, bringing your right hand to the floor behind you and your left hand to your right knee. Try to create the twist from the center of your body and allow your arms to simply support the shape. Stay for just a few breaths, and then release to center and repeat on the second side.
