The most popular lip tint/stain to date (and the very first one that I encountered) is Benefit’s Benetint. Back then, it was totally revolutionary because hey, whoever would believe that a watery liquid could create such a natural rosy flush? These days, it’s become a more commonly-accepted concept, and here’s one of the newer kids on the block.
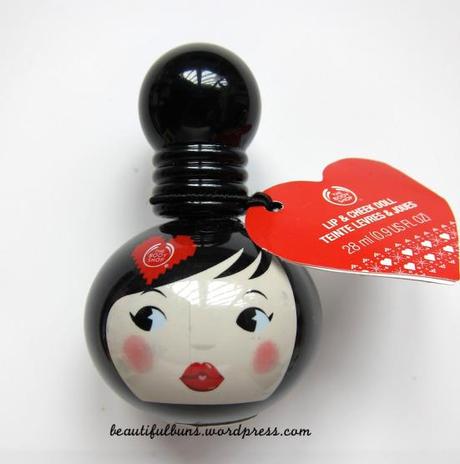 The Body Shop Lip Cheek Doll – SGD$39.90
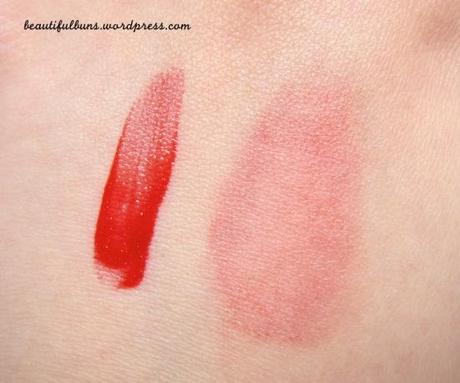
I say…
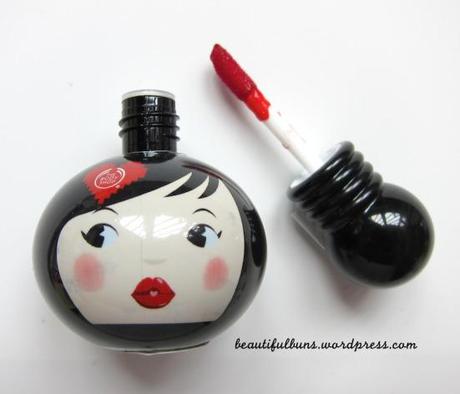
- The packaging is the total deal clincher here – the lil geisha doll is the cutest ever!
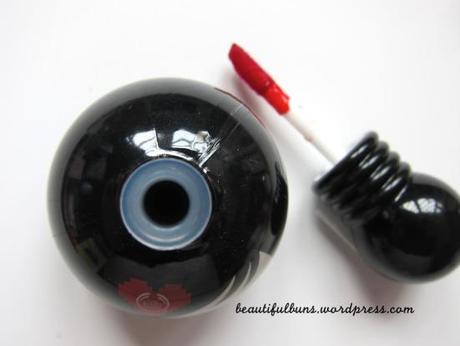
- The twist-out cap that is attached to the sponge applicator is supposed to be her updo hair bun :D
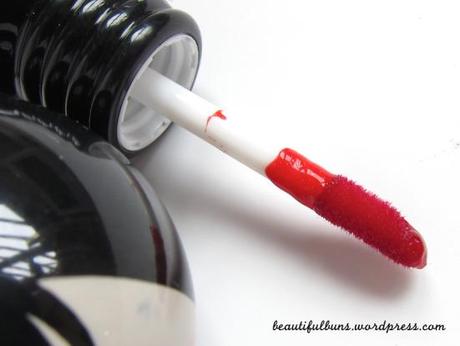
- The sponge-tip applicator is soft and non-abrasive.
- The edge is great for drawing the cupid’s bow, but I feel it’s slightly smaller than usual, which means I have to apply more strokes to cover the entire lip.
- Of course, I could always just dab sparingly and smudge it out, but somehow, the color isn’t as intense as I’d want it to be.
- There’s no scent to the tint.
- It’s rather watery, and glides very easily without dripping.
- There are very minuscule gold specks in the tint, which are a good method of adding shine to the lips, especially since it’s an almost-matte finish.
- For both applications: You can try smudging / dabbing it in with your fingertips, but I find that there’s more color on the finger rather than on the lips.
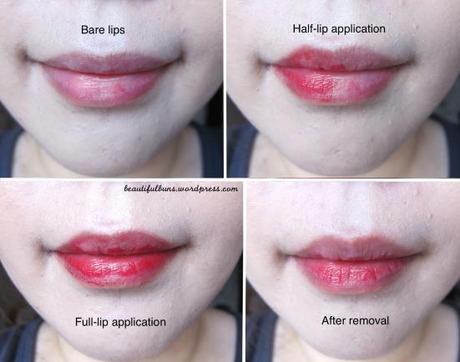
- As a lip tint: Now, as you can see in the photo above, the finish is somewhat uneven. I’m not sure why either – perhaps it’s the texture of the lips, or the slight discolouration at the edges of my lips (which results in the edges not being as red/tinted as the rest of the lip). It doesn’t add any moisture to the lips (it only adds colour), so be sure to apply some lip balm below/over the tint. The color finish is a rosy red that literally looks just bitten cos only the inner part of the lips are red (and not the outer edges).
- As a cheek tint on bare skin: Apply just a couple of drops onto your cheeks, and be sure to blend it into your skin immediately. It sets rather quickly, and it does, you won’t be able to blend in the edges. It gives a faint rosy red that lasts pretty long
- As a cheek tint on foundation/BB cream/BB cushion: However, since almost everyone applies blusher over base makeup, I find that it doesn’t seem to be able to blend in as well. The initial droplets seem to be floating over the base makeup. After patting it into the skin, it sets in, but there’s a lot of red tint on the fingers instead of on the skin (70% to the finger, 30% to the face).
- When I wipe my lips against a tissue, it doesn’t stain the tissue, which is great, cos it means it’s really budge-proof.
- It also has no taste when I lick my lips, so that’s a plus point.
If I had to pick, I’d rather use it on my lips. However, it’s still not my choice of lip armor – I’d still go for a lipstick any day, or even my Aritaum Honey Melting Tint (even though it’s slightly sticky). The color payoff for this is a little so-so, especially for its price point of $39.90. I only need to top up a few dollars to get a YSL lipstick for $46 :D
 The Body Shop Lip Cheek Doll – SGD$39.90
