We all do silly things in our youth – my beauty junkie mistake was applying overly-rich eye creams, which has resulted in an accumulation of milia seed under the eyes. Meh. Anyhoos, I’ve been wanting to remove them for a while – they’re not visible from far, but they do show up as little bumps when I apply my makeup, which somewhat irks me. Plus, my skin was in need of some routine TLC in the form of a facial, so I decided to give SkinLab / SL Clinic a go. They’ve got several outlets but I visited the one at Plaza Singapura.
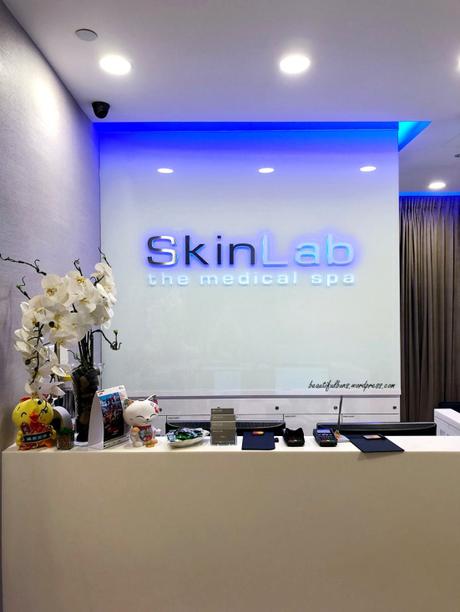
It’s got a relatively nondescript front – the curtains (on the right) hide all the treatment rooms from public prying eyes.
My doctor: Dr Gabriel Wong
Now I’ve encountered Dr Gabriel several years ago for another skin treatment, and I was pretty surprised that he remembered me – he’s one of friendliest and sincere doctors I’ve ever met (and this is saying something, considering my journalistic history since 2007). Oh, and it also helps he’s one handsome dude 😀
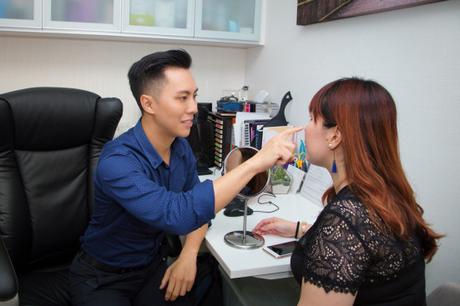
We went through the requisite consultation where he examined my face, heard my concerns and dispensed his medical advice – to help remove / flatten out the appearance of the milia seeds under the eyes, he would use CO2 Laser. To solve my issues of clogged pores, uneven skin texture as well as overall lack of skin radiance, he would use Clear and Brilliant Laser.
The Prep
First, you get your face cleansed. Next, the numbing cream is applied. I’m a giant wuss when it comes to my non-existent pain threshold, which might explain why the numbing cream was applied for (I think?) 45 mins or more, and the face was also wrapped with plastic wrap.
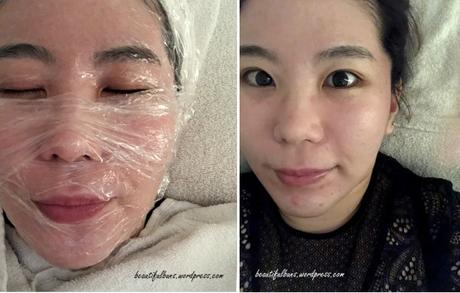 L: While the numbing cream was being applied, R: After the numbing cream was removed
The numbing cream does have a slight stinging sensation if it accidentally gets onto sensitive portions of your face, like the eye area (which was necessary in my case, since I need to remove milia seeds under the eye), but it was pretty okay. This portion is relatively fuss-free – I literally just lay there and more or less dozed off.
By the time the numbing cream was removed, I was doing a WKND – I couldn’t feel (most of) my face, which is a good thing – I so do not want to feel the full wrath of the laser’s heat hurhurhur.
The Process / About The Treatments
CO2 Laser
- Used to: Remove Milia Seeds, light spots
- Felt like: Targeted static zaps to the skin (at areas where the skin is thinner and more sensitive, like the undereye area, the static zaps felt more intense)
- Pain level: 4/10
Clear and Brilliant Laser (Also known as a gentler version of fractional laser – I call it baby fractional)
- Used to: Remove the dead surface skin cells, improve overall skin tone and texture
- Felt like: A miniature heated paint roller with a mild sandpaper surface rolling across your face
- Pain level: 4/10
- Price: SGD$642 per session, first trial at SGD$374.50. Package prices apply.
Overall, it was a surprisingly okay session – yes there was some warming sensation, some knee-jerk reactions when the CO2 laser was at areas with thinner skin, but for someone like me who winces at a pinch, it was pretty bearable. There’s a cooling gel applied after to help calm your skin down as well.
The Aftermath
I went home via public transport after the treatments – yes the skin felt slightly red and flushed from the treatments, but nothing too scary for human consumption – just see the photos below for proof.
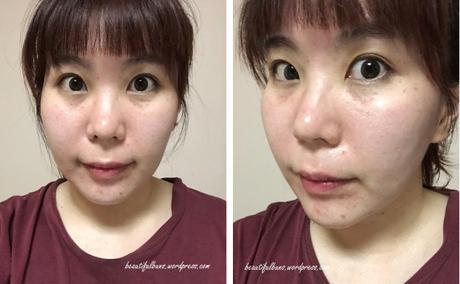 Taken on the very day of the treatment – no filters
As you can see, there are “holes” in the skin where the milia seed have been removed, as well as spots and pigmentation that Dr Gabriel felt fit to remove. The overall redness is from the Clear and Brilliant Laser.
For the next few days, I found my skin becoming increasingly scaley, kinda like a sandpaper-reptilian surface. Note that this is absolutely normal, and it’ll flake off (not visibly though) over the next week. This treatment is touted to have no downtime (i.e. warding, hiding behind a face mask), but for a beauty junkie like me (who also has events to attend), my idea of “downtime” is when I can’t apply makeup. Hence, I’d say there’s a certain “downtime” of at least 3 days when you can’t apply makeup cos the surface is so scaley that it looks terrible with any makeup on. You are advised to apply lots of sunblock tho, as the skin is particularly sensitive and prone to the formation of pigmentation at this point in time.
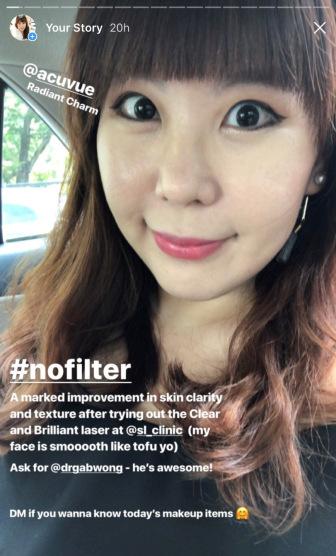
Moving on to about 5 days after treatment, the surface dead skin cells are beginning to flake off and I can see (and feel) a very, very obvious difference in my skin’s condition.
Just check out my selfie that I posted on my Instastories (follow me @beautifulbuns_sg if you haven’t already)
Improvements include:
- Smoother surface
- Clearer and brighter skintone
- Peach fuzz i.e. like baby skin where you can feel the smooth velvety finish
- Lesser white and blackheads as well as lesser clogged pores
In just a week after treatment, I received several compliments from people around me – “Hey your skin looks good!” “Your makeup is looking good, did you change your makeup?” – and I could see and feel the diff too!
Verdict: Would I go again? Yes! The payoff of having peach fuzz baby-smooth skin is amayzingggg. However, I do note that the price can be slightly pricey, so I’d probably head back once in several months – this would sort of be a one-time massive clear-up of the skin.
 Voila! Look at the velvety smooth skin of both Dr Gabriel and me 😀
Advertisements &b; &b;SL Clinic is located at:
Address: 501 Orchard Road, #04-04, Wheelock Place
Tel:+656235324668 Orchard Road, #03-33, Plaza Singapura
Tel:+6563361106Jurong Point Shopping Centre, #B1-62
Tel:+6563162246/ +6563162556Website: http://slclinic.com.sg/
Facebook: https://www.facebook.com/slclinicsingapore
Instagram: @SL_clinic

