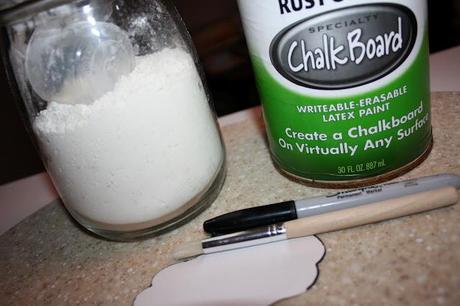
 Flour/sugar jar (I got these simple glass jars at Ikea), a sharpie, small paintbrush, stencil, & Rust-oleum Chalk Board paint (find it at AC MOORES). Now I've tried many chalk board paints & spray paints and this one tops all of them. I highly recommend using it for any propose.
  For your stencil you can use anything your heart desires. I happened to find this cute little design via the world wide web somewhere. And yes, that is my Christmas tree still up. Some of us seem to never find time to drag the dang thing out the door. It might still be up for Valentines Day. Yikes..Anyways, once you have your stencil take the sharpie and simply stencil the design onto the jar. You will be covering the sharpie with the paint so it really doesn't matter that it's permanent.
 Next go ahead and mix up your paint. I just used a piece of heavy duty cardboard that I cut into a imagination paint stirrer. Hey, it worked!! Then dip your paint brush into the paint, however, make sure you drip off excess because you don't want to brush on too much paint. Your first coat will look like this:
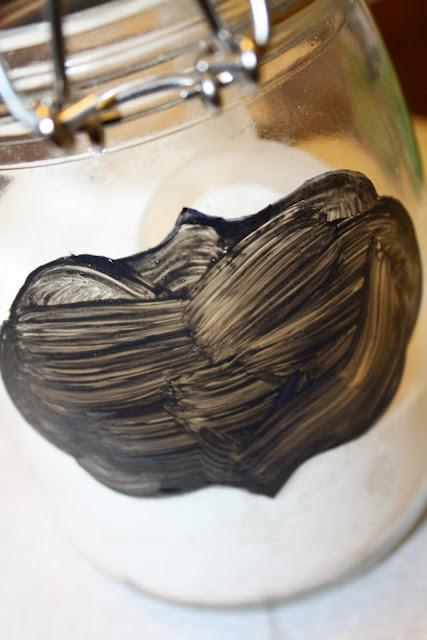 It will be thin and streaky but don't fret because two more coats will be needed. With it being glass it takes sometime to get it just right. Too much paint and it will drip down the jar. Avoid that at all costs, it will not look pretty.
 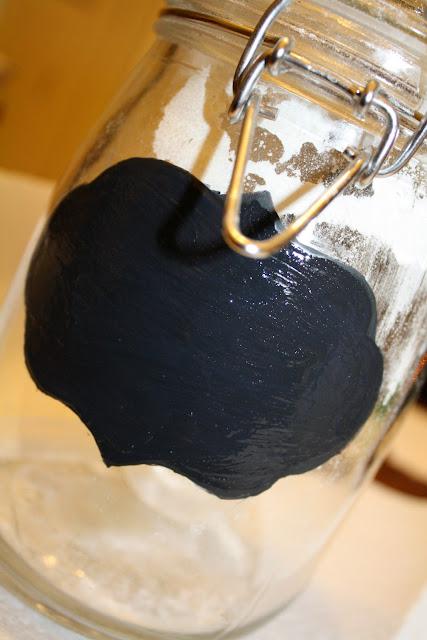 Three coasts worked out for me. Use your judgment you might need more. The drying process is pretty quick for this paint. I was able to do three coats in one night and let it sit over night until I wrote on it. The result turned out awesome:
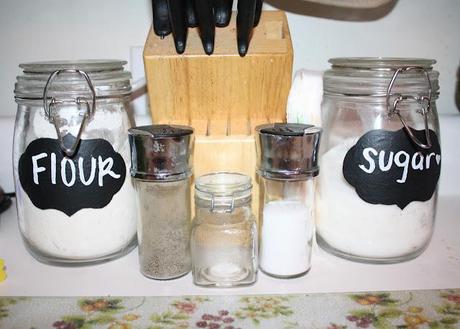 It's something fun to add to the kitchen. I love little do-it-your-own projects that just give things a splash of character! Hope you enjoyed this as much as I did :) Have fun!♥A.

