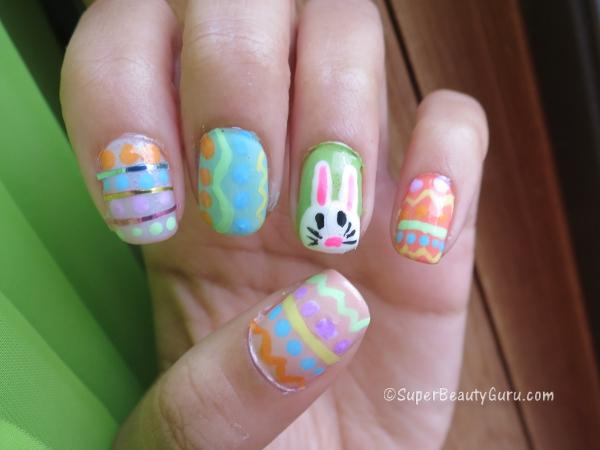
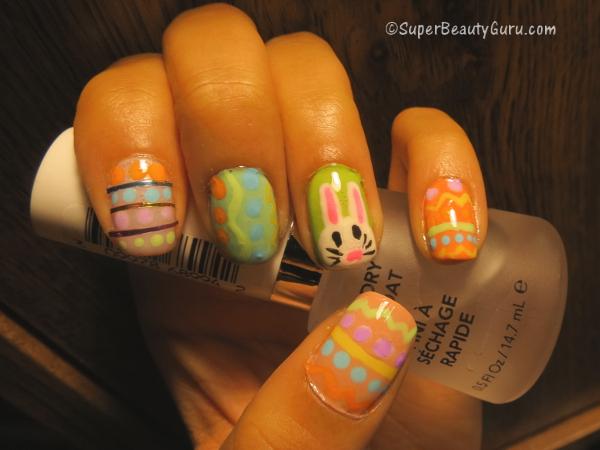
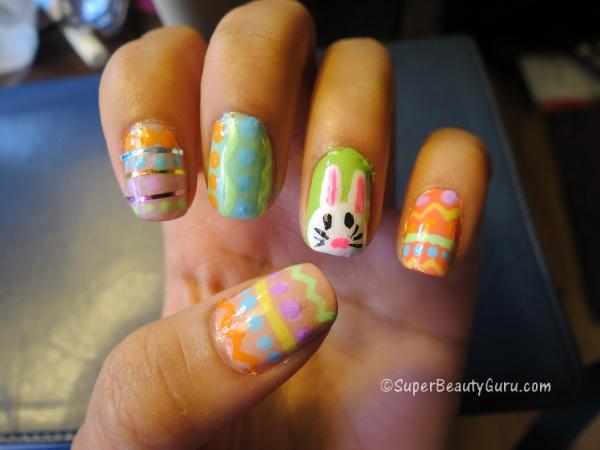
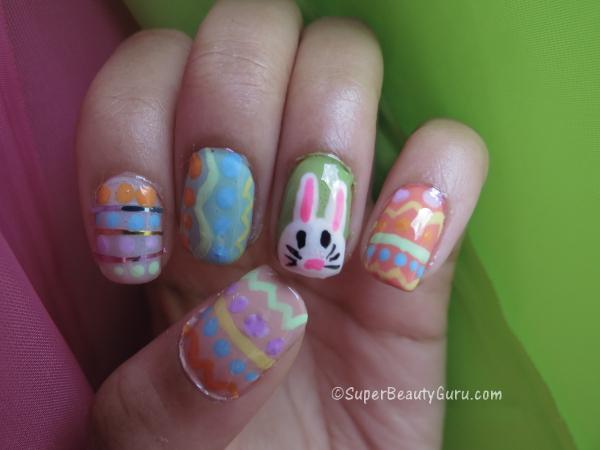
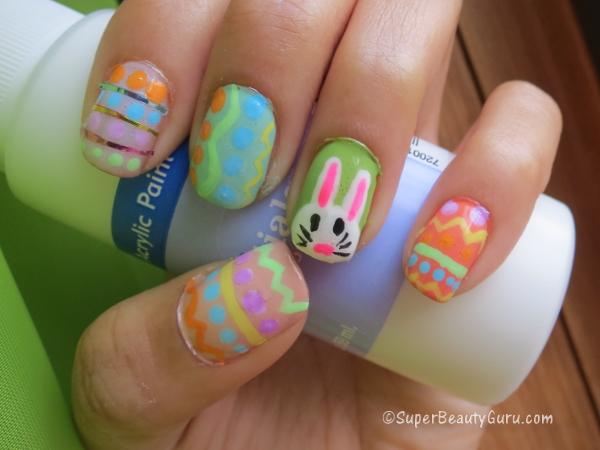
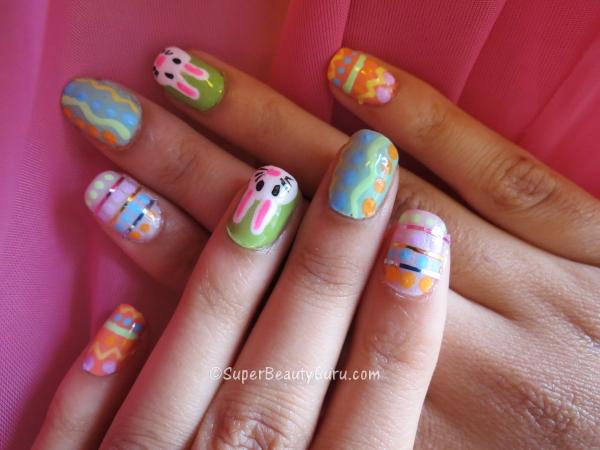
Hey everyone! Today I’m going to show you how to create Easter Nails! This is the design I did this year for Easter, and I love it! I used pastels and made a few different Easter egg design inspired designs on my nails, and an Easter bunny on the accent finger. It’s the perfect look to do around Easter, if you’re looking for something to do with your nails.
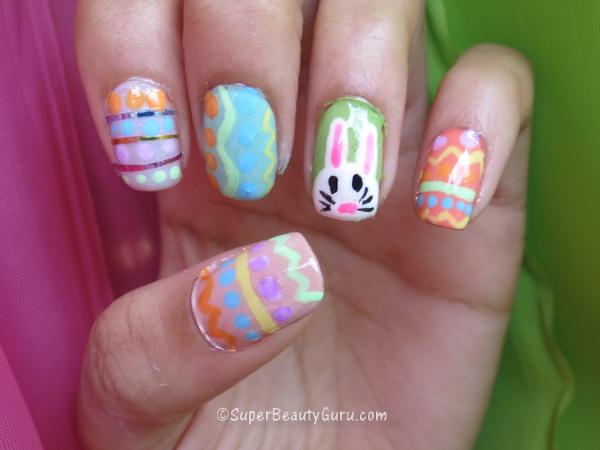
Here are all the Steps and Products I used:
If you cannot view the above video, click here for the tutorial on this look: Easter Nail Tutorial Inspired by Eggs and the Easter Bunny
Subscribe to my Fashion and Beauty YouTube Channel!
Steps
1) Apply a base coat to protect your nails.
2) Apply different colors of nail polish to each finger. Try to find light or pastel nail polish colors.
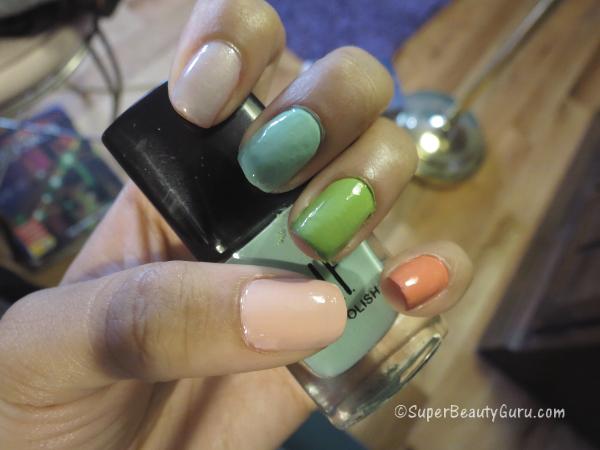
3) Paint zig zags, lines, and dots on all of the nails except your ring finger to make your nails look like decorated easter eggs. You can use striping tape to get perfect lines.
4) Make the outline of a bunny’s head on your ring finger. When it dries, give it eyes, a nose, whiskers, and add pink on the inside of its ears.
5) When all that’s done and dry, coat your nails with a topcoat, and you’re done!
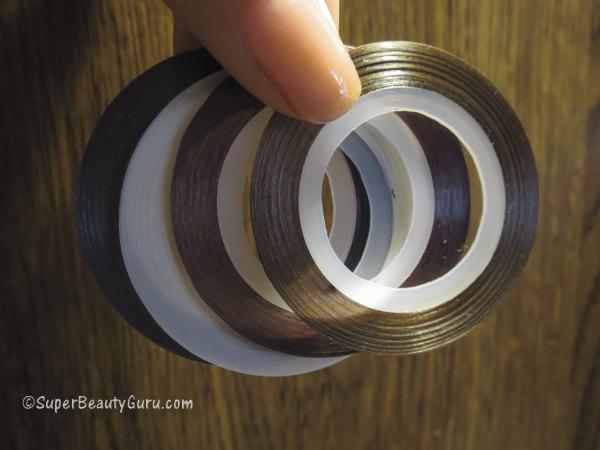
I used nail art striping tape in this look, and it’s great for any time you want to have perfect straight lines. You can do so many different designs with striping tape, so if you want to try it out, here’s where I got mine from online, and you can use my coupon code, “TSPW10″ to get 10% off your entire order on the website it’s from, Born Pretty Store. It’s a great site, and I really recommend it!
Products Used
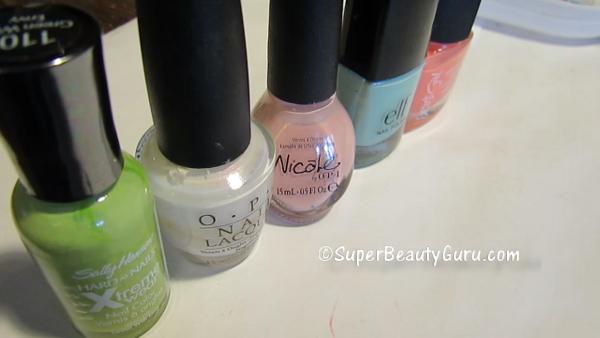
-Wet n’ Wild Nail Polish – Clear
-Sally Hansen Nail Polish – Green With Envy
-Sally Hansen Nail Polish – Fog
-Nicole by OPI Nail Polish – Paparazzi Don’t Preach
-Mint Cream – E.L.F.
-Jesse’s Girl Nail Polish – All Things Girly
-Revlon Fast Drying Topcoat
-Acrylic Paint from JoAnne’s Fabric Store
Nail Gallery
Here are my pastel, Easter egg and Easter Bunny Nails again :)
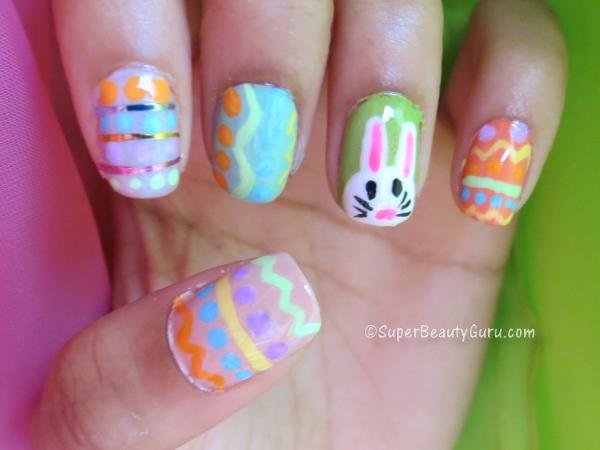
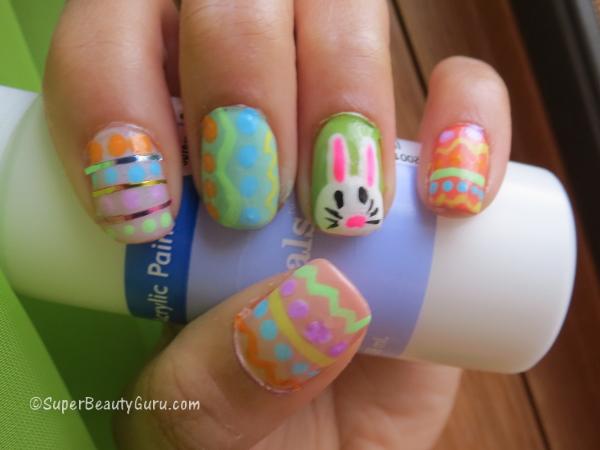
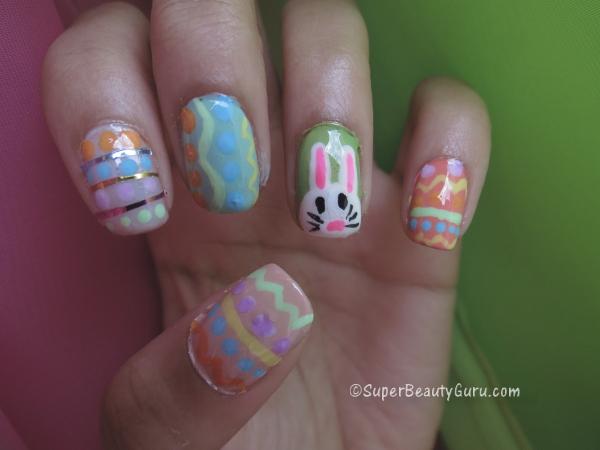
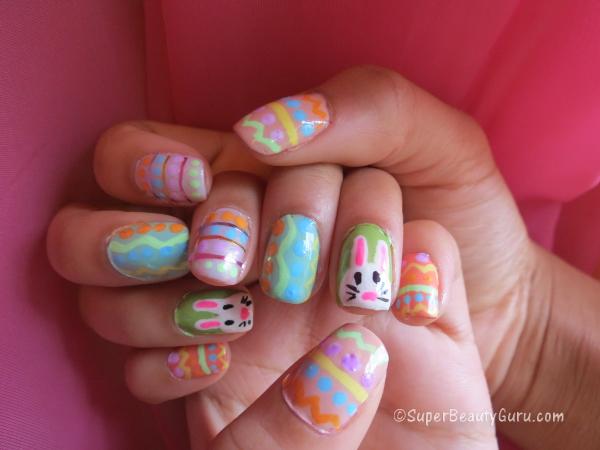
(Yes, I do paint both hands by myself :P )
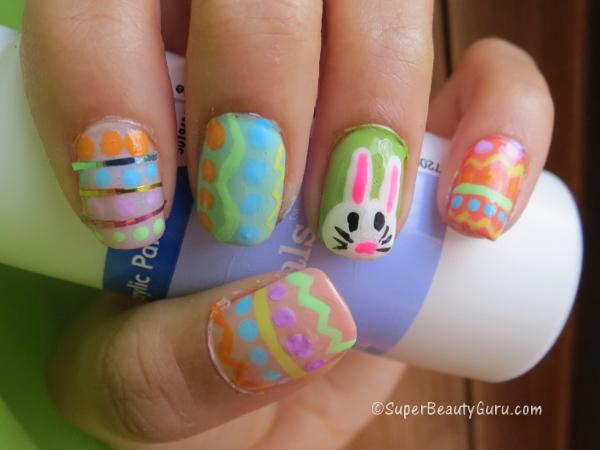
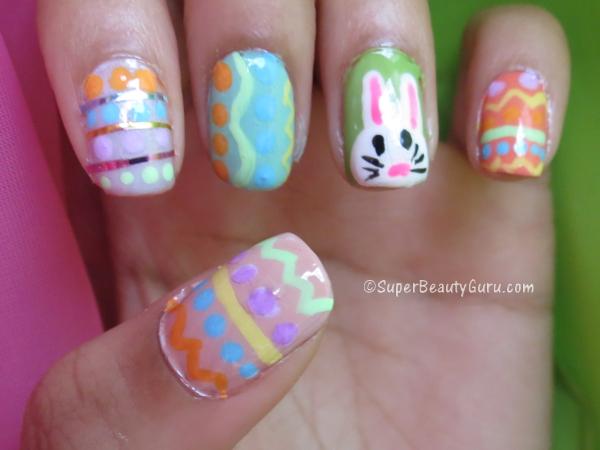
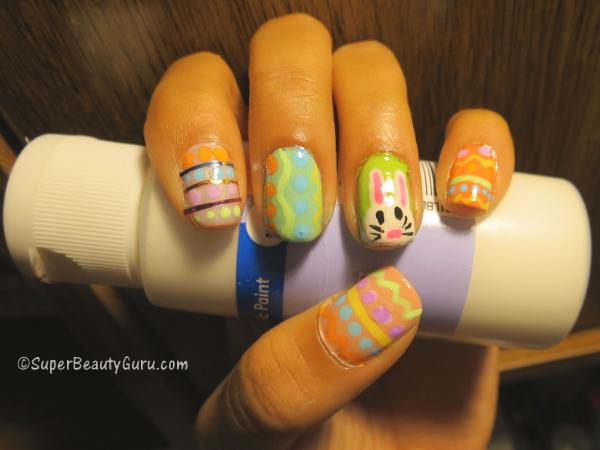
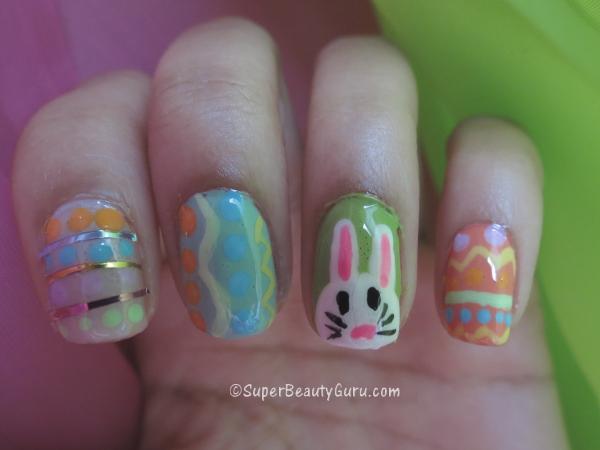
Video Transcribed:
Hey guys! Today I’m going to show you how I did my nails for Easter! I used light and pastel colors to make Easter egg designs, and an adorable Easter bunny! I think the nails are cute, and if you want to see how I did them, keep watching!
First you need to gather a few light or pastel nail polishes. I used “Green with Envy” by Sally Hansen, I couldn’t open the OPI, so I switched it for “Fog” by Sally Hansen, “Paparazzi Don’t Preach” by Nicole by OPI, “Mint Cream” by E.L.F., and “All Things Girly” by Jesse’s Girl.
You’ll also need a clear nail polish, and some colorful acrylic paints; mine are from JoAnne’s fabric store. To make these lighter, mix the colors with a white paint. Also get something like this sticky note pad to mix paints on.
Lastly you’ll need a dotting tool and a long, thin nail art brush.
Start by painting your nails with the clear nail polish. Having this base coat will protect your nails from staining and help keep your design on better.
Take one of your light colors, I used the peach, and paint your pinky nail. Now take a different color, like the green, and paint your ring finger. Next I used mint on my middle finger, and then the shimmery white on my pointer finger. Lastly I used the nude color on my thumb. Now you have to wait for you base colors to dry completely.
Here are some rolls of nail tape. They’re used for making nail designs, and are colorful one side and sticky on the other. They’re also very thin. I got these from BornPrettyStore.com and will have a link to them in the description box, and a coupon code you can use to get a 10% off anything you purchase there.
I’m using the light blue one to make a horizontal line across my pointer finger. You just roll it on, then press it to your nail. Use nail clippers to cut it the width of your nail. Do the same thing with the yellow one. Then do it one last time with the light pink nail tape.
Squirt out some of your white acrylic paint, and use your dotting tool to pick it up and draw the outline of a bunny head on your ring finger. This will be the accent nail. Make the head shape first, and when you’re content with it, use the smaller side of the dotting tool to make the ear shapes. Let this dry before you add details on its face.
Now take your colorful paints, and squeeze some out onto the sticky note. The darker colors will be mixed with white to make a pastel color. All of the colors will have white added except the yellow because it’s already light enough. Also, you need a bit of pink for the bunny.
Use your nail brush to pick this up and paint the inside of the bunny’s ear. To start the Easter egg designs, pick up the yellow and paint a zigzag on your pinky finger. Also paint a line across your thumb. Here I’m showing you how to mix the color to make it pastel. After mixing it, use that lilac color to make dots across your pointer finger, your pinky finger, and your thumb. Use the light orange to make dots on your pinky, and vertically down your middle finger.
Use the green to paint a line across your pinky, a squiggle down your middle finger, a zig-zag on your thumb, and dots on your pointer finger. Use the blue to make dots down your middle finger, across your pinky, across your pointer finger, and on your thumb.
Use the pink to give the bunny a nose, and use the yellow to make one more zig zag on your middle and pinky nails. Also put an orange one on your thumb. Use some black paint to add eyes to your bunny so it can see! Don’t forget to give your bunny whiskers as well.
So now you’re done painting everything, and all you have to do is wait for it all to dry and add a topcoat to seal it all in. Make sure it dries fully so you don’t mess it up with the topcoat. The one I’m using is a quick-drying topcoat from Revlon. Lightly paint it on top of your nails to seal in the paint and add a great shine!
And now you’re done! I hope you all liked my Easter egg and bunny nail art! Don’t forget to check out the link to the nail tapes down below, and If you really like my design, please share it with your friends, or try it out for yourself. I hope you all have a great Easter! Thanks for watching, and I’ll see you in my next video. Bye!
Thanks for stopping by! Please subscribe to my blog if you like it! xoxo Amber C Johnson from Super Beauty Guru <3

