Surprise!
If you read this post also from today, you know that I’m surprising my husband with a dinner for two at the most gourmet / luxury / revolutionary / important restaurant in the country!! To be perfectly honest it is number 3 in the whole entire world, and we have it 5 minutes from our home!
I had to come up with a way to surprise him, and what is better than a “pop-up” card at saying SURPRISE?
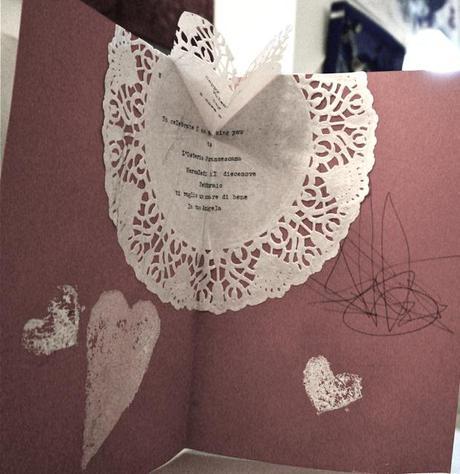
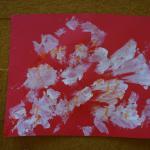
My 22 month old and I got to work with red construction paper, heart shaped stamps I cut-out from dish sponges, paint, glue and of course a type-writer.
How to Make a DIY Pop-Up Doily Valentine’s Day Card
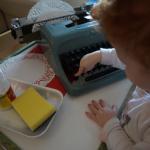
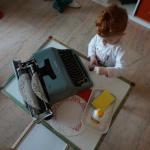
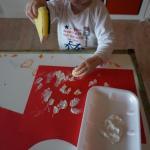
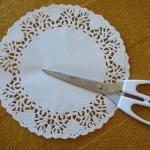
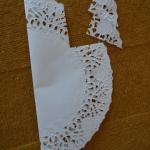
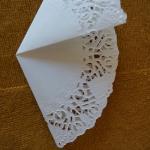
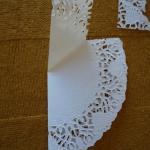
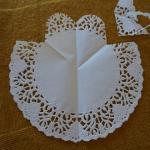
These pictures are pretty self-explanatory, but I will outlines the steps below.
Steps
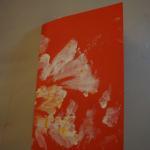
1. Give your child some supplies for the outer card, like paper, paint, markers and stamps (I used heart shaped stamps that I cut from a dish-sponge)
2. Fold the doily in half
3. In the top right corner, cut out a 1.5″ x 1.5″ square
4. Fold the doily so that the angle of the fold lies in the middle of the cut square
5. Open
6. Cut along the top of the doily to round out the shape (when opened this will look like a heart)
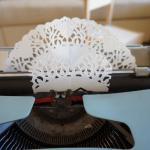
7.Put your doily in the typewriter !!!
The great thing about using a typewriter (I mean ASIDE from USING A TYPEWRITER!!!) is that you have no spellcheck or backspace, can use any type of paper, feel each letter as you press it down and make that awesome cha-ching sound.
Plus, If you are like me and your typewriter’s ribbon is now dry, you must use carbon copy paper, and you won’t actually be able to SEE WHAT YOU ARE TYPING!!!
My card had a few extra spaces, all of which were an adorable part of this card. Don’t let perfection stress you out, just enjoy making the craft and your kids will enjoy helping you.
8. Type out your message
9. Line up the doily in the centre of the card and glue where appropriate, being sure not to clue the “pop-up” part of the card down
10. You’ll notice you need to reverse the fold of the pop-up, but this will all become very clear after gluing
TA-DAAA You’re done.
My husband was so impressed, and so was my son that we made such an awesome card together.
This craft was very fast, made a relatively little mess, and can be modified for any celebration or holiday!
