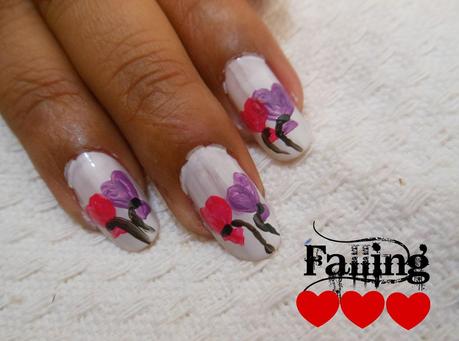
Valentine's Day Nail Art Tutorial (Vol. 2) : Flying Hearts
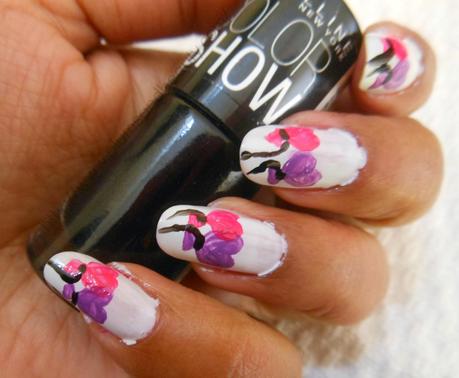
Valentine's Day Nail Art Tutorial (Vol. 2) : Flying Hearts
Valentine's Day Nail Art Tutorial (Vol. 2) : Flying Hearts
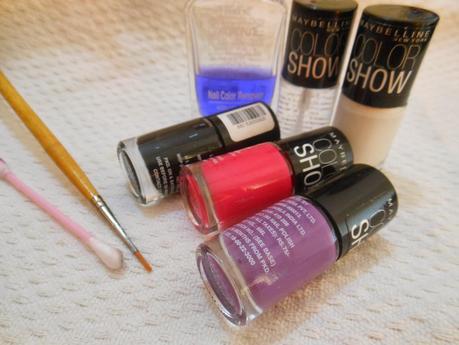
You'll need
- Base/Top coat
- a white nail paint (Maybelline Color Show Nail Color ~ Porcelain Party)
- a Purple/lavender nail paint (Maybelline Color Show Nail Color ~ Lavender Lies)
- a pink nail paint (Maybelline Color Show Nail Color ~ Feisty Fuchsia)
- a black nail paint (Maybelline Color Show Nail Color ~ Blackout)
- a painting brush
- nail paint remover
- Q-tip
Valentine's Day Nail Art Tutorial (Vol. 2) : Flying Hearts
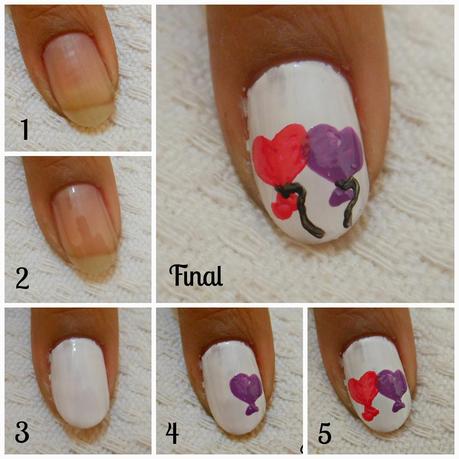
Step 1 : Start by buffing your nails before painting them.Step 2 : Apply a clear base coat to ensure better adherence of the nail paint.Step 3 : Apply 2 coats of a milky white nail paint.Step 4 & 5 : With the help of brush and desired nail paint draw hearts and a triangle just below it.
Step 6 : Using black nail paint, draw thick lines as shown in the picture above.
Repeat for all nails and clean up any excess on the cuticles using cotton bud dipped in nail paint remover. Seal the nail art with Top Coat.
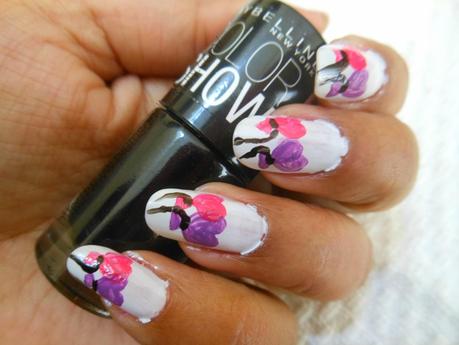
Valentine's Day Nail Art Tutorial (Vol. 2) : Flying Hearts
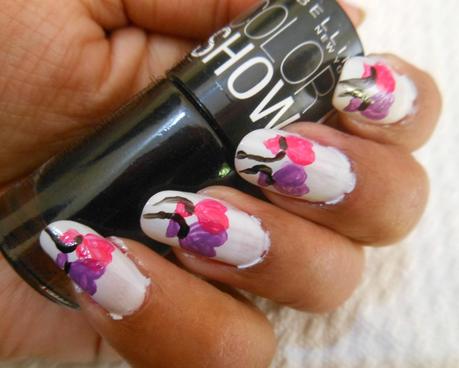
Valentine's Day Nail Art Tutorial (Vol. 2) : Flying Hearts
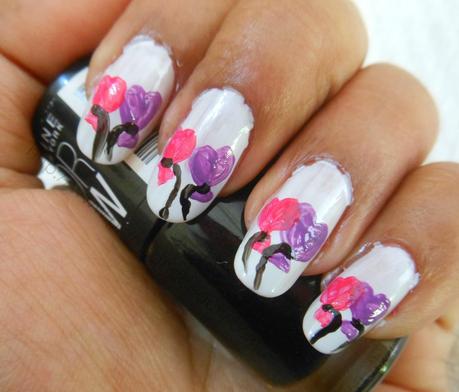
Valentine's Day Nail Art Tutorial (Vol. 2) : Flying Hearts
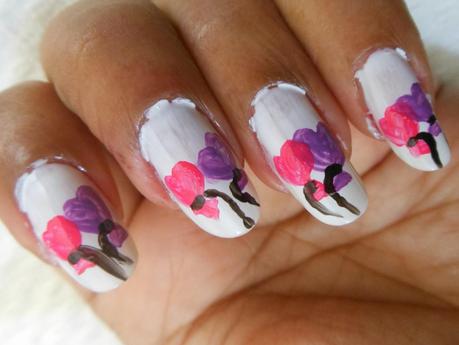
Valentine's Day Nail Art Tutorial (Vol. 2) : Flying Hearts
Hope you all liked this tutorial? Share your comments below.

