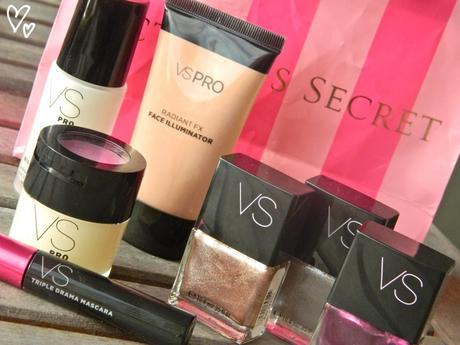
… especially when it’s Victoria Secret. Ever since I “developed”, this store became a mini sanctuary to me. What is it with girls and cute lingerie? When I started shopping for bras & panties at VS back in middle school, I also became slightly addicted to their beauty products & scents… Pink being my go-to at that age. As I’ve grown, VS has always held a special place in my heart. So, when they offered to send me some of their new beauty products… you know I jumped all over that realll quick.
Being that I am a nail polish addict, they suggested I do a little DIY… your wish is my command. If you know me, you know I have the shakiest of hands. That is a huge issue for me cause I really like the idea of nail art. I have attempted it, but it always looks more like a rorschach test than a cute mani. This is why I am so obsessed with my do-it-yourself decals. They are sooo ridiculously simple, and people think I am pretty damn good artist. If they only knew my secret… well I guess they do now.
P.S. Here is what I scored: triple drama mascara, 3 fab metallic polishes, the most amazing lip scrub on the planet, primer- which I have never used in the past & now swear by, and a face illuminator that will give you a glow you’ve only dreamed of.
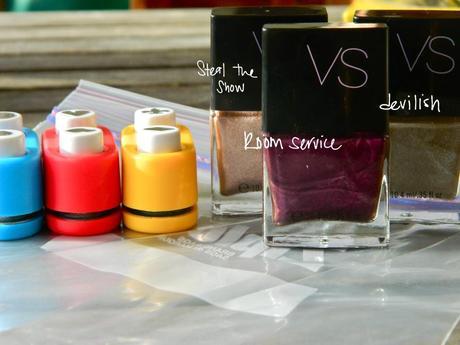
+ What you Need: Polish colors of your liking (my choices- VS Room Service, Steal the Show, and Devilish), decorative hole punches, and a Ziploc bag.
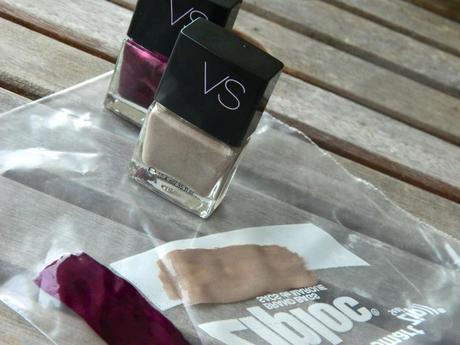
Step 1: Using the colors you want for your decals, paint decent sized strips on your baggie. You will need 3-4 coats with dry time in between. When done painting, let dry COMPLETELY. I got impatient, as I often do, and even stuck them in the freezer to speed up the process.
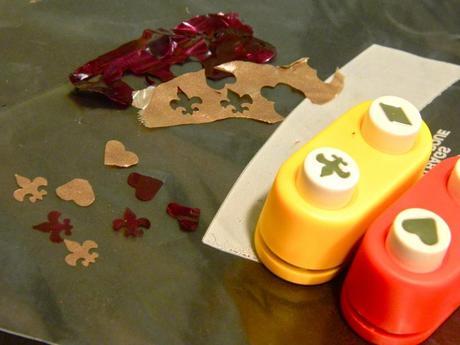
Step 2: Peel your strips of the baggie and punch away with your decorative hole punchers- I did hearts and Fleur De Lis. Thought they would look very regal with the metallics

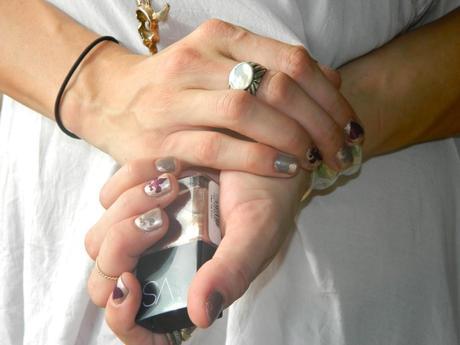
Step 3: Paint your nails with your base color of choice and let dry until they are a bit tacky. Place your decals on your nails how you want, finish with top coat, let dry, show off. The end.


