I wrote not too long ago about wanting to get better at baking and the pop-up boutique which was coming to Brick Lane (read post). Well it’s here!
Thursday night I was lucky enough to be invited to the launch – an evening of mingling and learning new techniques from Juliet Sear – cake and baking expert, author of The Cake Decorating Bible and Even Better Baking Ambassador.
The Pop-up is reasonably easy to find, it’s located at 12 Drays Walk, Brick Lane but it’s inside Ely’s Yard – the same place as the ZICO Smoothie pop-up.
I turned up at 6.30pm and was greeted by Lucy (one of the team behind the running of the Dr Oetker Baking Boutique). She invited me in, offered me a drink and I started talking to one of the brand ambassadors about the boutique, the layout and what they had on offer.
The Dr Oetker Beter Baking Boutique is set out over the two floors of the shop. On the lower level one wall had all the products which are available to buy, as well as a till area, and a wooden table in the centre with baking equipment on to help create the atmosphere. This is where most people were crowding to mingle and network.
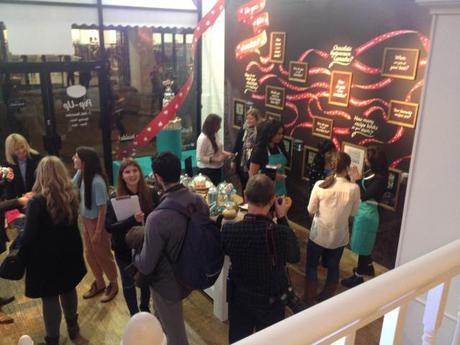
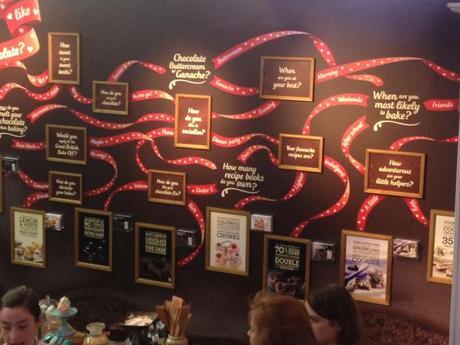
I loved the wall on the left as you walk in – a huge wall which asks you questions and directs you to the chocolate you would most like. I know, all chocolate right? But this was really cool!
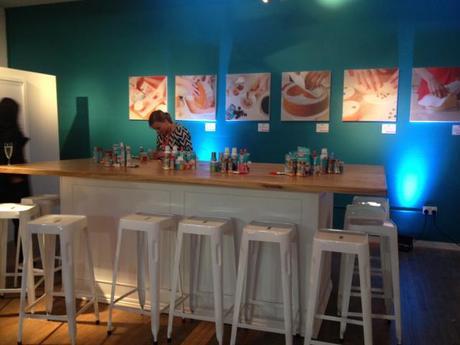
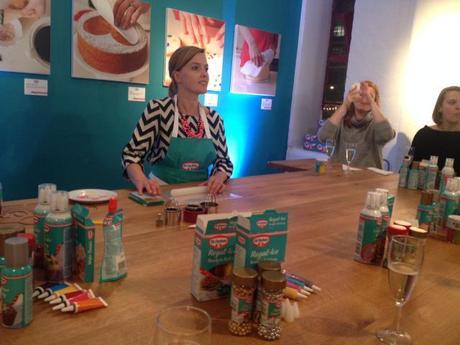
Upstairs is where they hold the masterclasses, with a big work bench where all participants can be seated around the outside with the person holding the masterclass on the other side for demonstrations.
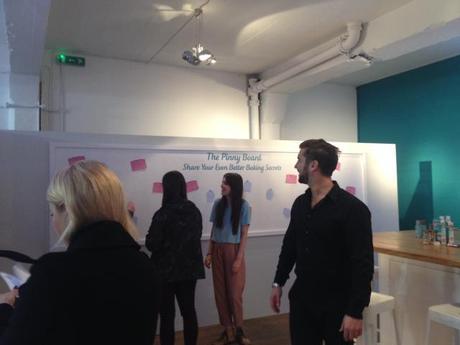
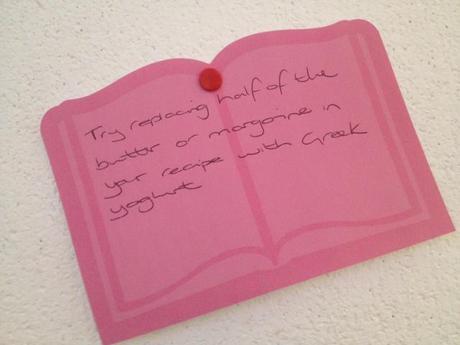
These are my favourite ones…
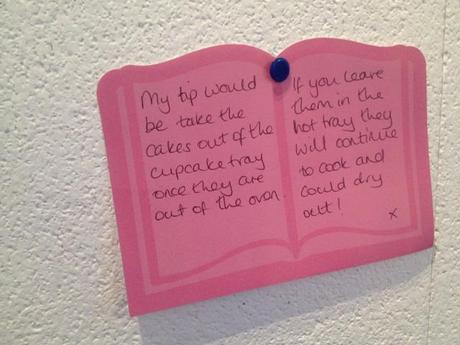
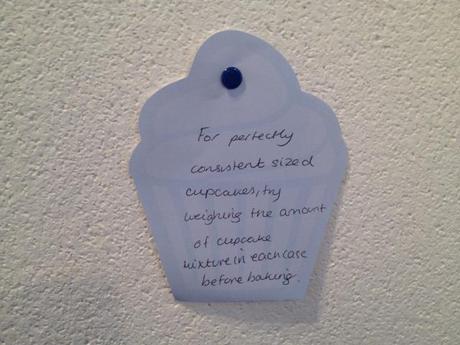
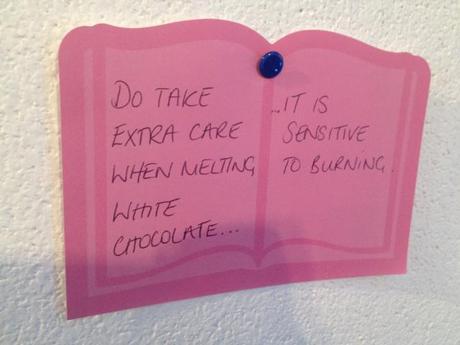
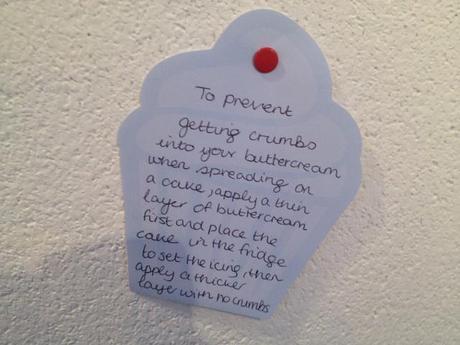
A short while later we were all invited to go up and take a seat for Juliet to start her masterclass.
She opened with telling us a bit about herself and that she made Fearne Cotton’s wedding cake!! Just WOW!
She then went through a few different techniques – making icing roses, robin cupcakes, snowman cupcakes and pigs. She went through the different designs step by step, allowing us to answer any questions we had and giving us some really good tips on how to make the best!
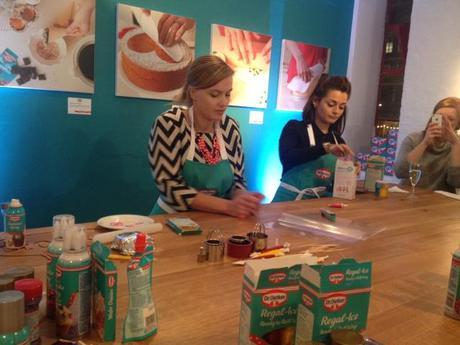
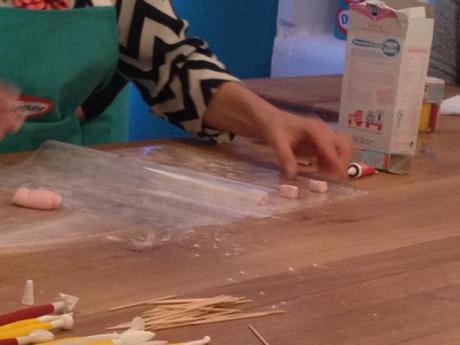
Using the plastic wallet to squash her petals for the rose
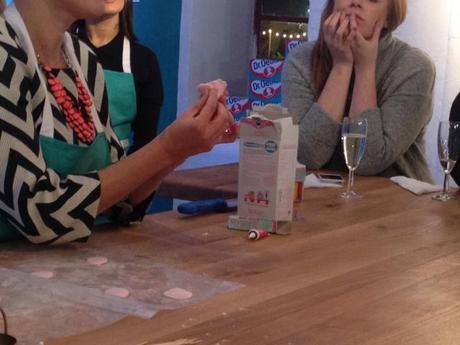
Putting the rose together
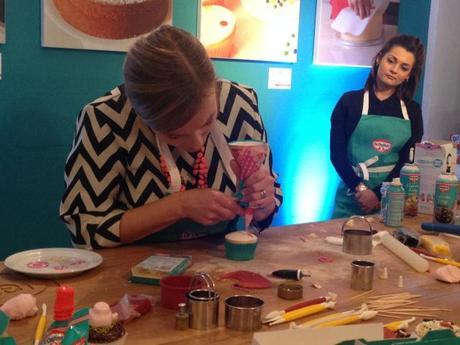
Juliet icing on top of a fondant topped cupcake
We then all got chance to decorate and experiment ourselves, using the techniques Juliet had shown us or to freestyle…I’ll let you in on the rose technique too…
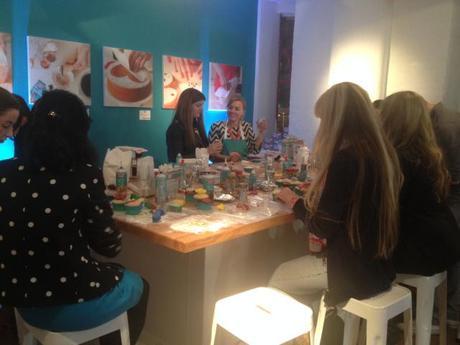
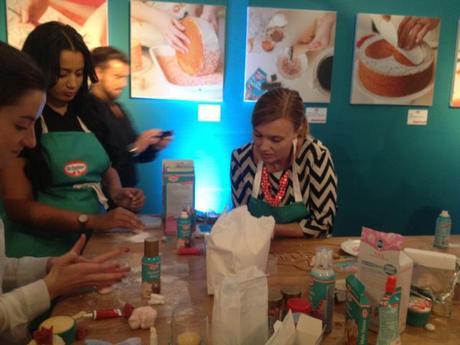
Juliet going around the room helping with any queries or questions people had as they worked on their pieces of art :)
So here’s the inside information on how to make a rose…
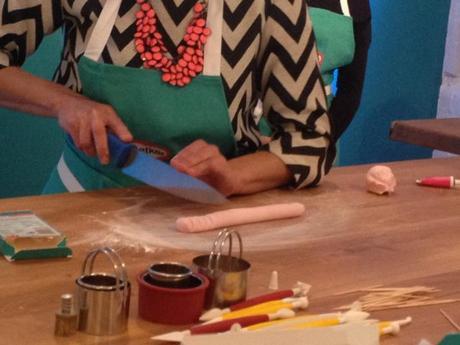
Roll a ball of fondant into a sausage and cut into sections. You’ll need about 6. Make sure your surfaces have a light layer of icing sugar to stop sticking!
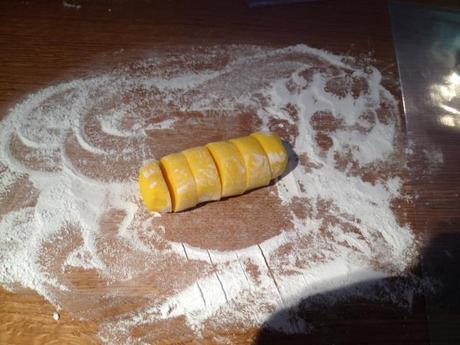
Using a plastic wallet (yes from the stationary section), cut down the side and along the bottom, place the pieces inside with enough space between them.
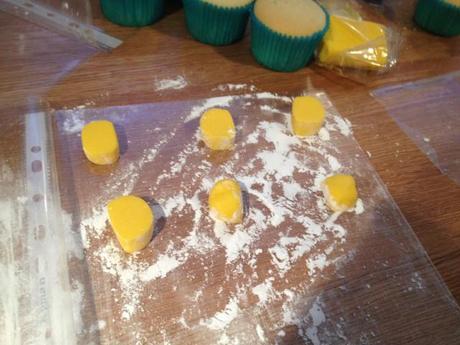
Cover the pieces of icing with the other side of the wallet and use the base of your thumb to squash the circles. Then use your finger tip to smooth one side of every petal – this will form the delicate curved edge which looks like the outside top edge of the petal. (Photo below doesn’t have the smoothed off edges)
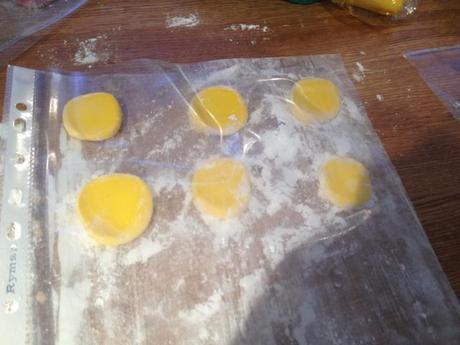
Open the wallet and peel the first petal off. Carefully stretch the first one out, roll the one side back a tiny bit. Roll the first one to make the centre piece of the rose. Start attaching petals to the outside, overlapping the last petal and each petal added being slightly higher, the thinner edge being on the top – the petals slightly curving outwards, like a rose would. You should keep going until the rose looks even all the way around.
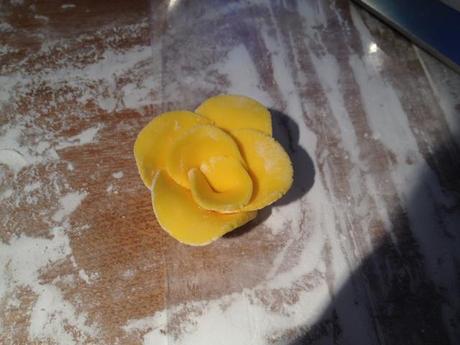
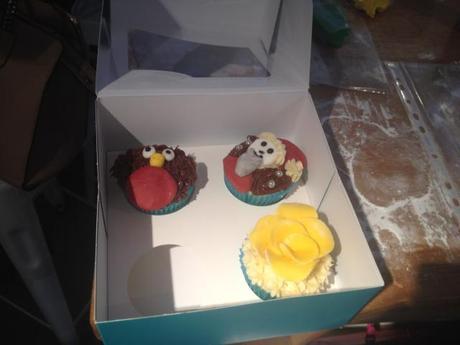
I then iced a cupcake with Dr Oetker cupcake icing to attach the rose.
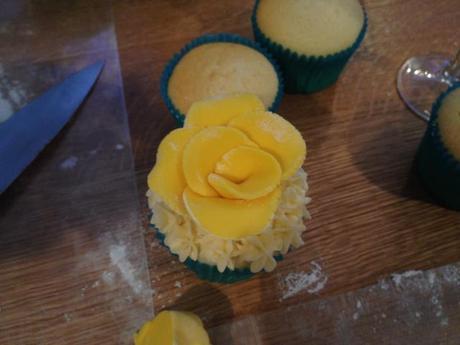
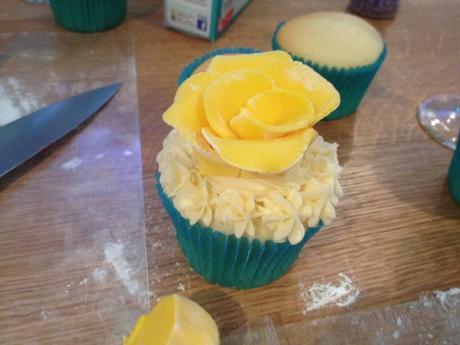
I also made a robin cupcake with the Dr Oetker chocolate cupcake icing, coloured fondant and the black gel colour for the pupils.
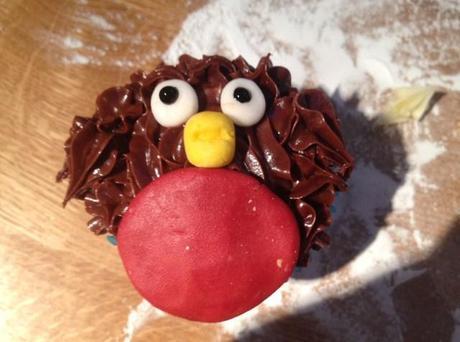
I really liked this one! I think I’ll definitely make these again!
I also did a bit of free styling on my last cake. It was so much fun getting to try out the different products, tools and have the help of Juliet’s tips too.
Everyone’s cupcakes looked amazing! Looking around the table it seemed everyone else was having so much fun too. There were some really cute cupcake designs.
At the end we got to take our cupcakes home…
I said goodbye to all the lovely people I’d met, and left with a goody bag with a few Dr Oetker bits and pieces in – Excited to use these!
I didn’t buy any of the Dr Oetker range whilst there the other night, but I will definitely be going back to purchase baking goods before they close. Their products are awesome, they make decorating interesting and so much fun and some of them even help make things easier & better!
I will be putting my new found tips and skills to work this christmas with presents and events, so keep an eye out. I have no excuse not to get back into baking!
What Dr Oetker products have you used? Which are your faves?
Chloe xx

