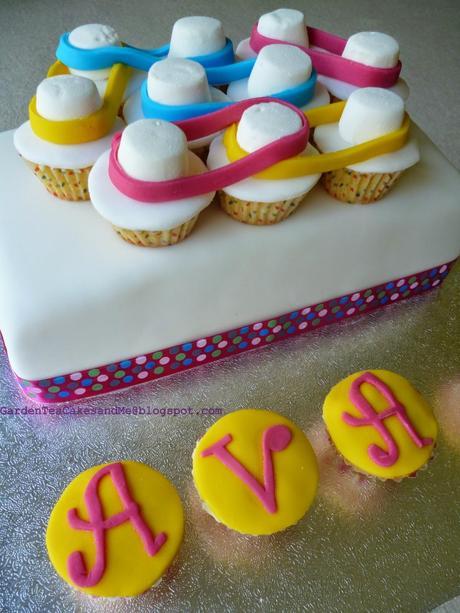
Loom Bands Birthday!
Every year I make a cake for my niece Ava, this year she is celebrating her eighth birthday. I had originally planned to make her a pinata cake, but over the last month or two she has discovered the #loombands craze! So as a surprise I though I would make her a Loom Bands cake, I had recently seen some loom bands cupcakes and used that as my inspiration.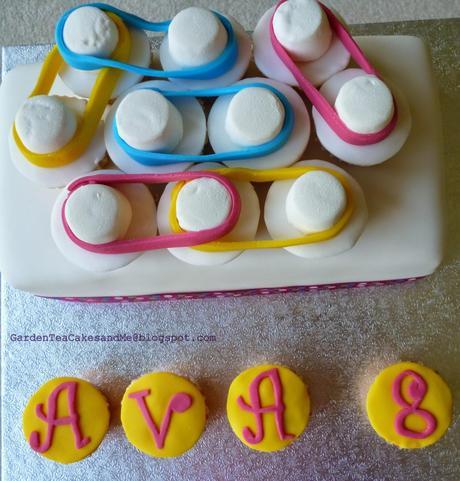
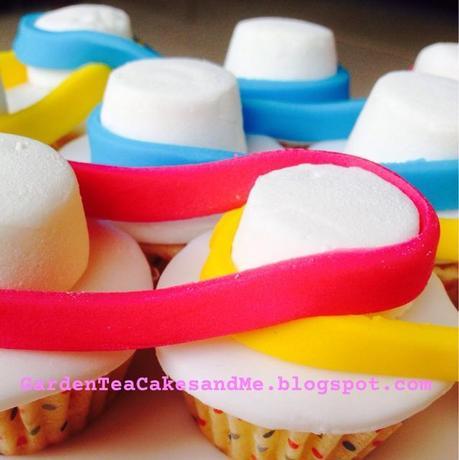
Fabulous neon sugar paste
Recipe - Loom Bands CakeI baked a batch of mini fairy cakes using my basic fairy cakes recipe but using small cake cakes and a small cake tin. I also made a large batch of butter cream a day earlier. I knew it was going to be a hot day, so wanted a few less things to do the day of the main cake.
Equipment
- bowl or electronic food mixer
- scales
- cake tin 26cm x 13cm (10" x 5")I used a multi size adjustable cake tin
- large serrated knife
- baking paper to line the cake tin
- cooling rack
- pastry cutter
- palette knife
- ribbon
- ruler
- knife
- cocktail sticks
- scissors
- icing smoother (optional)
- rolling pin
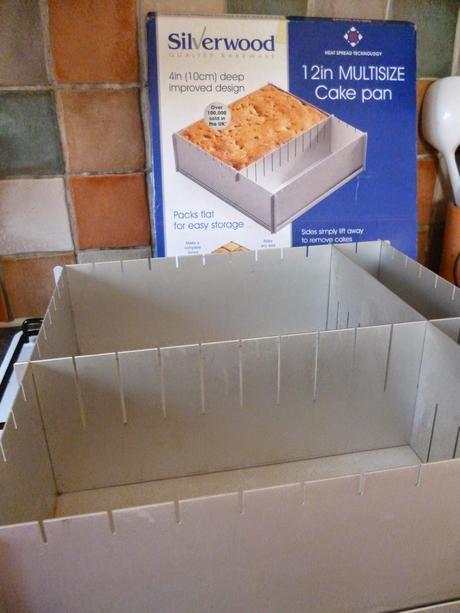
adjustable cake tin
Ingredientsmakes one oblong cake approx 26cm x 13cm (10" x 5")
4 eggs
8oz butter or margarine
8oz caster sugar
8oz self raising flour
Filling and Topping
175g butter160g icing sugar
a pack of Renshaw Neon colours sugar paste
box of Smarties (optional)
jam
packet of marshmallows (not the mini ones)
edible cake decorating glue or water
Instructions
- Pre-heat oven 160 degrees / Gas 2-3
- Line the cake tin
- Cream the butter and caster sugar, I used an electric whisk
- Whisk in the eggs a little at a time, if you think the mixture is splitting add a little of the flour.
- Fold in the flour, a few tablespoons at a time.
- Pour the mixture into the cake tin, make sure the mixture is spread out evenly
- Bake for around 1 hour 10 minutes or until a skewer comes out clean.
- Leave the cake in the tin for 15 minutes, before placing onto a wire rack, remove the baking paper and allow to cool.
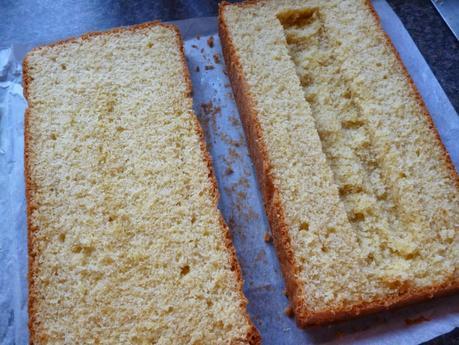
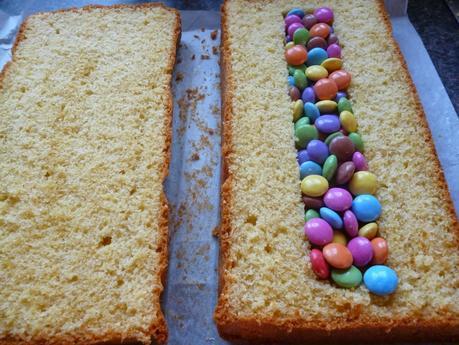
Choc full of Smarties
- Slice the cake in half using a large serrated knife.
- Optional - cut a channel in the middle of one half of the cake, fill with chocolate sweeties such as Smarties.
- Sandwich the cake together with strawberry jam and vanilla butter cream.
- Use a large knife to trim the cake so you have even edges.
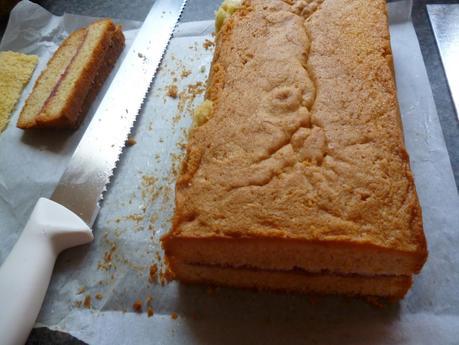
- Using a palette knife cover the cake thinly with butter cream.
- Place the cake in the fridge for 30 minutes, particularly if it is a hot day.
- Roll out 500g of white sugar paste, use a little icing sugar or cornflour to prevent the sugar paste sticking. Use a piece of ribbon to measure the width and length of the cake, you can then use this to see if you have rolled out the sugar paste enough.
- Carefully lift up the sugar paste and place on to the cake. Use the side of your hand to help mold the sugar paste to the cake, watch out for your nails though.
- Trim the sugar paste around the bottom of the cake. Keep the excess sugar paste you will need it later.
- If you have a smoother used in cake decorating use this on the icing to give a lovely smooth finish.
- Use a ribbon to decorate around the bottom of the cake, secure with either a pin or a little stiff runny icing.
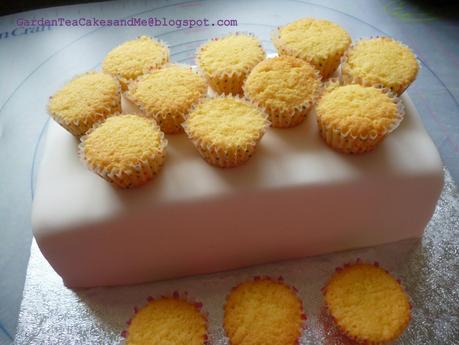
- Top the cake with ten mini fairy cakes, you want to try and choose those that are of a similar size and shape. If needed you can level the tops with a knife.
- Smooth a small amount butter cream onto the top of each cake.
- Roll out the white sugar paste left over from covering the cake. Using a small pastry cutter (plain not fluted edge) cut out ten discs. Then place each one on top of the butter cream topped mini fairy cakes.
- Secured the mini fairy cakes to the main cake using a cocktail stick pushed part through the bottom of the mini fairy cake, then secured into the main cake.
- Take ten marshmallows and using scissors cut the bottom off each marshmallow, around a quarter of it. The bottom will now be sticky and should easily stick to the top of each covered fairy cake.
- To work out the length of the sugar paste loom band, use a piece of ribbon to wrap around the marshmallows.
- Roll out coloured sugar paste, use a little cornflour or icing sugar to prevent it sticking. Using a knife carefully cut your loom band to length.
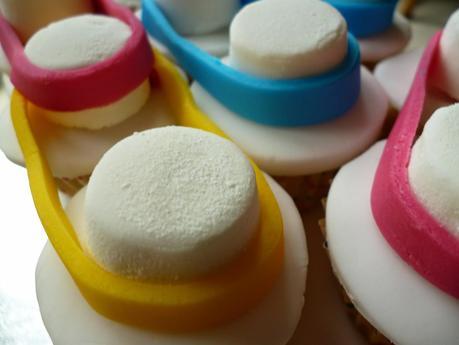
- Now the tricky bit, wrap the sugar paste loom band around the marshmallows, make sure the two ends connect at the back of the cake so you can not see the join. Stick in place with a little cake decorating edible glue, if you do not have any you could use a dab of water.
- Continue until you have completed all your loom bands.
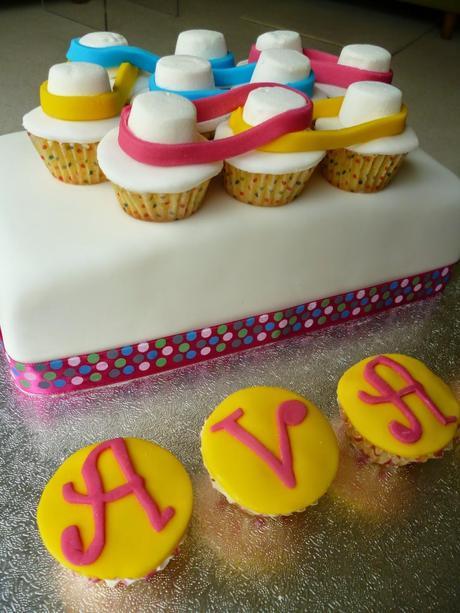
Please remember that the finished cake may have a pin securing the ribbon, and the cocktail sticks securing each mini loom band cakes.
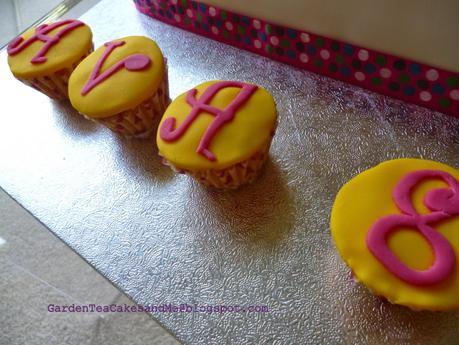
I used the remaining neon sugar paste to cover more mini fairy cakes and spell out my nieces name and age. Everyone was delighted with the cake, and I thought the bright colours looked fabulous!
Other recipes you may like to try:-
- Lemon Maderia Cake with raspberries
- Chocolate Checkerboard cake


