I love Ubuntu font developed by Ubuntu and Google team.So I decided to use it in my Windows PC (dual booted with Linux Mint and Windows 7).
After installing a font you can use it in Applications like paint,MS office etc.
Although this is a very simple task many people never used this previously.So today I will explain how to add your favorite font to Windows PC.

add your favorite font to windows PC
First of all download the font from Internet. Just Google for it, you will find a lot of websites.
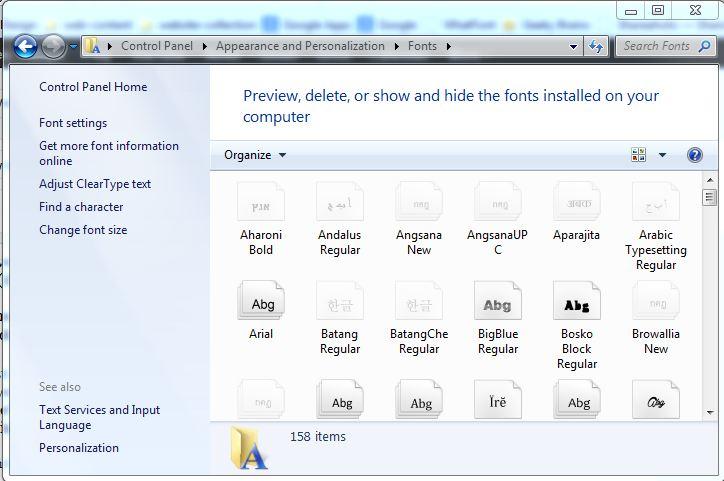
Control Panel\Appearance and Personalization\Fonts
This will look similar to the below picture

adding a font to Windows PC
Thats all ! Now you can use your font in your Windows PC applications.
If you want to use the change the default Windows font (in File Explorer and other app.s)
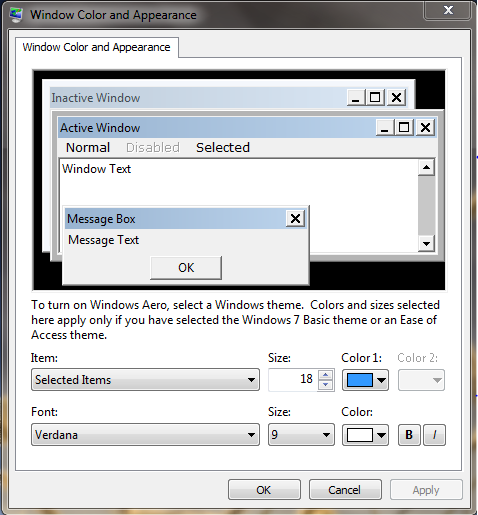
Go to the path shown belowControl Panel\Appearance and Personalization\Personalization\Window Color and Appearance
Now click on Advanced appearance settings. Select item for which you want to change the font.Now choose the font from the drop down list and apply the changes.

change your default font style in Windows 7
Now you can enjoy your favorite font in your Windows PC :)
If you have any doubt please drop a comment.

