Hullo! So last weekend, I instagram-ed a photo of myself wearing much more makeup than usual, which resulted in a series of comments from my friends, with my best guy friend saying something to the extent of “finally you turned into a girl worthy of seeing guys” – Thanks Jeff :| … Anyway, I guess that’s good…. right?
So! I put together a bundle of photographs.. Poorly taken I must say, as compared to the many gorgeous picture tutorials online! OK, I promise the next one will be BETTER.. but for now, you’ve to settle for this! The instructions and products I used have been listed below the photos. Gimme your feedback please, whether u like it (I’m not even hoping for love at this moment) or you hate it!
Here goes.. Natural Bronzey Eyes (ok, I know the correct spelling is Bronzy, but..)
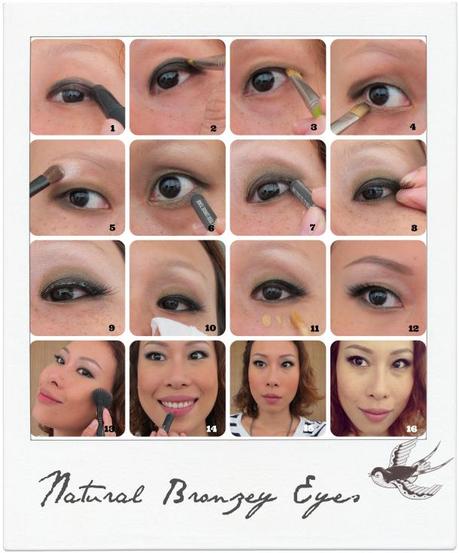
(Step 0: I started with a clean face, and I’m applying the eyeshadow before any foundation so I don’t have to worry about shadow fall)
Step 1: Use an wide eyeshadow pencil to thickly line the upper eyelid. Don’t worry about being too perfect here – this just creates a nice tacky dark base for the eyeshadow to adhere to.
Step 2: Use a black eyeshadow to go over the entire shaded area
Step 3: Pick a shimmery bronzy shadow and apply just above the black-ed out areas, and line it fully under the eyes. I have hidden double eyelids, so I let the black be hidden and the bronze be shown.
Step 4: Use a dark brown shadow to apply on the outer corners of the upper and lower lids. Again, don’t worry about it being in a perfect shape on top because…
Step 5: Apply a highlighter to your brow bone and keep blending till blurs the line with the dark brown shadow which was applied in step 4.
Step 6 & 7: Line eyes, top and bottom, with a brown-black eyeliner.
Step 8 & 9: Measure & cut your false eyelashes, affix to lid and allow to dry.
Step 10: Now clean off all the shadow fall under your eyes. You must have some makeup super powers if you have no shadow fall at all.
Step 11: Apply undereye concealer. Step 12: Pencilled my brows in!
Step 13: Smile ‘cos you got this far and apply a pop of blush
Step 14: Keep smiling and put on your lippie!
Step 15: Time for a selfie
Step 16: Upload selfie to instagram!

Here are the products I used:
In Step 1, I used a discontinued MAC Shadestick. You can use any chunky eyeshadow pencil for this trick. You can try
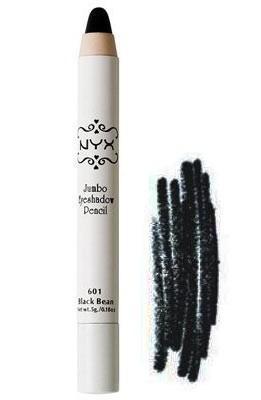
NYX Jumbo Eye Pencil in Blackbean (Coming to Sephora Singapore too!)
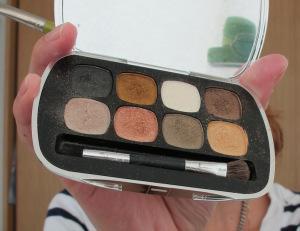
Step 2-5 were created using a BareMinerals palette from last Christmas (I’m sorry! I’ll use less limited edition stuff in future!!)
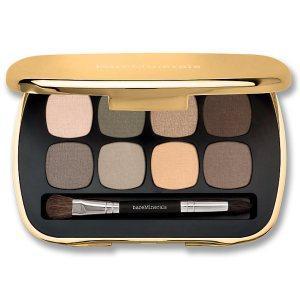
But you can get a newer, more neutral version also from BareMinerals, called the READY eyeshadow palette
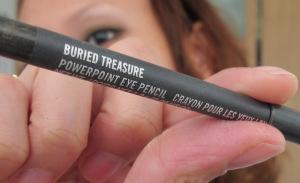
For Step 6 – 7, I used one of my classic favourites, the MAC Powerpoint Eyeliner in Buried Treasure ($26)
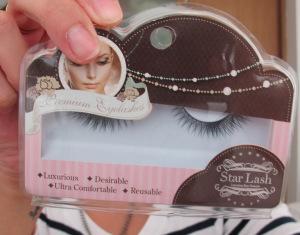
For Step 8 – 9, I used Starlash Eyelashes Princess 20 (S$8.90)
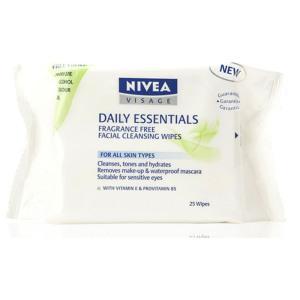
Cleaned my shadow fall off with Nivea Wipes.. you can read my makeup remover wipes review here
My concealer is an old one from MAC, think it’s the Select Moisturecover
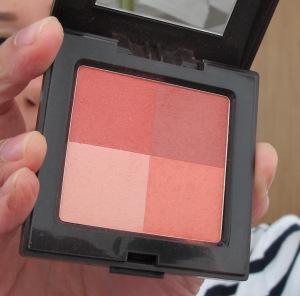
Blush! Okay, this I really like, for step 13. I just bought it recently, it’s the Laura Mercier Illuminating Powder Quad in Coral Red. It’s quite pigmented and can be used more as a blush than solely an illuminator! The darkest quarter (top right) can even be like a bronzer. Luv it! But gosh, I think I paid about $50++ for it in Sephora Singapore. Totally worth it though!
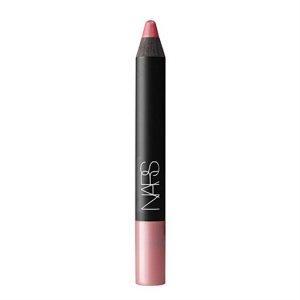
My lippie is from NARS! It’s the Velvet Matte Lip Pencil in… drum roll… SEX MACHINE! UH HUH!! It’s described on the Nars website as an “innocent pink mauve” .. haha! love.
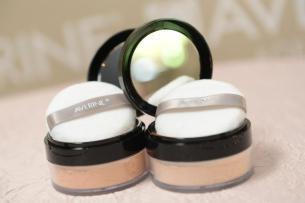
I didn’t show what I used for foundation because I didn’t use foundation even in the final look. I used Averine 100% Mineral Loose Powder in Natural (S$55), buffed all over my face.
So that’s it! Once again, here’s the final look in a BIGGER, better size!
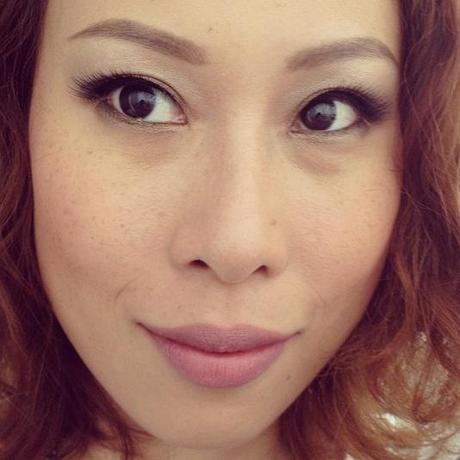
Congrats on reading till the end! Share with me your comments (pains/joys/suggestions) about the picture tutorial please


