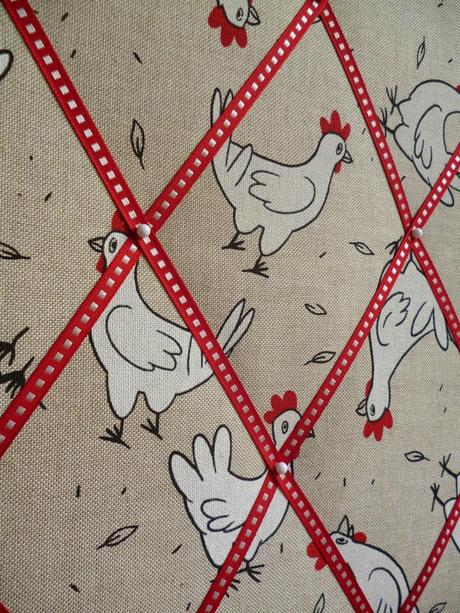
Fabric Pin Board Tutorial
Here is what you will need to make a fabric pin board?
- Cork pin board 60cm x 40cm
- Fabric 68cm x 48cm
- Wadding 68cm x 48cm
- Ribbon 4 metres
- Map pins (optional)
- Staple gun and staples
- Hooks for hanging
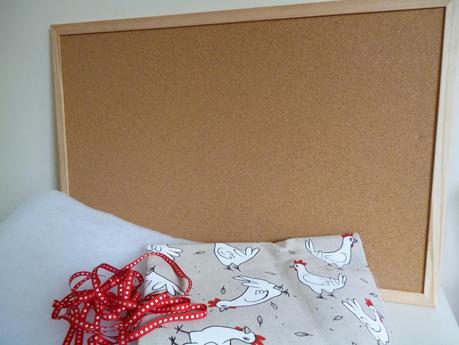
Things you need to make a Fabric Pin Board
Consider which way you plan to hang your pin board, portrait or landscape and make sure you cut out your fabric so the pattern is in the right direction.
Step 2 Measure and cut out the wadding.
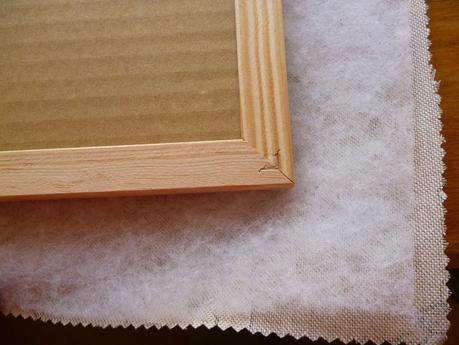
Pin board - wadding - fabric
Step 3 Place your fabric on the table so you are looking at the wrong side, place the wadding on top of this. Place your pin board cork side down. I then used one pin on each edge to lightly secure the fabric to the back of the pin board, turn over and make sure you are happy with how it looks.
Step 4 Turn back over and using a staple gun staple through the fabric and wadding onto the wooden frame. Fold the corners so that you do not have a lot of bulk showing.
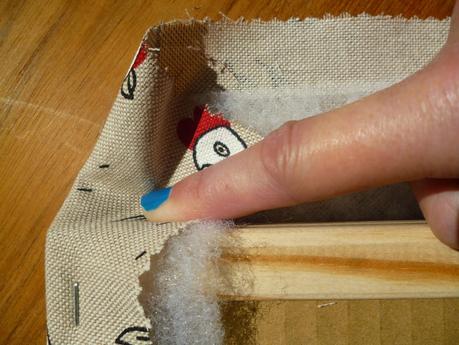
Take care of the corners
Step 5 If needed trim any excess fabric showing at the back, I know some of you will have allowed for extra, just in case.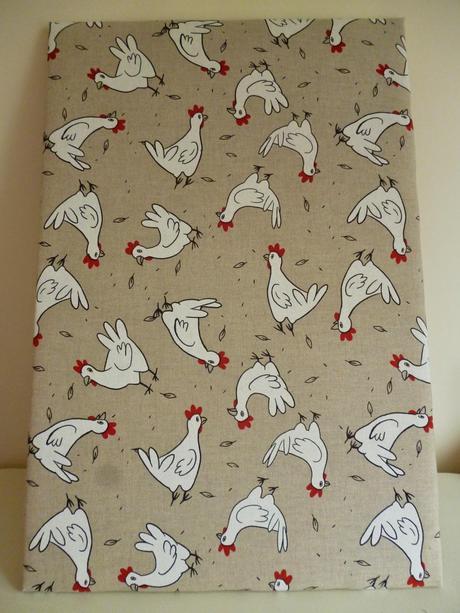
Make your own Fabric Pin Board
Step 6 Add ribbon making sure there is some tension to it. Stapling to the back as with the fabric. There is no wrong or right way to do this just depends how much room you need to secure notes/photos or items to your pin board. Push through a map pin where the ribbons cross.Step 7 Fixing to the wall. My cork board came with wall fixings, which I screwed through the fabric into the top of surrounding wood using my hands.
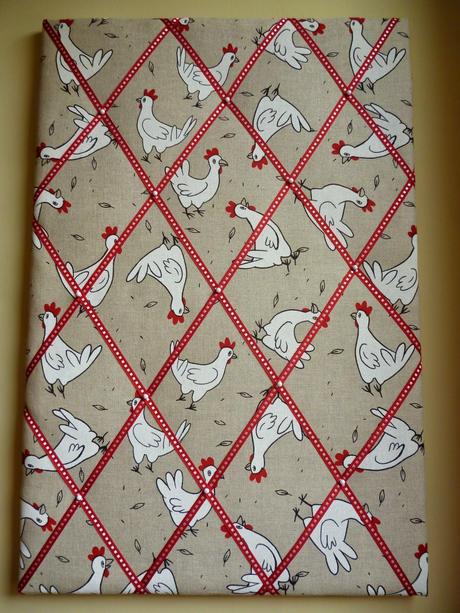
Fabric Pin Board with Ribbon
I hope you find this tutorial useful, if you do make a pin board yourself please leave me a comment with a link to it, I would love to see it.
