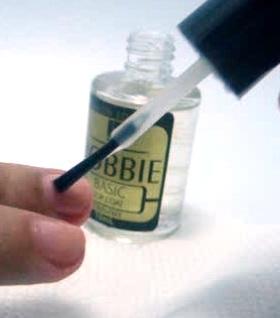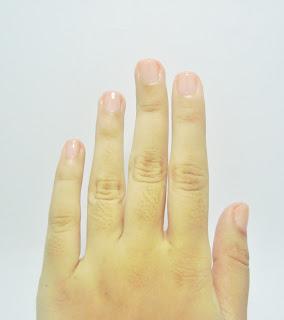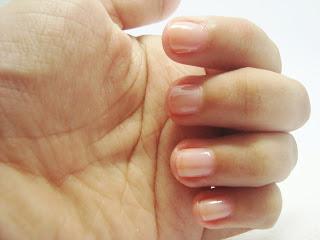
There are times when I’m simply too busy to do my nails the usual way (with nail color and all that stuff) so whenever I need my nails to still look healthy and presentable, I use my go-to nail pick-me-upper: Cuticle Tint.
This stuff is a life - okay, nail - saver. Using this just takes ten minutes tops and I still get pretty, healthy-looking, pink nails. The tint I’m currently using is the Bobbie Cuticle Tint with Sanitizer. I’ll do a more in-depth review of this soon but for now, I’m just gonna share my quick nail pick-me-up routine. Here goes:
- Nail polish remover
- Cuticle remover/pusher
- (optional) Nail buffer
- Cuticle tint
- Nail brush
- (optional) Top coat
What to do:
- Remove old nail polish.
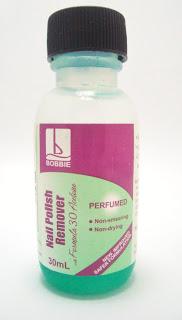
This is a no-brainer; always start with clean, polish-free nails since having a dirty, uneven canvas would just ruin whatever you’re gonna do. I’m using a Bobbie Nail Polish Remover (review to follow). I’ll have to find alternatives for this since it’s quite drying when too much is used. I hear the Topshop ones are good.
- Push back/remove cuticles.
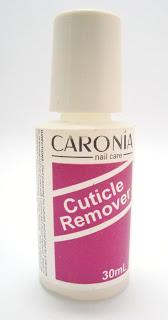
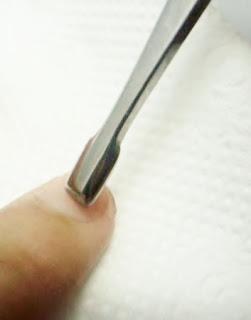
I know some of you don’t agree with the “remove the cuticles” part above since snipping the cuticles could lead to infection when done improperly. That’s the beauty of Caronia Cuticle Remover (review to follow); just brush a generous amount on the nails, leave for a moment, and the cuticle would just come loose by itself. You only need to gently push back the loose cuticle then brush it away. Painless and oh-so effective!
- Buff nail surface.
You may opt not to do this but for me, this is a must; buffing gets rid of ridges in the nails and makes the overall look polished. I use the white part of this 3-surface buffer (from Bobbie, as well, I think but don’t quote me on that) and just run the tip on the nail in circular movements until the nail surface is smooth. Be careful of overbuffing, though, since it can thin out the nails to the point of pain.
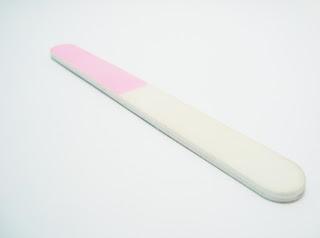 this buffer has three textures, with the white being the roughest and the gray (at the back) being the smoothest
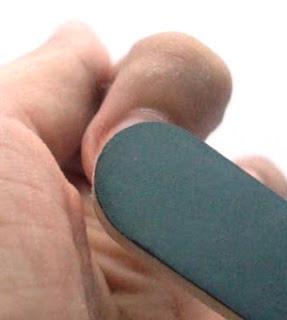 use the tip to buff in little circles over the nails
- Apply tint.
Apply a drop of tint directly onto the nails and spread by brushing. Repeat depending on the color payoff you want. Don’t worry about the orange color, you’ll get a nice flush of pink on your nails.
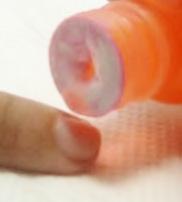
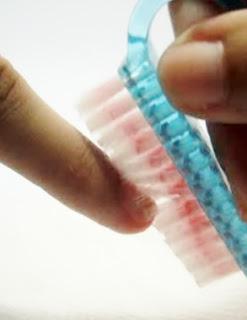
You could stop there since the nails already look healthy and neat but the tint only lasts for about a day (so don’t worry about getting it on your flesh; it washes off).
What I like to do is to seal in the tint with a top coat. Depending on the coat, the tint could last one to two weeks (I’m using a Bobbie top coat and it lasts for at most two weeks).
