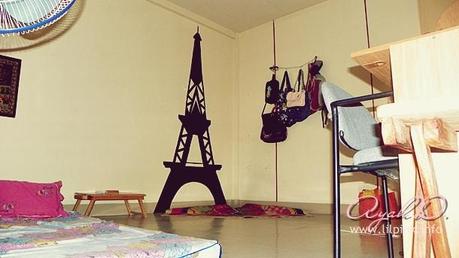
If you have been following my flickr and facebook pages, you will know that I have had a room revamp. I made it a point that I finish my room revamp before the clock hits 2012. It is like letting go of bad things I have gone through in 2011 and starting anew for 2012.
So, let us start with the DIY Eiffel Tower silhouette.
You will need:
- 5 pieces Black cartolina or Manila card (you can choose whatever color you want but since I am making a silhouette, I will go for black.)
- Pencil
- Ruler
- Scissors and cutter
- Double sided tape or Scotch tape
- Bondpaper or sketchpad
So, you have everything we need already? Let us start.
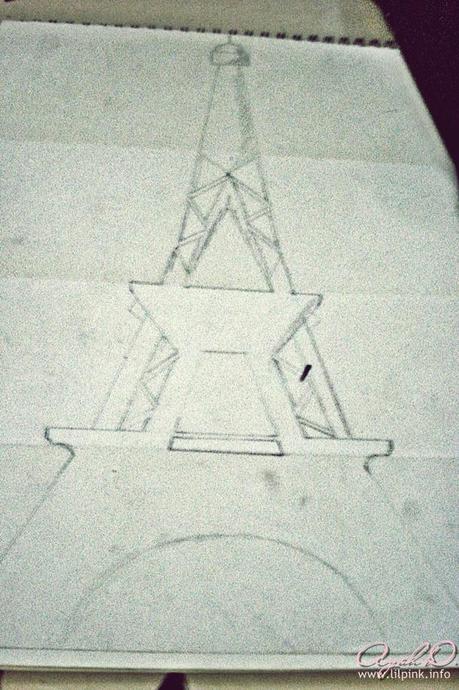
First, you need to sketch the easiest Eiffel Tower silhouette on a sketch pad. I searched Google for some images. To easily draw the Eiffel Tower, you need to divide the paper into 4 parts such as this:

Now, we are ready.
You can choose on whether to create a gigantic silhouette or smaller one. Mine is 7.5 feet tall. That’s why I need 5 cartolinas.
One part of the tower is for one cartolina except the bottom one which needs 2 cartolina papers.
Glue the 2 cartolinas for the bottom part. Sketch each part to each of the cartolinas. Use a ruler to achieve a better and straighter sketch. The Eiffel Tower is made up of straight lines, you do not want to have a curve on some of the details. Cut them with scissors and cutter.

You should be able to achieve these:

TOPMOST

TOP MIDDLE

BOTTOM MIDDLE

BOTTOM
Be sure that the bottom portion of each part is 45% smaller than the bottom portion of the part below it. That means, the topmost part is 45% smaller than the top middle part, and so on. Be sure that every cartolina has the same height too.
Stick everything into place on your bedroom wall or anywhere. Tsaran! You now have a dreamy bedroom with the touch of Paris.


I hope you enjoyed this DIY tutorial. I enjoyed making the Eiffel Tower. Thanks to Korean drama, A Scent of a Woman, for the inspiration.
Toodles!

