Heyhey!
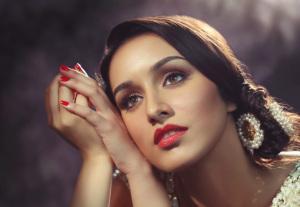
So, a few weeks ago, I had a request on how to achieve this look:
Mastura asked, ” I love how this woman did her make up, minus her lip color. Can you tell what type of eyeshadow, blusher, eyebrow color did she put on? Do i need to use bronzer as well?”
I would usually just recommend the products to get, but this time, I decided to the products out on my face to see if I could achieve this look! I have no deep eye sockets like the beautiful model in the photo, but I tried to fake it as best I could. Here are the shots from the makeup application – NO PHOTOSHOP! No, seriously, except for cropping the photo, I didn’t edit anything else. I also realised that the lighting isn’t showing the makeup in it’s best light (ha..ha) , so I’ll try a different lighting setup next time

Here are the products used:
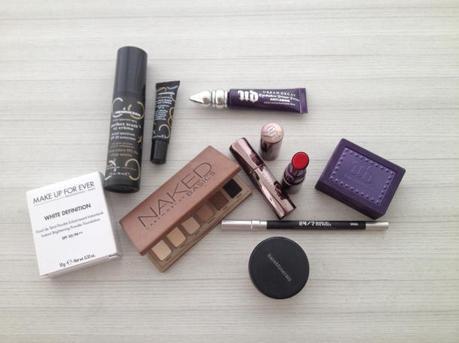
Eyeshadow Primer: Urban Decay Anti-aging Eyeshadow Primer Potion
Eyeshadow: Urban Decay Naked Basics Palette
Eyeliner: Urban Decay 24/7 Glide On Eyeliner in Smoke & Midnight Cowboy (might be discontinued, try Yeyo)
Eyebrows: Urban Decay Brow Box in Brown Sugar
False eyelashes (Not pictured): Tokyo Lash TL007
Base: Ole Henriksen Perfect Truth CC Creme in Medium
Undereye brightener: Ole Henriksen CC Eye Creme in Neutral
Foundation: Make Up For Ever White Definition Powder Foundation
Cheeks: Bare Minerals All Over Face Colour in Warmth
Lips: Urban Decay Revolution Lipstick in Lovelight (Natural) and 69 (Red)
Eyes Step 1: Using the color Faint , draw a crease line (if you have single eyelids like me), or shade into your natural crease line to deepen it
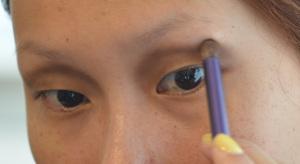
Eyes Step 2: Using the light color Foxy (on a clean brush!), highlight your brow bone and blend out the top of the contour line
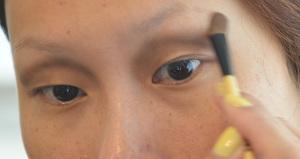
Eyes Step 3: Using Venus, cover your entire eyelid and blend out the bottom of the crease line
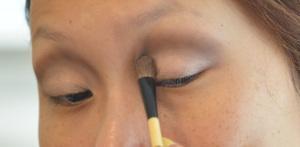
Eyes Step 4: With a small eyeliner brush, use Crave to draw a thick winged liner
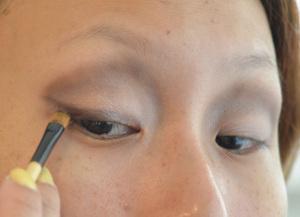
Eyes Step 5: With the eyeliner brush, add Faint to the bottom eye line
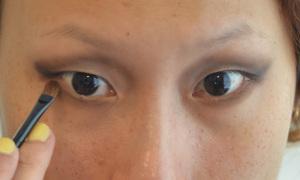
Eyes Step 6: With the Eyeliner pencil, line your eyes both top and bottom
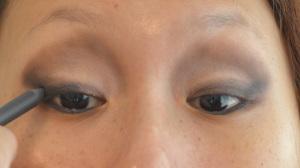
Eyes Step 7: Pop on a pair of false eyelashes for a dramatic look! See how different it is with and without eyelashes?
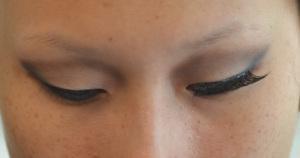
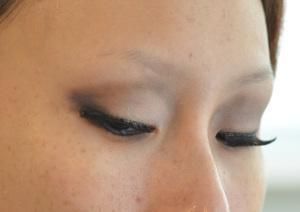
Eyes Step 8: Using the same eyeliner pencil, fill in your waterline UNDER those eyelashes so as to give a smouldering, dark-eyed look
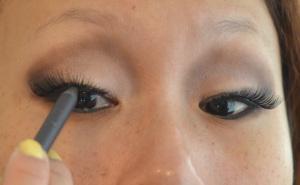
Eyes Step 9: With a bright eyeliner, highlight the inner corners of your eyes
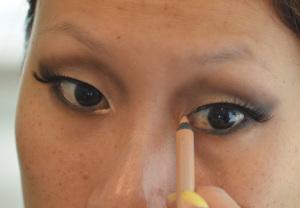
Face: Clean off all shadow fall and apply concealer under your eyes. Then I applied the CC Creme followed by the powder foundation.
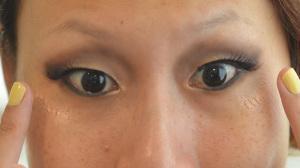
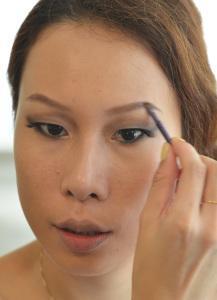
Brows Step-By-Step (upon request!):
Step 1: Use a brow brush to draw the outer corners of your brow with the darkest brown colour
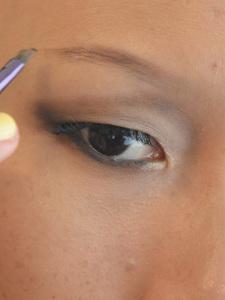
Brows Step 2: Fill in the middle section of your brow with the medium brown colour
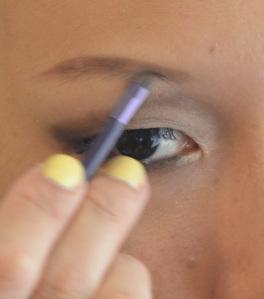
Brows Step 3: Colour in the rest of the brow inwards past the inner corner of your eyes (but not as far as to your nose bridge!)
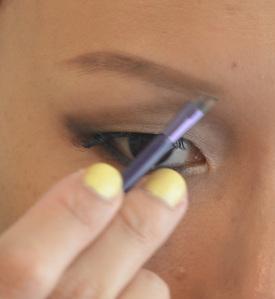
Brows Step 4: Fill in and even out both brows
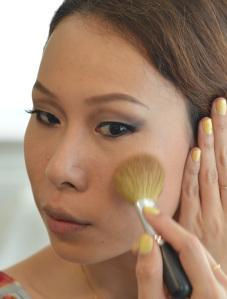
Back to Face: Contour your cheek bones with the bronzer
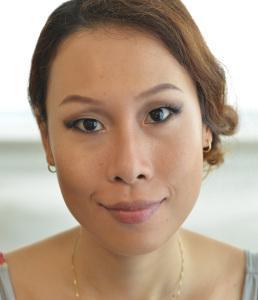
Finish with Lips: Here I applied the natural color Lovelight
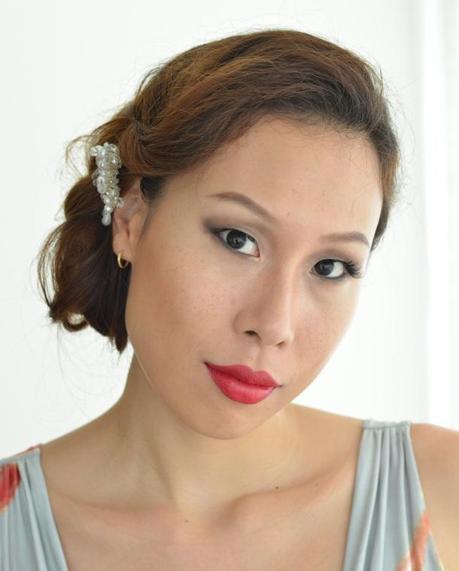
But because I wanted some drama, I went ahead with 69 (the colour!!). And I also did my hair up with a fancy clip

If you would like makeup lessons in the comfort of your own home, drop us a message!
