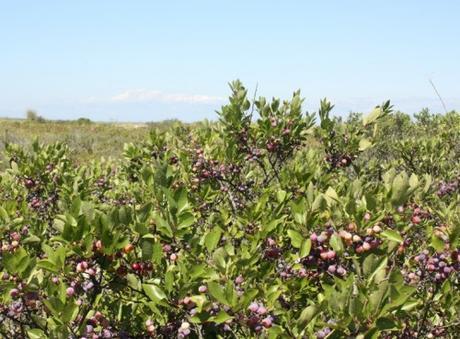
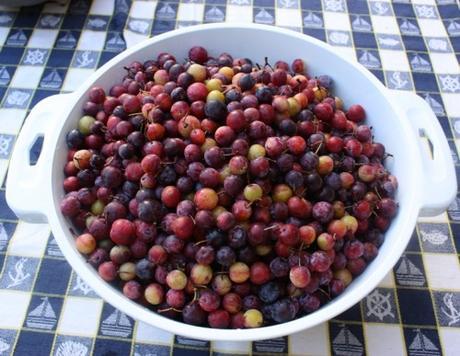
 Late August in East Hampton is beach plum season. Maybe it was the weather (wet early on, then sunny, temperate days in July and August) or that we went a-pickin’ a week or so earlier than usual, but the crop was especially bountiful. We snagged three gallons of plums in under an hour.


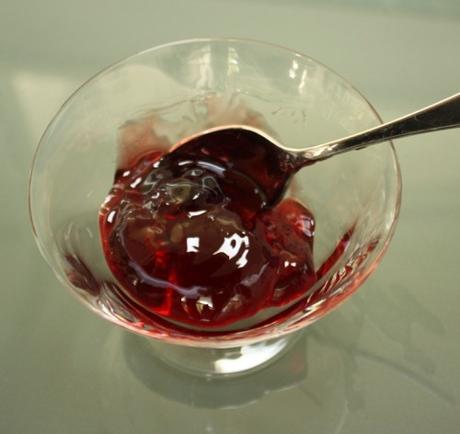
No-pectin beach plum jelly is thicker and stickier than pectin-added recipes. Since the cooking time is shorter added-pectin batches are are wetter and more jiggly.
So what’ll it be? Sticky or jiggly? No added pectin purity? Or all the modern conveniences, if you please? Take your pick. Both ways make a marvelous, puckery, sweet and tangy jelly.
The other SpecD beach plum jelly recipes with added pectin can be found here.)

Old School Traditional Style
1 gallon freshly gathered beach plums, enough to make 4 cups of juice.
5 cups sugar
- Pick over the beach plums, removing leaves and any other debris. Put in a large heavy pot. Add water so that it comes just up to the top layer of plums. Do not completely submerge.
- Bring the pot to a low boil. Reduce heat to low, simmer for three to four hours. Remove from heat, let cool. NOTE: A crock pot or other slow cooker is also a good way to slow-cook the beach plums.
- Strain the juice using a jelly bag or a cheesecloth-lined colander. Discard the plums.
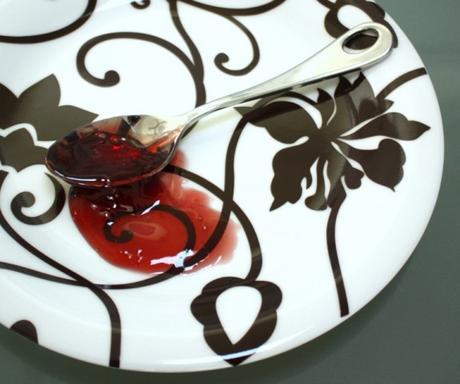
- Put a small plate or bowl in the freezer, which will be used to test the jelly after cooking.
- Use the largest pot you own to cook the jelly. It will nearly double in volume when boiling. Put in 4 cups of juice with 5 cups of sugar. Bring to a full boil and cook, stirring for 15 minutes.
- At the 15 minutes check the jelly for doneness: take the plate from the freezer and smear on 1 teaspoon of the jelly. Wait a minute, then run the spoon or hour finger across the jelly. If it gels it’s ready. If not, cook another 5 minutes.
- Remove jelly from heat. Skim off any foam. Ladle into 5 sterilized 1/2 pint jars. Seal with clean lids and process in a boiling water bath for 5 minutes. For more detailed instructions read all about it here on the National Center for Home Food Preservation.

Share and Enjoy
