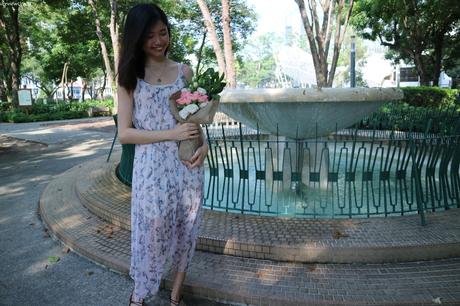
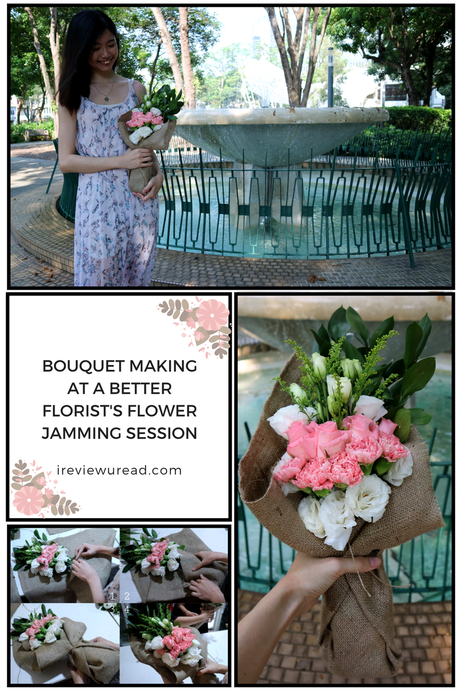
Some time ago, I posted on my instagram, this beautiful photo of me holding a bunch of flowers. This bunch of flowers were very special to me for this was the virgin bouquet that I arranged. That's right, in this post I'm going to touch on flower arrangement workshops.
Flower Arrangement Workshop | Flower Jamming Session
学插花 or should I say, learning how to arrange flowers have always been on my 'to learn' list. I don't know why but the act of flower arrangement have always appeal to me. It seemed rather easy and perfect for a dainty person to accomplish. If they can do it, I can do it too! Thus, when A Better Florist offered me a chance to attend their flower jamming session, I was over the moon.
Who is A Better Florist?
A Better Florist retails flower bouquets and flower arrangement workshops in Singapore . These fresh blooms were sourced from Cameron Highlands. Additionally, A Better Florist offer same day delivery island-wide in Singapore. This ensure that the flowers are as fresh as they could ever be when they reach you. Furthermore, they offer flower customization. That means, you could add decorations, baskets and more to your bouquets.
However, today we're not going to touch on that. We'll touch on their flower arrangement workshops!
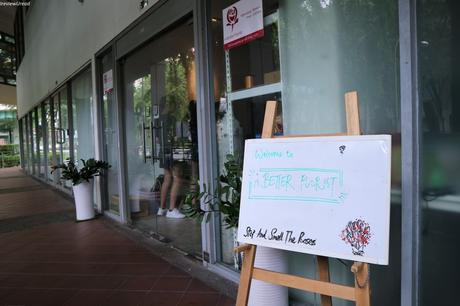
A Better Florist Flower Arrangement Workshop
Held at their office, each flower arrangement workshop is between 1 an a half hours to two hours long. For the session I went to, it was 2 hours long.

The workshop started off with the florist, Charmaine, teaching us how to handle the different kinds of flowers. Most of the stalks were trimmed and separated for us, thus we don't need to worry about that part. I like how the CEO, Steven, also sat in to listen and observe the class while it was happening.
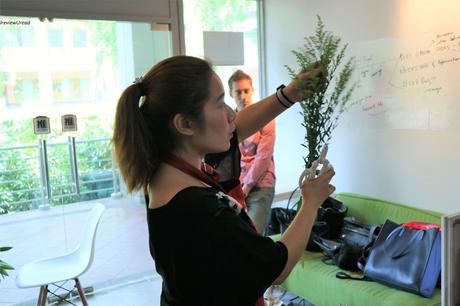
Trimming of the stalks
For this workshop, the stalks that were used included roses, ruscus, eustomas, carnation and that*. That* is used to buffer the bouquet and be the flower's background. However, it could also take too much space. Therefore, a solution was to cut off the middle part and instantly, it looks so much better.
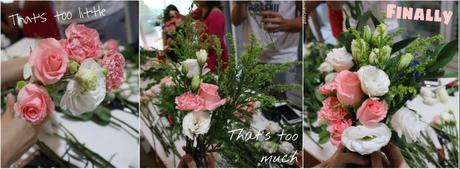
The formation of Shi Hui's layer bouquet
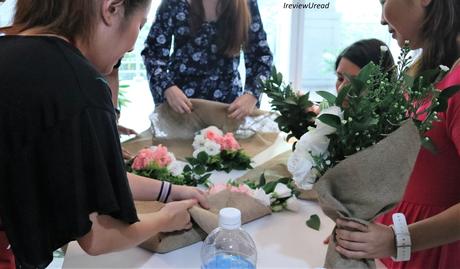
After her demonstration, it's time for us to form our own bouquet. We started off with some roses, carnations and eustomas. Then, we add more flowers until it looks like a decent bouquet. We have to take note of the directions we want it to face and the colour combinations. While other participants have a general idea in mind, I'm the kind of person who prefers to wing it.
Aside from arranging the flowers, we also have to 'bloom' the carnations and remove the leafs. It was an informative process as we learn how each stem requires different care. On top of that, I finally understood why those leafy stems and various greens have to be added. My bouquet looks so much more fuller and pleasant looking with a touch of green. Plus, they did a great job in being the bass - the link between harmony and rhythm. Or should I say flowering plants and non-flowering plants.
Flower arrangement is a lot like art. You can see the floral artist's personality in the bouquet. Some are simple and some are full but they all look beautiful at the end.
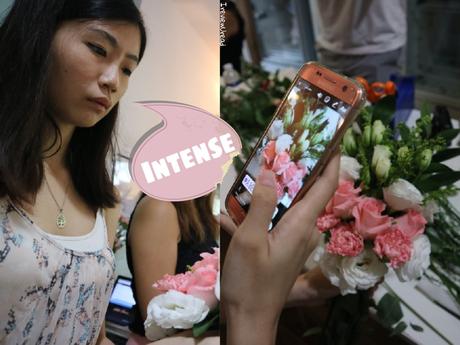
While, we were trying to find the floral artist in ourselves, Charmaine was there to guide us. She was bubbly, funny and very positive throughout the session. The best teacher one could ever have.
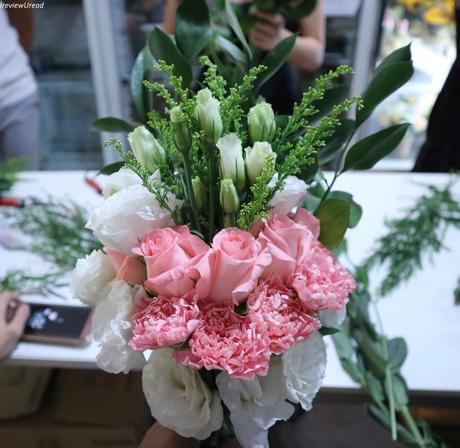
What's in Shi Hui's layer bouquet?
After an intense session of me jam packing my flower, I finally have my flower design ready. I have decided to go with a layer of ruscus at the back to be the bass. Next layer would be some of that* mixed into the eustomas that will never bloomed. On the third layer we have beautiful pink roses standing in the middle. Second to last is mother's favourite, the pink carnations. Finally, we have the bloomed eustomas at the bottom.
*I still can't remember what are those called.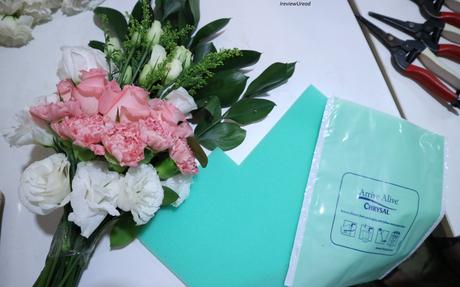
Packing the flowers
By 'packing' of the flowers I don't mean pack it all up and you'll never see it again. It means, packing of the bottom of the flowers so that it could survive your trip home. The making of the portable vase. Yes, that is what this process should be called.
Anyways, these are what was used for the portable vase making process:
- A bag
- A high quality flower sponge
- Rubber band
- Tape
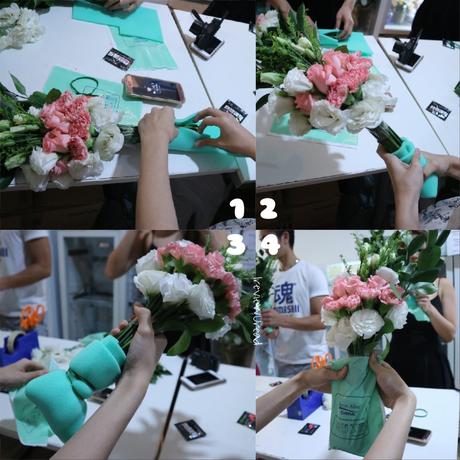
The making of the portable vase
Step 1: Wrap the sponge at the bottom of your bouquet
Step 2 & 3: Make sure the flowers are comfortable, talk to it - No sorry, this step is redundant. Thereafter, secure the sponge with a rubber band.
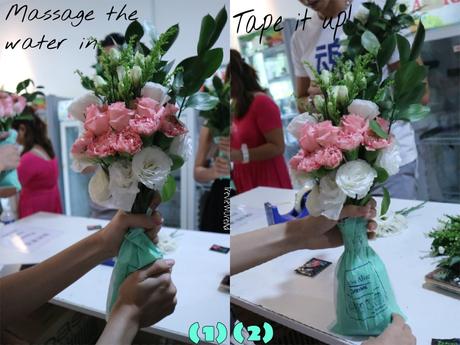
Step 4: Put it in the bag and add water to the sponge.
Step 5.1: Squeeze on the sponge and ensure the water is absorbed. If the sponge seemed dry after massaging, add more water.
Step 5.2: When you're done, tape a long tape around the middle of the bouquet.
What to do with a bouquet of flowers?
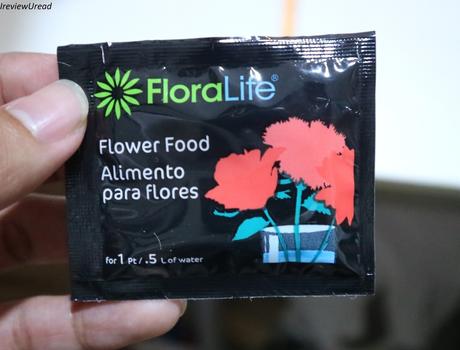
A packet of flower food was also given to us to bring home. You can lengthen the bouquet's life span by putting it in a vase of water after you get home. Thereafter, use half a packet of flower food a day. This will help the flower last an additional 3 to 5 days.
Another option is just leave it in a bouquet and hang it upside down. Hang it near a window for it to dry. There you have another bouquet of flowers.
Wrap it with a burlap
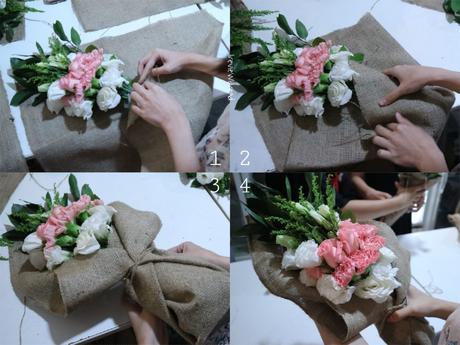
Now that the internal care of the Shi Hui's layering bouquet is done, it's time for the exterior. Here you can see Charmaine flying around and teaching us the different ways to use a burlap.
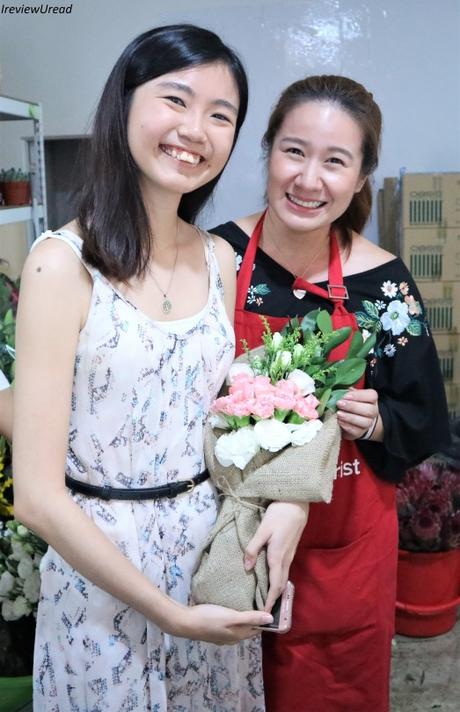
I have chosen to use the 'tuck in' method. That requires the sides of my burlap to be tucked into the back of the bouquet. I feel that this give the bouquet a rustic look. The perfect look for my dress. After the flowers are wrapped, water is sprinkled onto the bouquet so that it can remain hydrated.
Photo taking time!
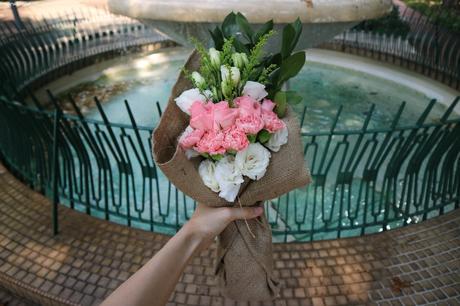
Finally, now that everything is done, it's time to take some photos. Thank you to Charmaine for making the session so informative and fun at the same time. I love how she went around the table with this bright smile on her face and cracked jokes at the same time. She made the session feel so lively and amusing. It's a joy to be in her class. The class was also timed accurately for it started and ended right at the 2 hours mark.
A Better Florist's Flower Jamming Session Verdict
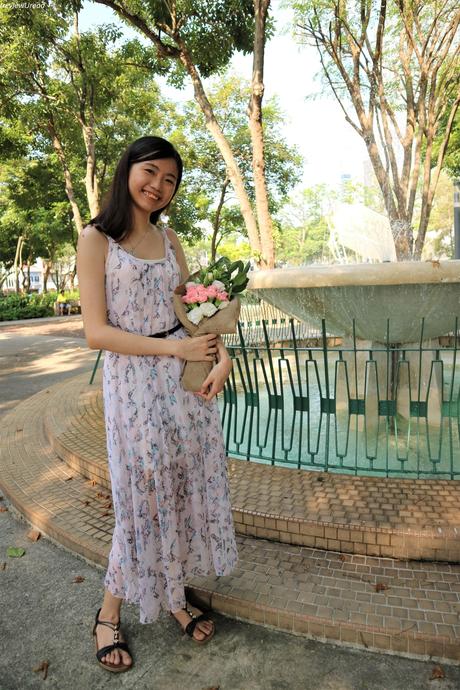
All in all, I find A Better Florist's flower arrangement session to be very fruitful and enjoyable. The teacher was not only knowledgeable but she was also humorous and lively. A patient and fun person to learn from. Additionally, I like how the CEO was also there to observe the class and ensure the standard was there. The flowers provided was rather fresh and vibrant. It was nice to be able to step in the shoes of a florist even for a short period of time.
Presenting my bouquet and I in this beautiful park. Simply perfect! For those who are looking for flower arrangement class or to buy a bouquet do check out A Better Florist - links at the bottom.
A Better Florist
Until the next post!
Before you go, remember to pin this on Pinterest!

