It has been a long while since I did a DIY tutorial post. The last tutorial I posted was 3 ways to display your travel memories. Ever since then, I believe that tutorials should come in the form of threes so here are 3 ways to use your old Christmas Greeting Cards. You can see the full list of IreviewUread DIY here.
What to do with old cards you want to keep?
In these tutorials we're going to upcycle old Xmas cards. Upcycling tends to be better than recycling for upcycling tends to turn materials into something of a higher value while recycling is the breaking down of the original material to its raw state. Thus, here are 3 ways you can upcycle your old greeting cards.
This video is part of the FJJP 12 Days of Junk Journal Gift Tutorials project. We're on Day 4 of 12 where I teach you how to use your old greeting cards. There are other tutorials on how to use your old greeting cards as per link in the video's description box. I'll create a playlist of the same project once they're live. In the meantime, you can check out the other tutorials in the FJJP 12 Days of Junk Journal Gift Tutorial project here: #12daysofjunkjournalgiftideas2019
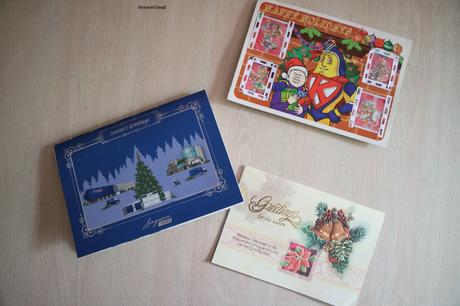
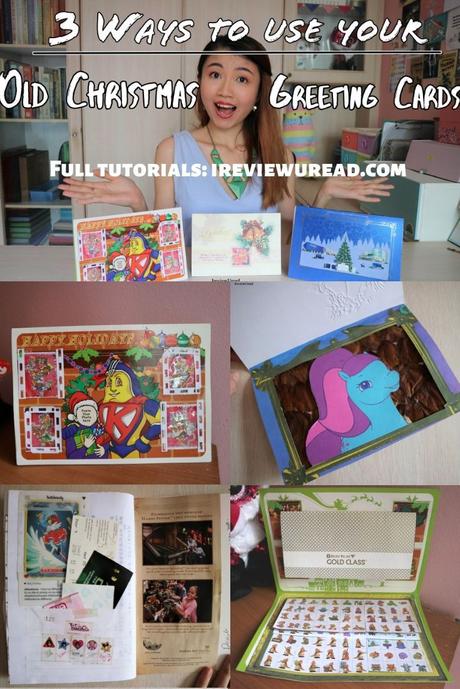
3 ways to use your Old Christmas Greeting Cards
- Christmas Shaker Pocket Card
- Junk Journal Insert
- Old Meets New Simple DIY
Since Christmas is round the corner so I decided to do a Xmas themed one. As mentioned, this is a collaboration project among the friendly junk journal people so it is also junk journal inspired.
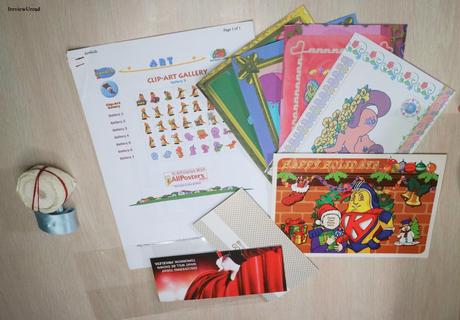
What you need to make a Christmas Shaker Pocket Card?
- Old Christmas Card
- Backgrounds - Can be old printouts or pattern paper
- Small cartoon/ pattern for the shaker - I am using old clip art printables
- Ticket folders/ envelopes
- Clear plastic
- Other decorations
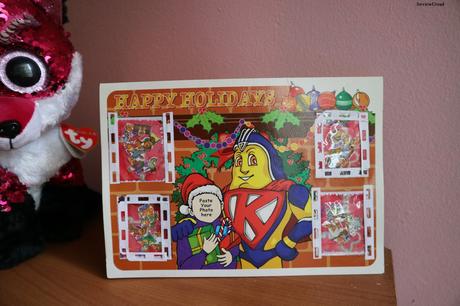
Christmas Shaker Pocket Card
This Christmas Shaker pocket card was made as a surprise within a surprise. I try not to change the exterior too much for I don't want the project to be stripped from it's original design.
- I flipped the cartoon inside out and used the back of the original cartoon as the base of my window.
- Cover the base of the windows with white paper and a decorative paper to mask the advertisements at the back of the cartoon.
- Cut the clear plastic to be slightly bigger than the window's base
- Paste 3 sides of the clear plastic down loosely. Give it some air for the shaker to move around
- Cut out the shakers if needed
- After the windows have dried, put the shakers in them.
- Seal up the 4th side
- Paste the shakers onto the holes using the excess plastic to secure the window
- Decorate and add borders to the front
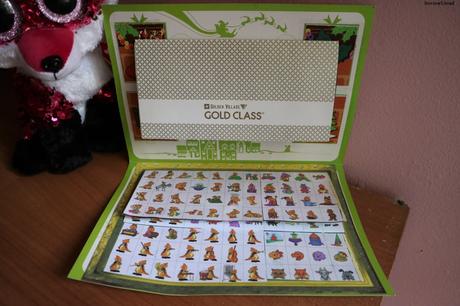
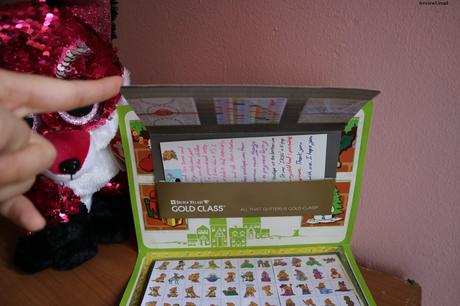
How to make the shaker windows?
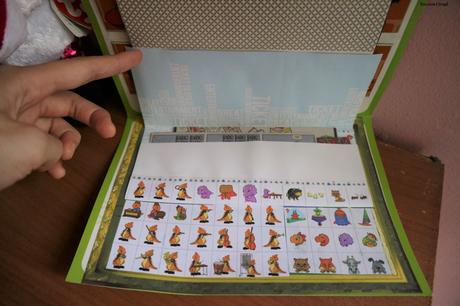
Next, we're moving to the interior of the card. The pocket parts. These pockets that I am using to store the surprise gifts and letter are ticket holders. Be it movie tickets or concert tickets, these are the ephemera that I often use in my projects. They bring a piece of my memory while creating a new one. If you don't have ticket holders, you can just you any envelope or make your own pockets.
For the top pocket, I decided to have it at its original form. I've only covered the top of the holder with a photo, other than that it was not touched.
I may or may not create a step by step pin for this DIY but for now, this is what we have.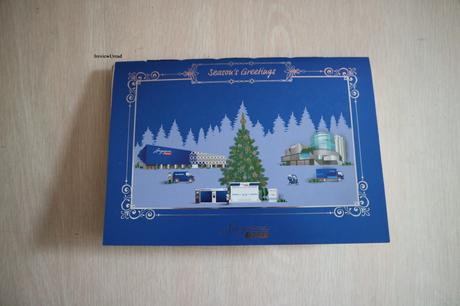
At the bottom of the card, I pasted the background with an old printable. Then I layered it with the clip art that I used for my shakers. I then paste the ticket holder near the top. I also camouflaged the ticket holder so that it looks more in synchronization with the background. Although most of my background is covered, I like how the frame from the background frames the clip arts, making them the star of the show. I finished the piece with a washi tape, seperating the pureness of the ticket holder and the mess of the clip arts.
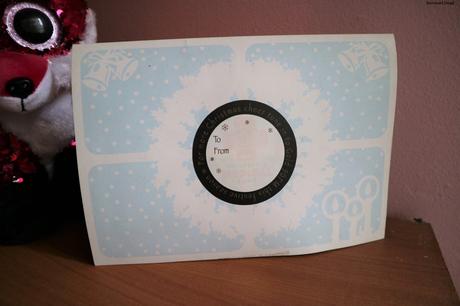
Lastly, I covered the logo of the card with a sticker. You can see the full version of how to make the Christmas Shaker Pocket Card with step by step instructions in the video.
Junk Journal Insert
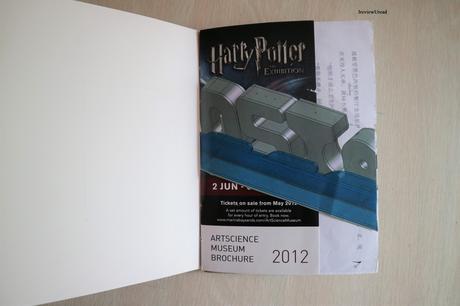
Since this is a Junk journal inspired 12 days of Christmas gifts edition, I couldn't help but make a Junk Journal Insert. This insert could be use as one of the many inserts in your junk journal or you could just use it as a thin junk journal itself. This of it as a thin notebook but made up of your ephermera. I did many journal spreads before but I have never made a journal so this is the first for me. My binding methods might not be the best but it works.
This part of the post is more of a "What can you include in your handmade junk journal?" rather than a " How do you make your handmade junk journal? ".
Pamphlets + Old Projects
Among the things I've added is this Harry Potter pamphlet and an old project from one of my major exams that I had. That is the prototype a salt and pepper shaker holder that I made for my exam. I still remember the agony when it comes to cutting and designing the project. I had a lot of help from the teacher. It was such a shame it was not an 'A' project.
Pockets, Paper postcards, 3D glasses
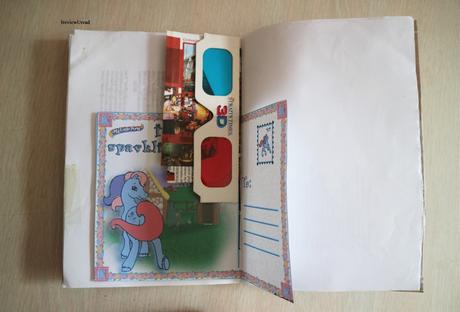
You can add your own printables and make you own pockets too. I have a pre-made pocket from a magazine that I've cut open for the construction of the journal. After I've binded the journal, I reconstructed the envelope once again to be a pocket. The pocket serves a great purpose of holding these 3D glasses and help hides part of the stitching.
Tickets and other stuff
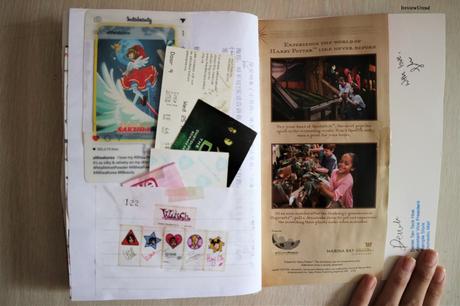
You can add tickets and other emphermas in the journal as well. If you have no idea where to add them, create a pocket and leave them in the pocket first. Creating a pocket could be as easy as sticking only 3 sides of a paper down to the page.
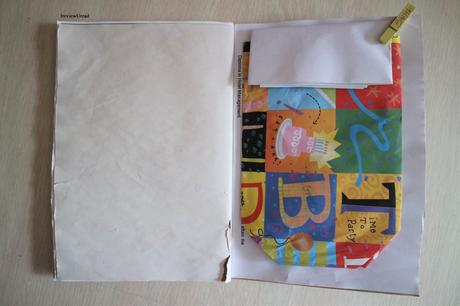
Wrapping paper pocket
Another pocket idea is to use a wrapping paper. Here I have a wrapping paper that was already neatly folded into a pouch as a present holder. I've included a wooden peg at the top to hold the contents in the pocket down.
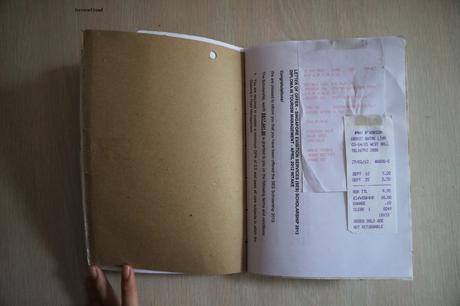
Receipts
Lastly, you can include receipts. Try to include receipt that's printed on regular white paper instead of a glossy or silky paper. The words on the regular paper will last for decades while the receipts that are printed on glossy and silky paper will barely last a year.
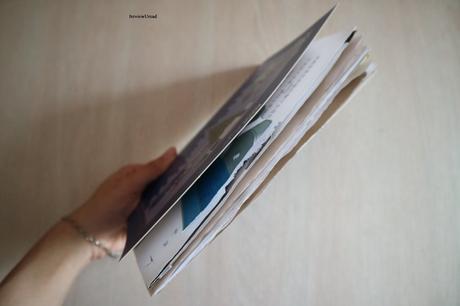
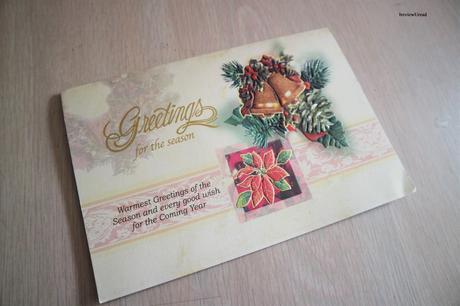
This is the thickness of my junk journal insert. I used the card as the cover for it is sturdier as compared to the pages in it. This journal contains 10 to 15 paper so it have 20 to 30 pages. This could be use as your regular notebook or part of a huge journal.
Old Meets New Simple DIY
The last DIY is where old meets new. I'm sure the name is confusing for it doesn't give you much insight on what is the DIY about. Allow me to explain. Old meets New is where the old exterior meets the new interior. Although it might look like the old card from the outside, it is renewed on the inside. This is for those who love the design of the card but want to renew the insides of the card.
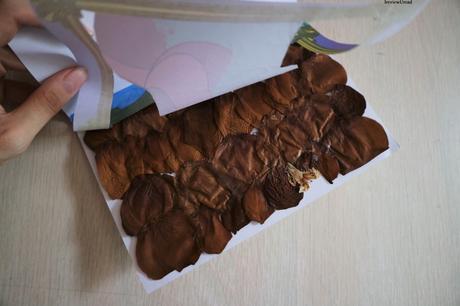
Dried Flower Bed
I'm utilizing dried rose petals in this project. I paste the sides of the dried petals together so that they can cover the base of the card. Slightly stack the edges above each other so that they stay. You can stick the flower bed down on the base of the card if you want to cover the previous greetings. However, if you still want to see them, just stick the top of the dried flower bed down so that it could be flipped.
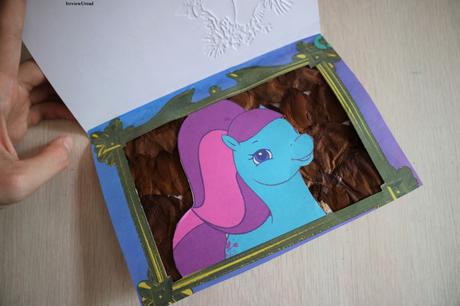
Cut out the background for a new Look
I'm using this old printable that have another background in the frame. I decided that I don't want that background so I cut out that background of the overlay and stick it over the dried flowers. It gives the card and picture an abstract mixed media look.
3 ways to use your Old Christmas Greeting Cards
With that, those are the 3 ways you can use your old Christmas Greeting Cards. I had tutorials of different skill level so you can take your pick. I hope you like the video and I will see you in the next post.

