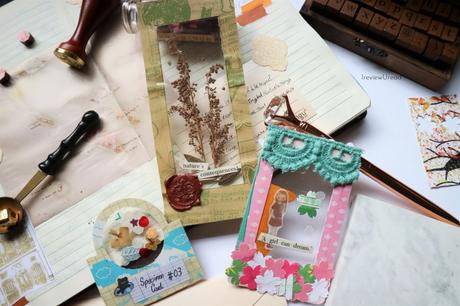
3 ways to make Clear Polaroids & Specimen Cards with Packing Tape
I got inspired to create these after watching Job's Journal Clear polaroid video. He used an instant lamination sheet that does not requires a laminator to work but that is still a little pricey for me. Thus, I decided to take the low budget approach to this situation. I decided to use clear packing tape instead. Since clear packing tape is wider, it gives you a wider window. You can still use the regular tape but that will give you narrow windows. An idea is for you to slightly overlap or put the tape side by side to give you wider windows but you'll see a straight line in the middle of your specimen cards. As such, we're using clear packing tape in this DIY.
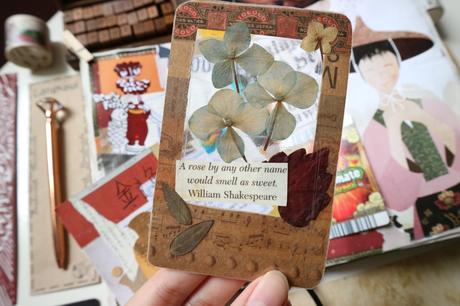 Image from IjournalUsee
This is the first clear Polaroid with packing tape creation that I created. I used a thin cardboard packaging that contained my washi stickers as the polaroid. I covered the parts I don't like with washi tapes. These flowers are from the Bloom Box that was sent to me. I pressed and dried the flowers for a few months before using it.
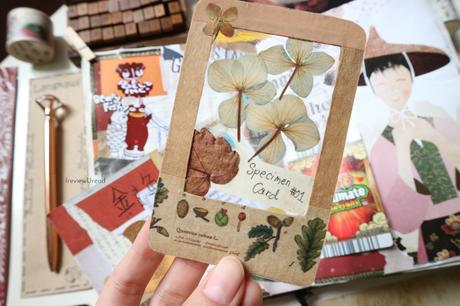
At the back, I put the number on the quote so that I can track the number of specimen card I've made. Mainly it's because I have no idea what to write there as well. I like how you can see the back of the pressed flowers and leaf. Every vine and every line could be seen without worrying that they will be destroyed if you touch them. The thing I am unsure is how long the colour on the flower would stay when kept in between tapes but I guess we'll find out in a few years.
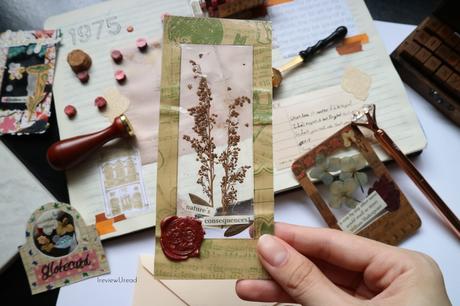
Long Specimen Card with a Wax Seal
The first tutorial that I featured in this tutorial is a long specimen card with a wax seal. I used a filmsy double sided craft paper for this that's why the edges looked so crumpled. The end result is also not what I expected for the paper is too flimsy to be a window card. I would suggest that you use a thin cardboard or the back of a sticker sheet as your base instead.
Another suggestion is for you to leave a part of the base uncovered so that the wax seal can adhere more firmly to the card. Using pliers is a good tool to have for those who can't handle small items because your hand would shake. It gives you better precision as well. Lastly, after measuring the amount of packing tape you need for the project, leave the tape at the side for a few minutes before using if not the static will suck up the scattered leafs and strips of paper, ruining your planned specimen card design.
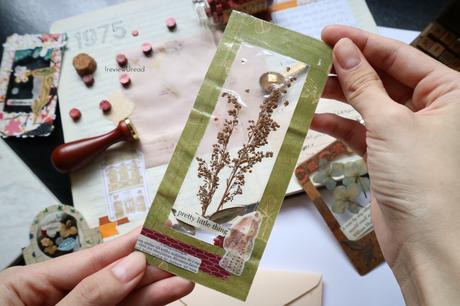
How to make a Long Specimen Card with Wax Seal?
- Cut a long rectangle.
- Draw a smaller rectangle 2cm from the sides. Make the bottom smaller by drawing 2.5cm to 3cm from the bottom instead.
- Cut out the smaller rectangle.
- Measure the amount of clear packing tape you need to cover the inner rectangle and cut it out. Leave the tape to the side.
- Arrange your dried flowers and other items accordingly.
- Paste the packing tape that you have left to the side onto the card.
- Flip the card and press the packing tape down.
- Flip to the undecorated side and decorate it ensure that things doesn't show on the other side.
- Seal it up with another piece of tape when you're done.
- Cover the sides with tape too. Leave an area open for the wax seal
- Add the wax seal.
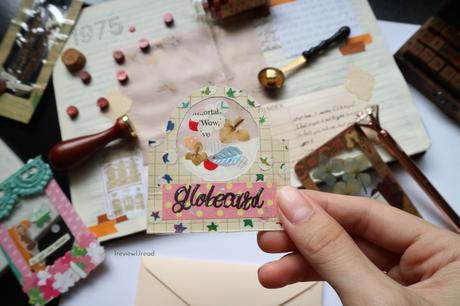
2D Globe Clear Polaroid Card
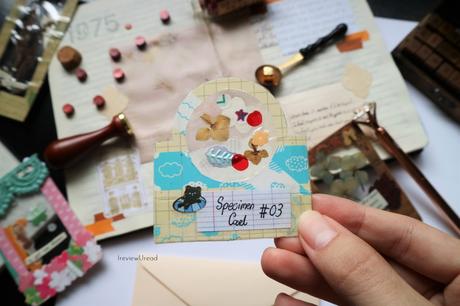
This globe polaroid card is a 2D stagnant version of the shaker globe. I used a hole punch and cut out multiple patterns from a washi tape to decorate the side of the card that was plain. I then put a variety of decorations in to make it more appealing.
How to make a 2D Globe Clear Polaroid Card?
- Translucent circle - Use a single hole punch to punch out a few translucent circles.
- Book page flower - trace a pressed flower on an old book page and cut it out.
- Washi and sticker circle - Cut the parts of the washi tape and stickers into circles
- Cut a circle in a thin cardboard
- Arrange the prepared items, dried flowers and shiny trinklets in the window.
- Measure the amount of clear tape you need and leave it aside.
- Decorate the bottom of the card.
- Seal the items in with the tape.
- Flip to the other side and seal it in.
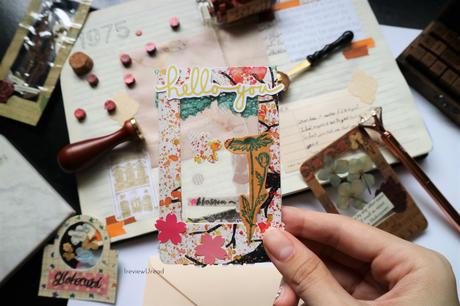
Prepare the items in the window:
- Cut out an inner rectangle, 2cm border from the sides, 3cm from the bottom.
- Paste the side that is filled with advertisement with scrap paper.
- Use a puncher and punch out multiple sakura flowers for the flower bed.
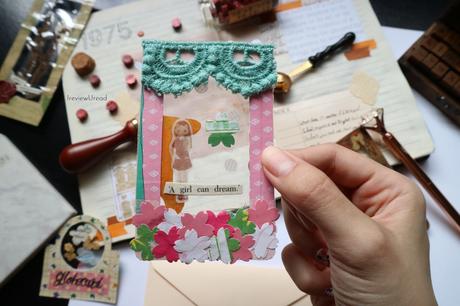
- Measure the lace according to your card size and cut it.
- Cut out the quote from an old book.
- Place the items in the frame and put a clear tape over it.
- Flip to the other side and do the same.
- Paste the frame, the sakura flowers and the flower stamps on the frame.
No Dried Flowers Window Card feat. lace
This last one is created is made specifically so that there's no dried flowers in it. That means you can send it out in your mail without worrying that some countries doesn't allow dried flowers. I used lace at the back to resemble a window's curtains and I stacked the sakura flowers cut out to resemble the flower bed. I also kept in mind the 2 sides of the inner items so that each side have their spark.
How to make a No Dried Flowers Window Card with lace ?
Pin me on pinteres t

