Travelling, once used to be an activity solely reserved for the wealthy is now treated as a hobby for most people. Regardless of your social status, when you travel you will receive various travel keepsake from tickets to souvenir coins and more. What do you do with the travel souvenirs and other keepsake when you come back? In this IreviewUread DIY tutorial, I presented to you 3 ways you can display your travel mementos for the world to see. These ideas are not only aesthetically pleasing personalized keepsake but they make great birthday presents for travelers too.
With that, let's hop into the tutorials.
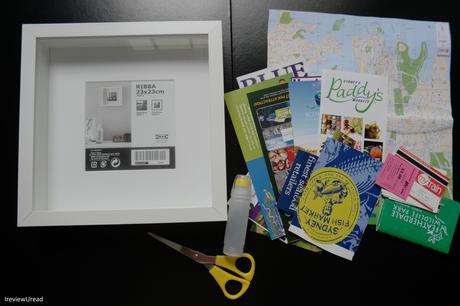
Tutorial 1: Travel Memory Box
The first tutorial is a travel inspired shadowbox. This DIY memory box doubles as a travel gift idea and a travel photo frame idea.
Items you need:
- Stationery - Scissors, glue
- Shadow box - Purchased from Ikea
- Travel trinkets and small souvenirs
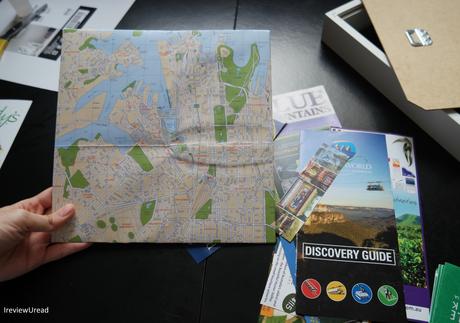
Step 1: Cover your background
Extract the example photo or frame from the shadow box and use that as the base. Use a travel map and cover the base. You will be decorating on this background.
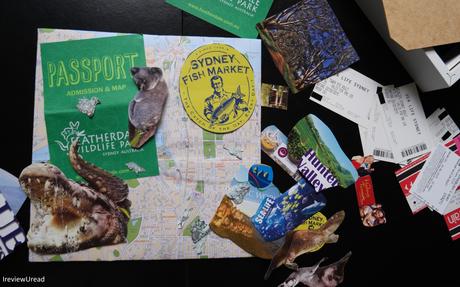
Step 2: Cut and Arrange your travel memories
From brochures to tickets, I'm sure that you've collected some form of keepsake during your journey. Now it's time to cut them up and display them beautifully. Cut out the parts you like best and arrange them accordingly.
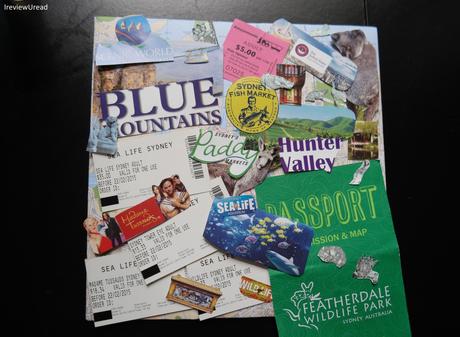
If you're not sure what to cut, I normally would go for scenery or the names of the places that I've been to. Then, I would put the biggest pieces first and arrange the smaller pieces around them. I prefer to keep the tickets as a whole and not cut them up.
Step 3: Glue them down and trim the edges
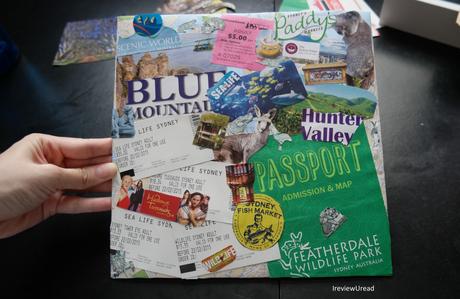
When you're happy with the arrangement, glue them to the background. Trim the edges off after you've finished gluing them down.
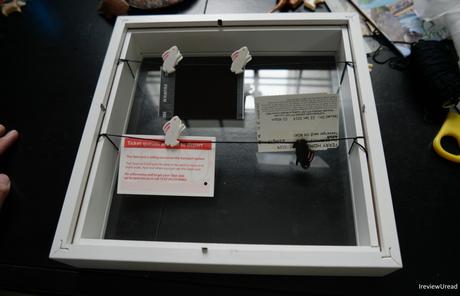
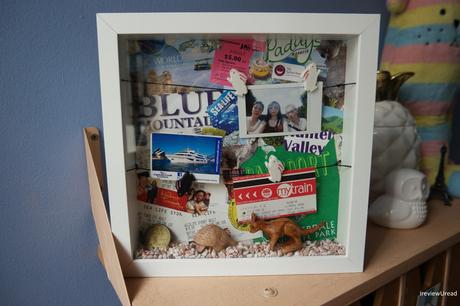
After much thought, this is my final product. I like the idea of the passport from the zoo and it brought me great memories while I was there. Thus, it took up a large part of the background.
Step 4: Tie the string tautly and hang your tickets and photo
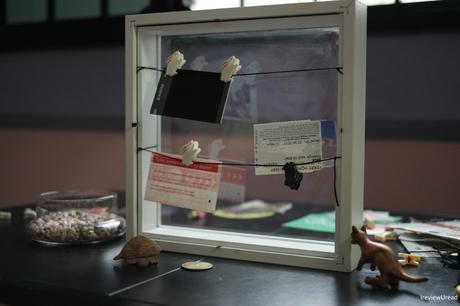
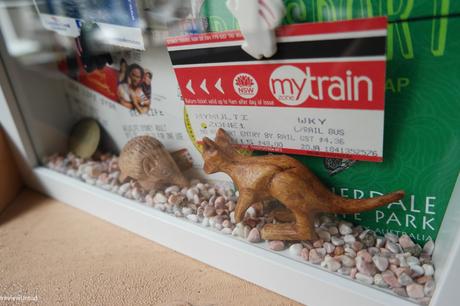
To create the hanging elements in the frame, I tied 2 strings tightly to the inner frame of the shadow box. Next, clip on some tickets or photos from your trip. Do remember to clip them further apart so that the background won't be covered.
Step 5: Fill the bottom
When you're done with the hanging elements, fill the bottom. I chose to fill the bottom with miniature rocks, small souvenirs and a souvenir coin. You can fill it with other stuff as well as long as they fit in the memory box.
With that, you're done! This sweet memory travel box is a great for displaying your travel souvenirs or serves as a personalized travel keepsake gift as well.
Tutorial 2: Display Memory Plate
Next, we move to another travel display idea - the display memory plate. This display plate DIY is great for recycling your old plates and tastefully display your accessories as well. You can even create your very own display memory plate series for every country you travel to.
This star of this tutorial is Mod Podge for it not only acts as the glue but it is also the sealer/ finish for the product too.
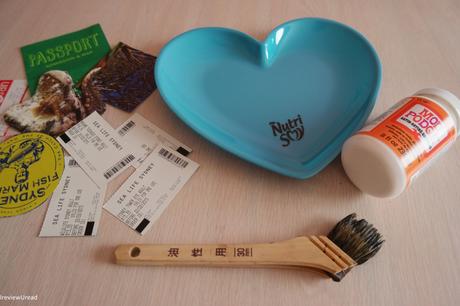
Items you need:
Step 0 - Cut out your trinkets
Before you do anything, you should always cut out the items you want to display from your travel brochures.
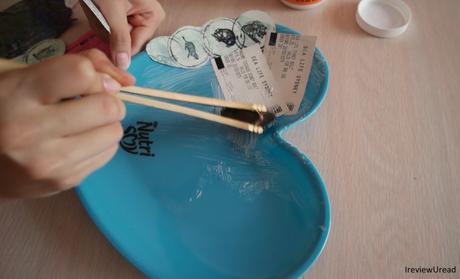
Step 1: Evenly spread out the Mod Podge
Spread Mod Podge on half or a quarter of the display plate to glue the brochures and tickets down. Do not spread too much Mod Podge beforehand to prevent any wastage - They dry quickly.
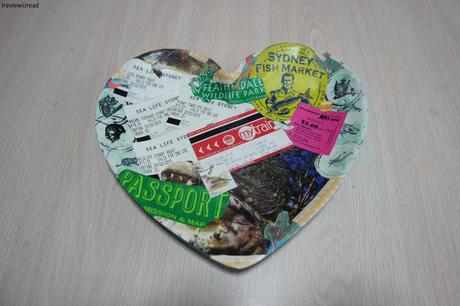
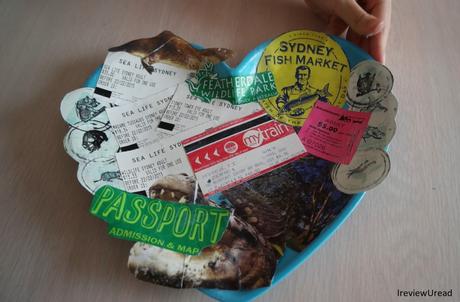
Step 2: Put 1 - 2 layer of Mod Podge on your work as the sealer
To make the display plate waterproof and to prevent your decorations from falling off, evenly spread 1 to 2 layer of Mod Podge. When it dries, it will be transparent. Then you can cut off the edges of the plate or fill in the gaps with other decorations. Spread Mod Podge at the side of the plate as well to smoothen the edges.
Another travel memento idea done. Doesn't the display plate look wonderful? This plate is not only perfect for display but you can showcase your stuff on it too. Dual purpose!
Tutorial 3: Travel Journal
- Journal
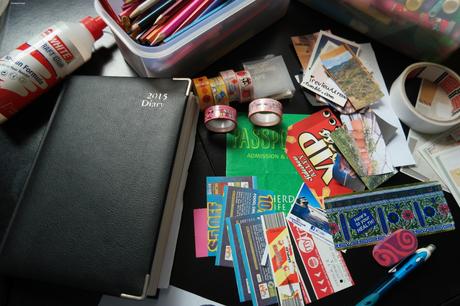
- Stationery - Glue, Scissors, pen, pencil, washi tape, stickers, etc.
- Travel trinkets - tickets, pictures from brochures
- Photos (optional)
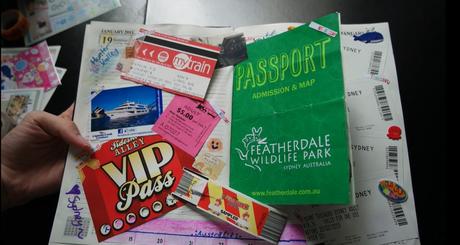
Lastly, we have the travel diary journal, also can be known as a travel scrapbook or a travel memory book. All in all, this travel book is a versatile travel scrapbook idea that can be turned into a card as well - at least the inside of a card.
Items you need:
The idea of this travel journal page is simple. As long as it fits, it shall be on it. Thus, you can put in wristbands from carnivals, tickets, drawing, quotes and even stickers. I added in 2 inserts. The bigger one, I added in with glue and it could be flipped open. While the red ticket, I added in with a pretty washi tape. Behind these add-ons, I added a drawing and a quote so that when I flip it in the future, it will have a peekaboo effect, I added in the days that I've been there to get more like a diary feel.
Express yourself, don't overcrowd the page and the travel diary or memories scrapbook will look amazing.
That's the end of my tutorials. You can watch my full DIY playlist on youtube or check out my Journal with me #1. I do hope you like them and I will be bringing to you more DIY videos in the future.

