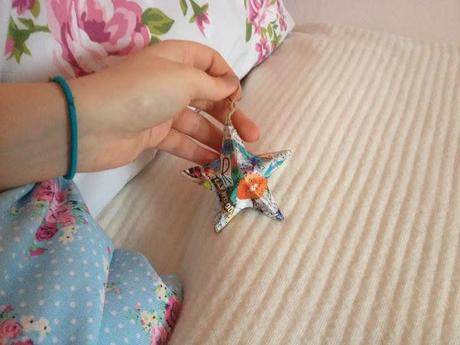
I know It's only October but really, Christmas is only around the corner and there's nothing like being prepared! I start thinking about Christmas and winter in about mid September, it's favorite time of year! Anyway, these baubles are so easy to re-create all you need is...
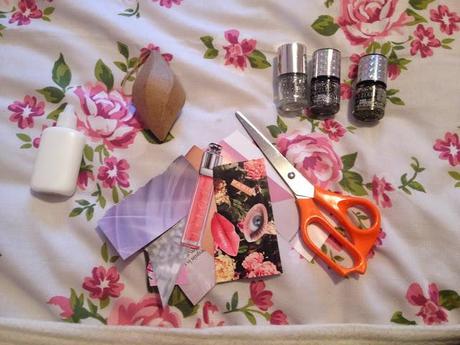
- Cardboard shape - I bought mine already in bauble form from The Range. It was only £1. If you can't find anything with a loop already attached, try and find just a normal shape, and attach a loop yourself. You could even use pretty coloured ribbon!
- PVA glue
- Magazine cut-outs- Scissors
- Glitter nail polish or glitter glue
- Paintbrush (not on above photo)
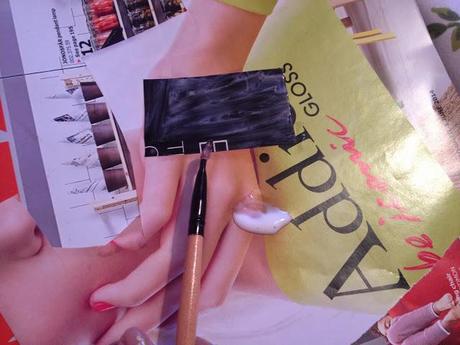
Put your desired cardboard shape on a surface you don't mind getting messy. I'm using an old magazine. Squeeze a drop of PVA glue onto your surface and use a paintbrush to spread an even layer over the bauble. This will make sure that it will stick. You should cut out a good amount of patterns for your collage. For example, in the photo above, the bigger patterned pieces of paper are for the background, and the smaller pieces are to add after the bigger bits dry. Paint a layer of glue over the back of the background papers before you stick them down.
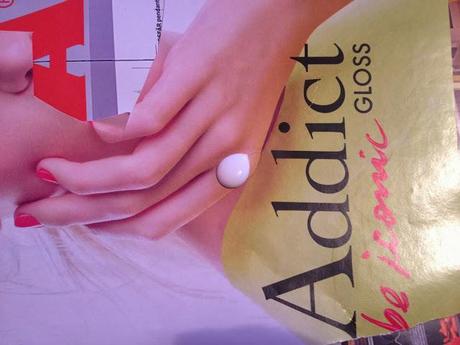
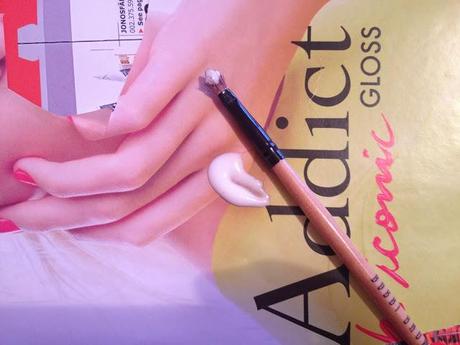
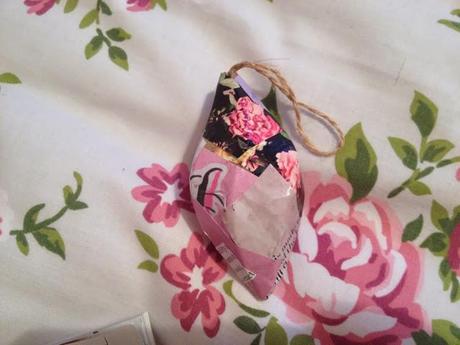
Be creative with where you stick on the background pieces. Could even cut them into shapes if you want to! Once all the background pieces are stuck on, it should look something like this...
Leave that to dry for 5 - 10 minutes. Take your smaller 'feature' cut outs. I chose a Dior lipgloss, an eye and a pair of lips, but you can choose whatever you want! Stick these in random places and leave to dry.
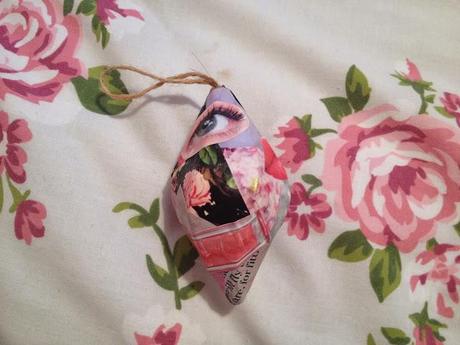
To finish, add a topcoat of a glittery nail polish or glitter glue. It doesn't need a lot. When that's dry, they should look something like this...
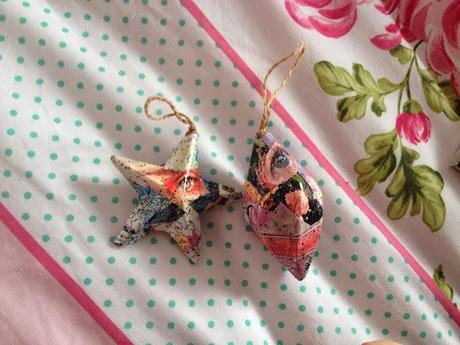
(If you're wondering, I forgot to take a picture of the finished product when it had dried, so this was taken about a week later, hence different background.)
And that's it! So easy to re-create, and very cheap and eco-friendly, as you're recycling old magazines. I know they don't look particularly Christmassy, but they will look so pretty under the lights of your tree. Since these are made from paper and nail polish, try not to let it touch any of your Christmas lights as it may not be the safest option. Hope you enjoyed the post and I'll speak to you soon!
