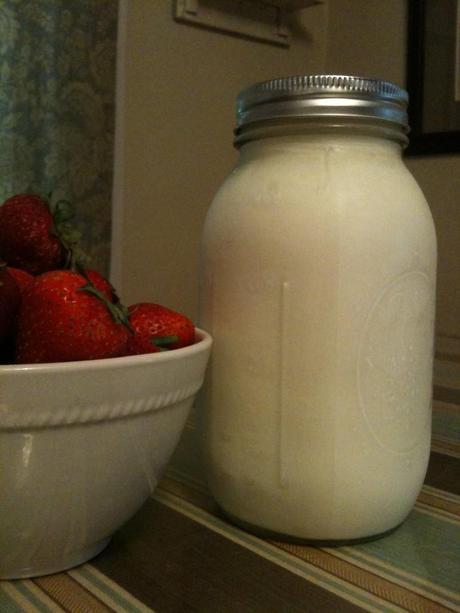
I started making my own yogurt about 15 years ago. I had a wonderful dinner at a Greek restaurant, and the highlight of the meal was a shallow dish of thick, tangy Greek yogurt with a drizzle of honey on top. While there were plenty of yogurts available in the supermarket, none of them had the complexity of flavor and the rich creaminess of this yogurt. I decided to try making my own, and found it to be very simple.
It takes overnight, or at least the better part of a day, to make a batch of yogurt, but most of it is unattended. Milk is the star of the show here, and you can vary the character of your yogurt by playing with different products. I love the added depth of flavor goat and sheep milk provide. And if you want a truly luscious yogurt you can substitute cream for some of the milk. The quality of your yogurt will only be as good as the quality of the milk you use to create it. I get mine from Ocheesee Creamery, a local producer that uses low temperature pasteurization.
Homemade Yogurt: Yields 4 quarts
1 gallon milk
16 ounces plain yogurt
4 quart size sterilized jars
1 ice chest or cooler that will accommodate the jars
Heat the milk to between 170°-180°F, stirring as necessary to prevent burning. If the milk is heated to more than 180° it may become bitter tasting.
Turn off the burner and remove the pot from the heat. Continue to stir until the bottom of the pot is cool enough to keep it from burning the milk.
Once the temperature of the heated milk reaches 105°-110°F, mix the plain yogurt until it is pourable, and add it to the pot of warm milk. Stir until the yogurt and milk are well combined, then pour the milk mixture into the sterilized quart jars.
Place the jars into the cooler. Pour water that is approximately 110°F into the cooler around the jars until it is about halfway up the sides of the jars. Place cling wrap over the containers to keep water from dripping into them from the top of the cooler. Put the top on the cooler and let the jars sit for about 6 hours. If you want a yogurt that is more tangy, let the jars sit longer (up to 12 hours), adding more hot water at 6 hours to keep the heat stable.
After 6 hours remove the top of the cooler. The yogurt should have set. There may be pale yellow whey at the top, which can be poured off or mixed in. Cap or cover the jars and refrigerate them for up to 2 weeks. You can used this yogurt as a starter for the next batch if you make it within the next week.

If you choose not to remove any of the whey you will have a lovely tangy yogurt that is slightly softer than most commercial varieties to enjoy with fresh fruit and a drizzle of honey or a dollop of jam.
To read more of what and where I am eating and drinking, follow me on Twitter @colleensachs.

