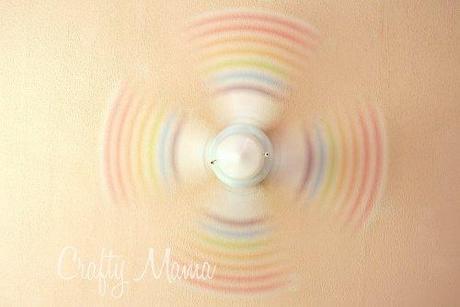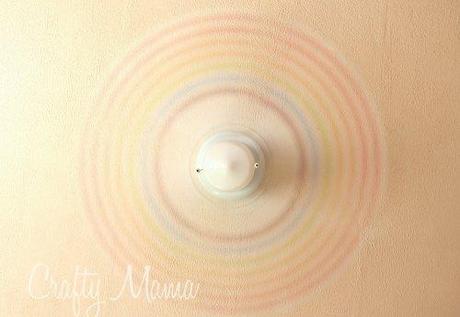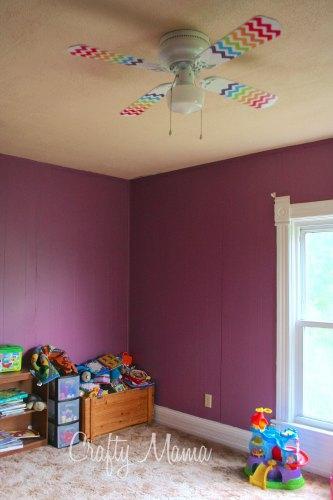
I’ve been wanting to do this project for a while. It’s seriously been on my to do list ever since I saw this on Pinterest. My daughter LOVES rainbow though, so I had to do it a little different. I posted some photos of this on Facebook and got a huge response, so I’m sharing all the details with you today!
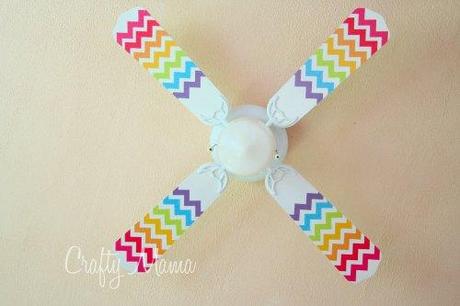
There are a few different ways you could do this. Washi tape (never tried it, but I bet you could make it work!), vinyl decals, paint (you would need to cut out a stencil or use painters tape to section it off, or I suppose you could just free hand it if you’re really brave!), or scrapbook paper and Mod Podge, like I did.
I cut out my design using my Silhouette Cameo (here is the free file if you’re at all interested! Just adjust how many rows of chevron you need, which will be how many blades your fan has, and cut the design out of each color. I was able to fit 4 sets of 4 on my page to cut, and just placed 4 colors of paper onto my mat.)
If you’re using paint, you can cut your design out of vinyl, contact paper, or cardstock, and use the design as stencil.
If you’re using vinyl, just cut your design out of vinyl and apply it. If I had all the colors I needed, I would have gone the vinyl route!
I decided to use scrapbook paper and Mod Podge. I didn’t want the hassle and mess of the paint. It turned out a little bit iffy (I didn’t use enough Mod Podge for adhesive and ended up with bubbles and wrinkles), but over all, I think it looks awesome!

Start out with a clean surface. Emma’s fan was a fake and faded laminate wood, so I painted it white. All I had to do was disassemble the fan (thanks to my hubby!), sand it (which was a breeze with his electric sander), wipe it clean, and spray paint it. If you’re not painting, I would suggest wiping down the blades really well using windex and paper towel.
Cut your design out of scrapbook paper using your Silhouette.
Brush an even but thin layer of Mod Podge over the back of the scrapbook paper, coating it thoroughly. Place it where you want it on the fan blade (I measured to make sure it would be even, and lined my blades up so I could ensure they would all be exactly the same.) As I found, if you don’t cover it entirely, you get bubbles and wrinkles. It’s been a long time since I’ve broken out the Mod Podge, clearly my skills need a little polishing! Let it dry entirely (if you don’t, you will end up with even more wrinkles).
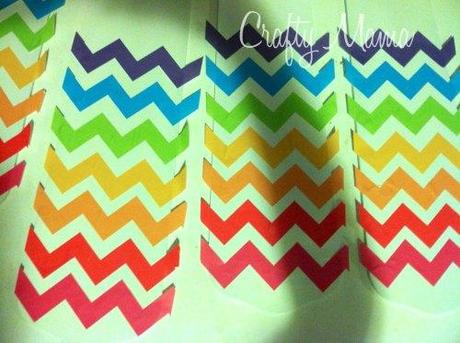
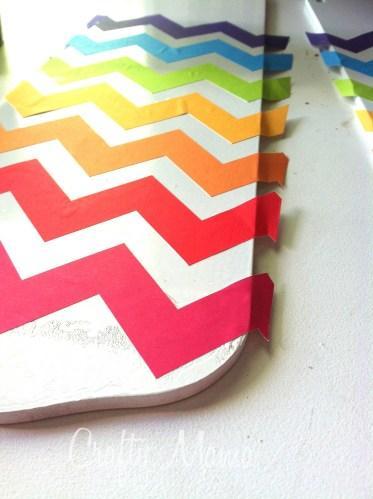
Once the Mod Podge is dry, you need to cut off the excess. I purposely made my chevron pattern a little longer to ensure my stripes were wide enough. To cut off the extra, take a nail file and file the edge. This will cut it off perfectly, leaving you with a smooth edge.

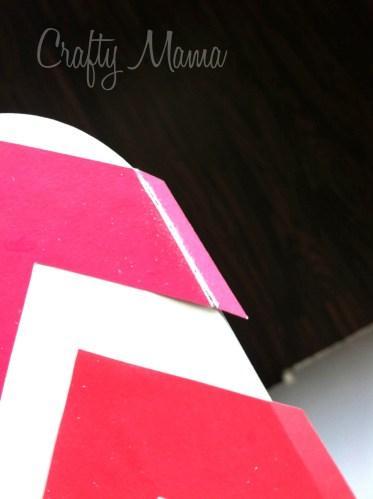

Once it’s dry, brush a nice even layer of Mod Podge on top of the scrapbook paper. This will seal the scrapbook paper in and prevent peeling.

Reassemble, and admire your work. This project didn’t take long at all (why did I put it off so long?!). I started it in the evening one day, and had it finished the following morning (working on it off and on because of drying times). It was really easy, and it seriously brightened up her room! I can’t wait to get a little bit more rainbow decor for her bedroom! I hope you liked my tutorial, feel free to share it (with credit given in link form) or pin to Pinterest!

