Alright, we’ve been here almost a month. I think it’s about time I get back into the blogging world! We closed on our house at the beginning of February, and we’ve been going going going ever since. So far we’ve ripped up the carpet downstairs, laid down new floors, painted trim upstairs, ripped out a big closet to make our dining room, and on top of that, we’ve been painting. The house is coming together little by little. And when I say little, I mean LITTLE. Every inch needs something. The floors, the walls, the ceilings. It will take years to get it all done. Some projects are cheaper, while others are a huge chunk of change. Every wall in the house (excluding the recently remodeled bathrooms and kitchen) are covered in wood paneling that’s been painted over. It’s in terrible shape. Things are peeling and chipped, and it looks like it’s been up there since the 70′s. So that means we get to re-drywall every room in this house. I really wish it was simple, but it’s not! Unfortunately we have limited time and a limited budget, so it will be one room at a time, little by little.
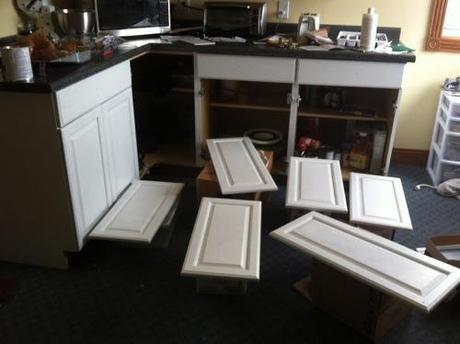
I’m currently working on painting the kitchen cabinets. They’re builder grade oak (they look quite new), but they didn’t quite go with the style I was looking for. I’ve always dreamed of beautiful white cabinets, so I’m tackling it with Cabinet Transformations by Rustoleum. I’ve heard really good things about it, so I decided to go for it. The kit is $70, which is pretty darn cheap for a whole new cabinet look! No sanding required. The kit doesn’t come with brushes though, so that’s up to you. I suggest buying a new brush set to get a really nice finished. I ended up using a foam roller (again, I’ve heard really good things about it!) and I’m loving the look it gives. I’m a little disappointed with how many coats this is taking. The box suggests using 2 coats of paint, but it’s REALLY spotty. I’m doing 3-4 coats in some areas. I’ll do a separate update on all of that though.
In the kitchen I’m also hoping to replace the counter tops. We have a large L shape under the windows that has no counter top, and I’d really like to finish it off, with some shelves underneath. I’m really big on my baking, so I need lots of counter top space. I’d like to eventually add an island, but I’m not sure our kitchen is wide enough for that. I found this neat inspiration for wooden counter tops on Pinterest, so I really want to try it! I priced it out and it should be less than $100 for new counter tops in the entire kitchen. CHEAP! I love how they used lots of small planks to give it that butcherblock look. I love the butcherblock look, and love the price of this project.
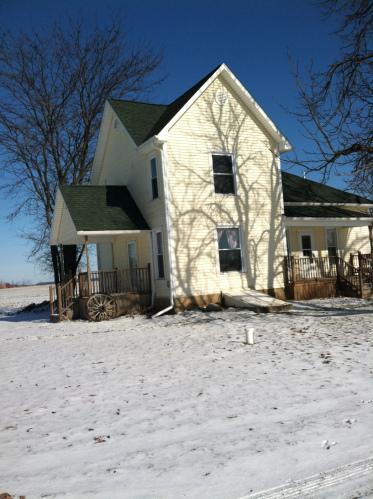
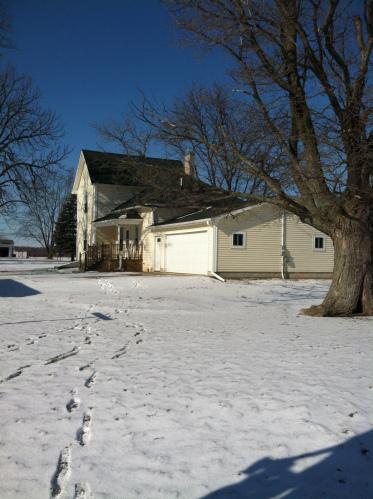
So let me take you for a tour of our new house! This is the outiside. It’s a cute little old farmhouse, built in 1900. It’s good and solid, and in excellent condition. The previous owners loved this house and took great care of it. Lucky for us! The only things we’re changing are the cosmetics.
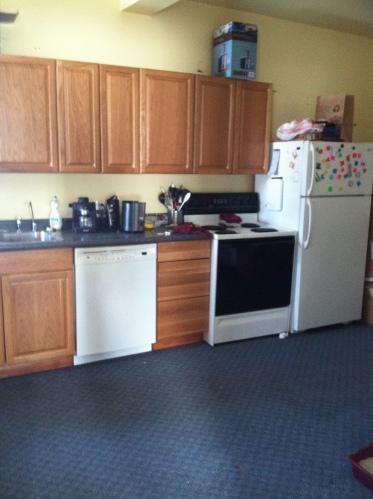
This is the kitchen. Carpet, builder grade oak cabinets. It speaks for itself. We’re in the middle of a kitchen remodel which includes new floors next week, new paint on the cabinets (in process now), and then a new wall color. I’m hoping to go with plum, but I’m a little scared it’s going to be too bold!
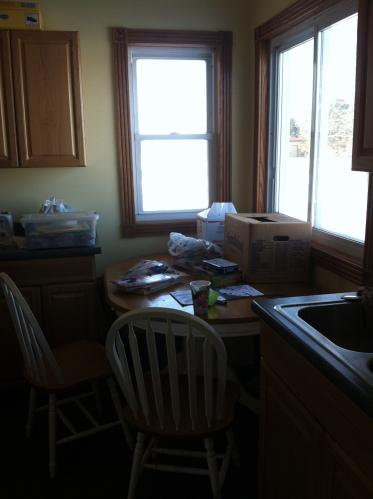
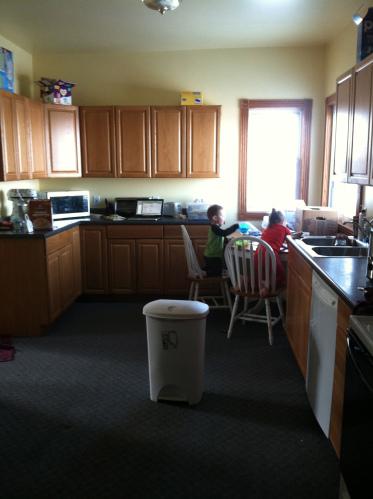
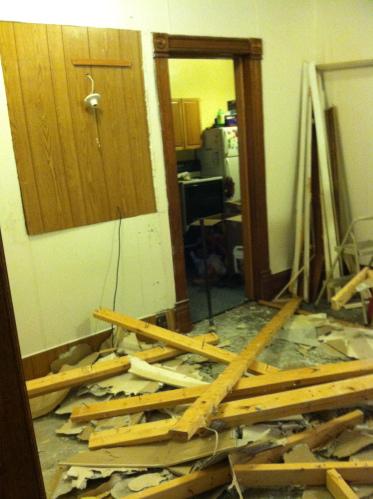
The corner with our table is eventually going to have countertops covering it, along with some nice shelves underneath. The only reason our table is there is because when we moved in, there was no dining room! We knocked out the large closet in the entry area to create space.
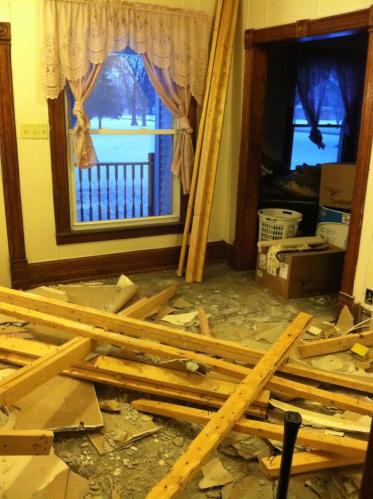
This is the dining room space. It used to be a closet, we knocked that down. Now the floors are complete and it’s looking much better! The walls need a little work, don’t you think?
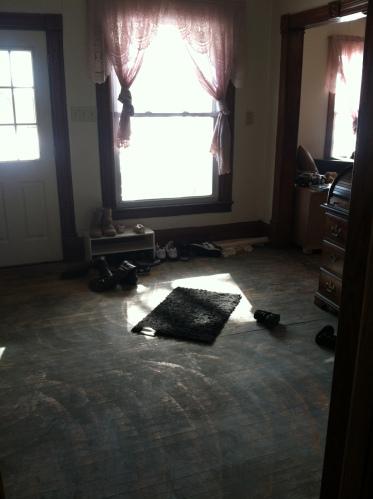
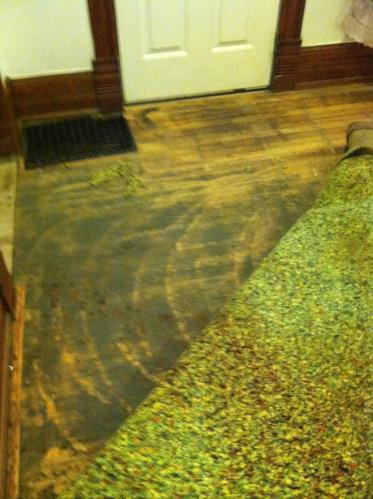
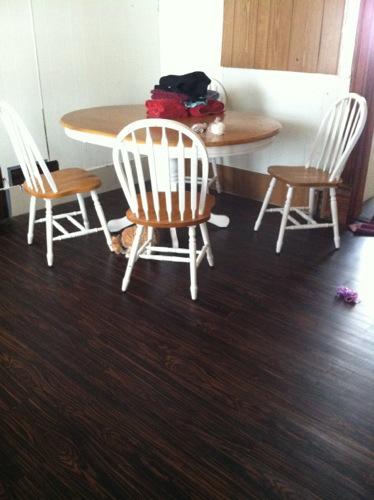
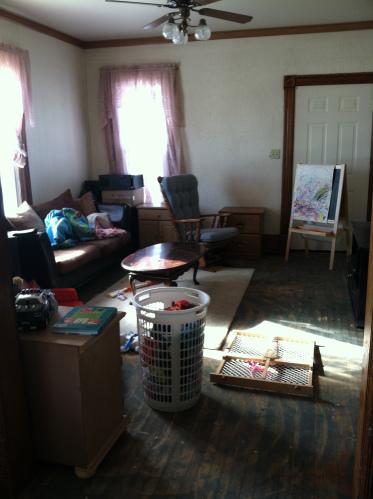
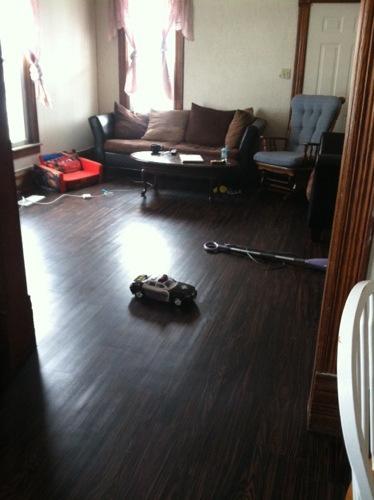
The floors underneath the carpet were in pretty bad shape! They’re looking much better now with the new Resilient vinyl planks!
Bathroom one after a coat of paint.
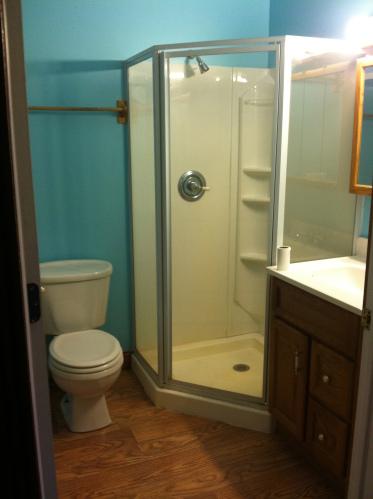
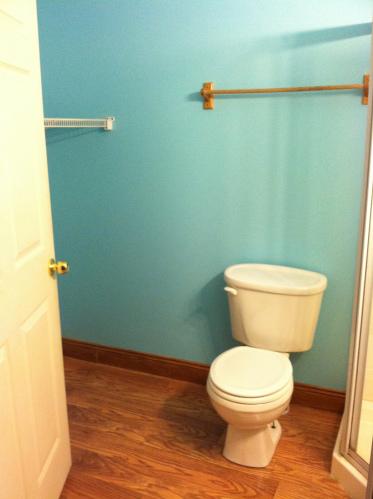
Bathroom number two before and after.
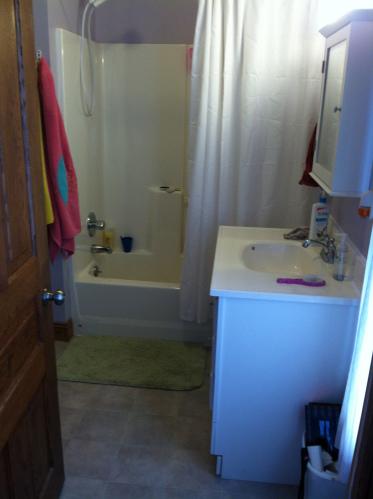
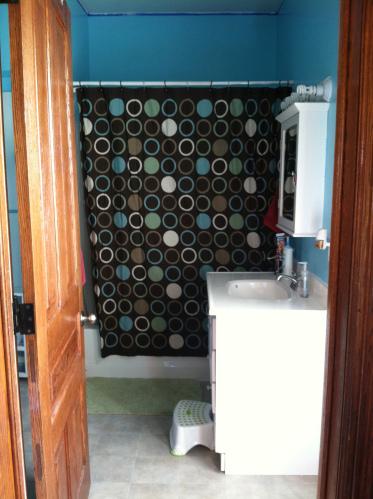
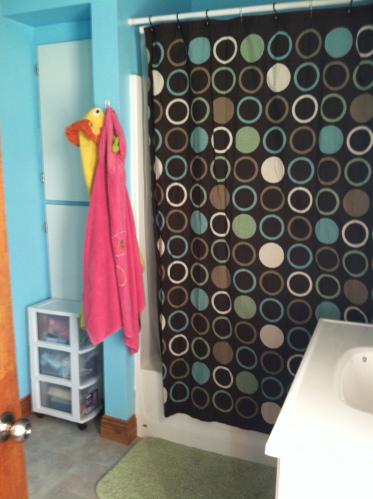
Living room before, and after.
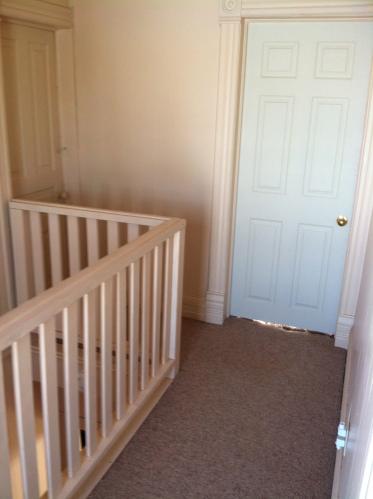
The entire upstairs is covered in peach paint. The ceiling, the trim, the walls. This is one of the last things on the priority list since not a lot of people see the upstairs. I painted the trim white (since it’s staying where it is), but haven’t bothered touching the walls since we will re-drywall in a couple years.
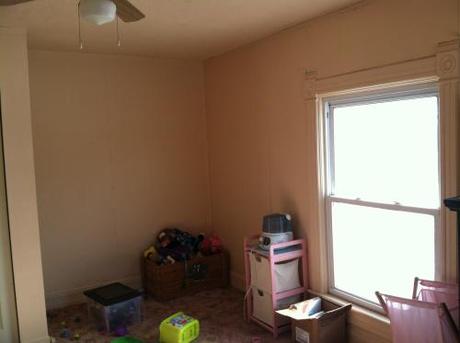
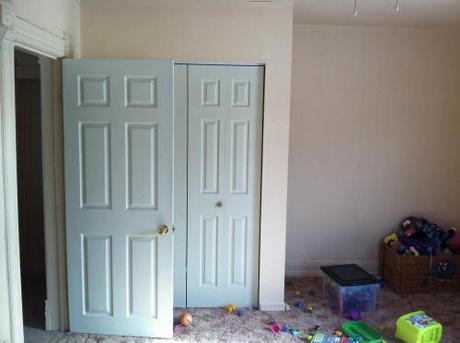
And of course there’s more wooden paneling!
This is the Pooh Bear room. It came, um, pre-decorated.
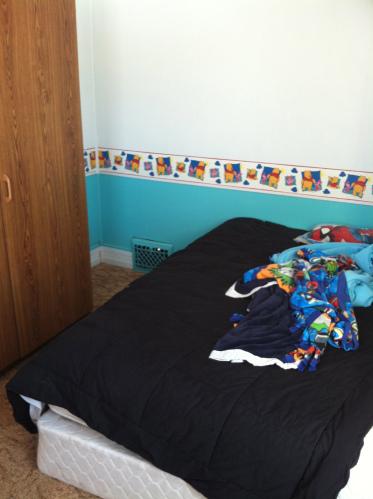
Again, it’s more wooden paneling, so it will be like this for a few years before we tear it out.
This is the attic space. In about 2 months, it should be a bedroom! I can’t wait.
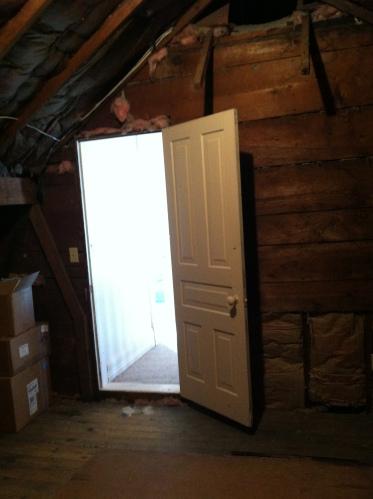
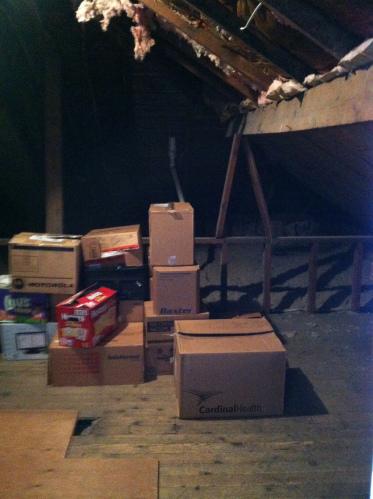
I’m really excited to start posting progress pictures! I’m currently working on the kitchen, so that will be the next thing you see!
