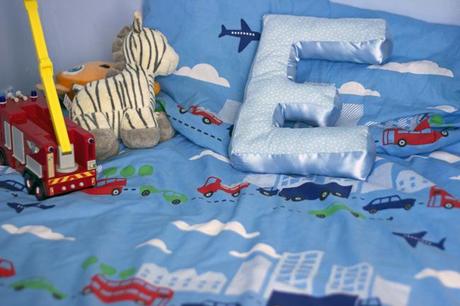
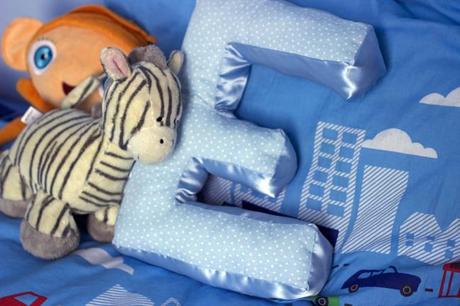
 Finally getting my sewing machine fixed I wanted to make something cost effective using items I already had and after having a whole bunch of wading left I decided to make a personalised monogram cushion for Ewan's bedroom. So if your looking for a unique present or just something for around the house then follow my easy step quid to creating this cushion.
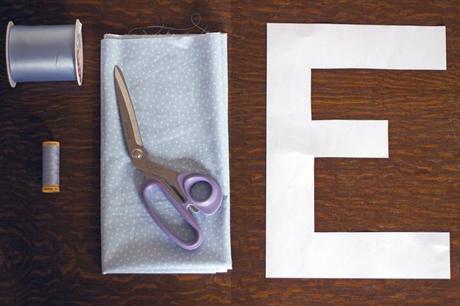 Supplies Needed :
- A template
- ½ meter of chosen fabric
- 7.5cm x 3m Ribbon
- Thread in similar colour
- Fabric Scissors
- Pins (Not Shown)
- Wadding (Not Shown)
- Sewing Machine (Not Shown)
- Sewing Needle (Not Shown)
The template was easily drawn out by hand filling the whole piece of A4 paper, but can also be printed off the computer making sure to fill the page. I couldn't buy anything less than half a meter of fabric so you will have plenty left over, but if you want specifics you will need to allow yourself 2x your template with added seam allowance. For the 3D part I chose to use a contrasting ribbon for ease when sewing and it saves me cutting out a long bit of fabric bonus!! Fabric sheers aren't necessary but thats what I have in my needle box and finally the wadding I had was left over scrap from other projects so I ended up using about a meter x meter to fill the cushion.
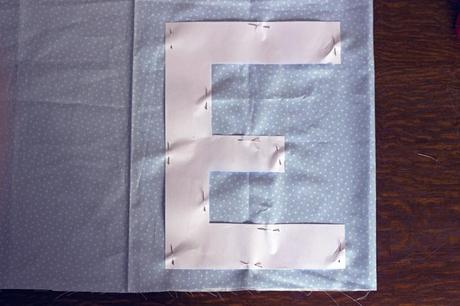
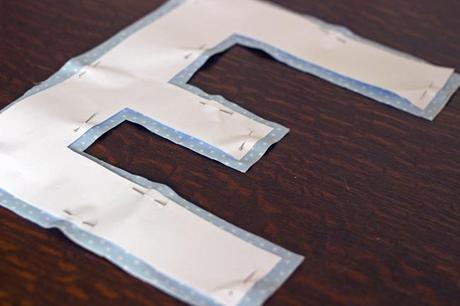 Fold the fabric in half wrong sides together and pin down your template the right way up leave enough room all the way around for seam allowance. If your not confident cutting by eye then using a ruler draw around the whole shape with a 1CM space to allow for sewing. Cut out your pattern piece and you should have something similar to the above picture.
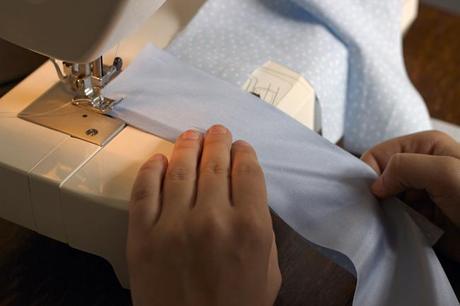
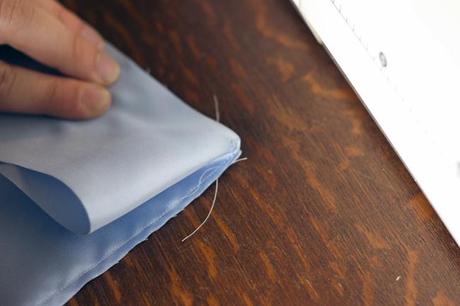
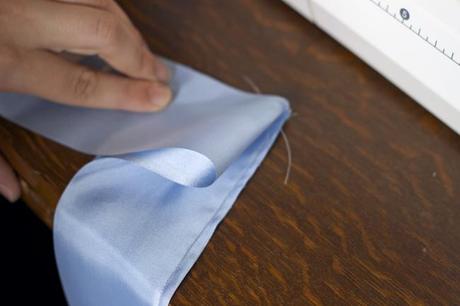
Start off somewhere where the hand sewing later won't be seen that easily, I started off in the bottom left hand corner. Place the ribbon on top of the first pattern piece right sides together leaving a cm overlapped at the top to allow for hand sewing later. Carefully sew down the one side until you have reached the corner. Remove the sewn fabric pieces from the sewing machine and with a fold manipulate the ribbon so that the edge of the ribbon you are sewing follows around the letter edge - this might be a bit tricky so use pins wear necessary to hold in place when you sew. Continue all the way around repeating the steps above for each corner until you end up back where you started. Once finished place the sewn pieces on the table the right way around. Take the other cut out letter and place on top right side down making sure you have the pieces the correct way before sewing. You can check this by simply pinning beforehand and tuning the right way to make sure. Starting from the same point sew the other side of the ribbon to the second letter right sides together and follow the same steps as before.
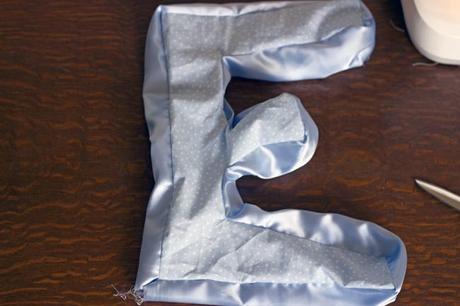
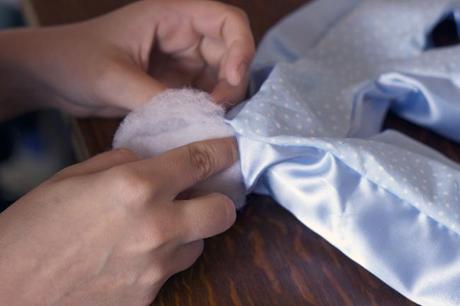
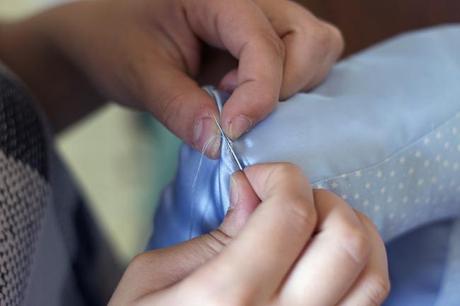 Once your back to the starting point, cut off any excess ribbon remembering to leave a cm seam allowance and pull the fabric through until the correct way around.. You should have something that looks similar to this above. Now tear off parts of wadding and fill. Once satisfied with the fullness carefully and neatly hand sew the open seam until secure. Voila! you should now have your finished cushion. Leigh xx