It's been a bit difficult finding inspiration lately. My mind's kind of been bouncing off everywhere and not really focusing in anything. I've been baking, but only tried and true recipes that I've made before. I hadn't tried anything new for a while.
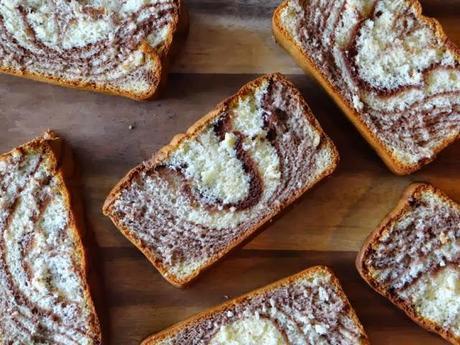
Thankfully, I finally have something new to share! This is a Castella cake. It's been making the rounds on food blogs and I've seen a million variations. It was this gorgeous cake, though, that made me finally snap out of my baking rut and try something different.
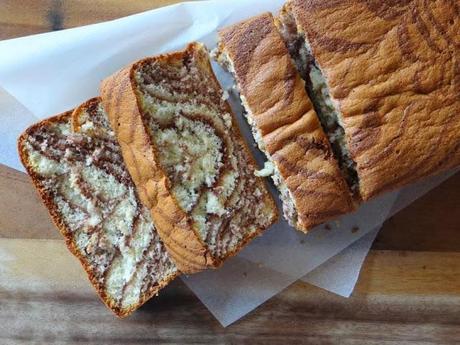
A Castella cake is a type of Japanese sponge cake made primarily out of flour, eggs, sugar and honey. Its texture is similar to that of a Japanese cheesecake: cotton-soft and melts in your mouth. This cake is not one of the heavier, butter-based varieties, but more like this cake. The eggs provide all the lift so it's vital that you beat them long enough.
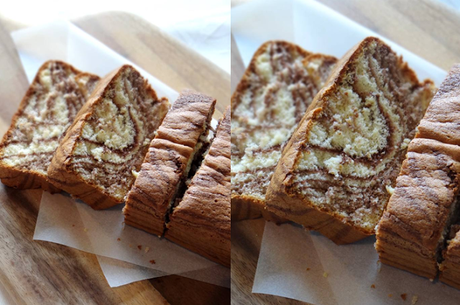
I had planned to follow the original recipe exactly and flavor it with green tea. However, after spending 10 minutes digging out my long-untouched tin of matcha powder and opening it, I found that it'd all gone brown. Ahem. So I chucked it in the bin and went for the never-fail Plan B option: chocolate. You can't go wrong either way.
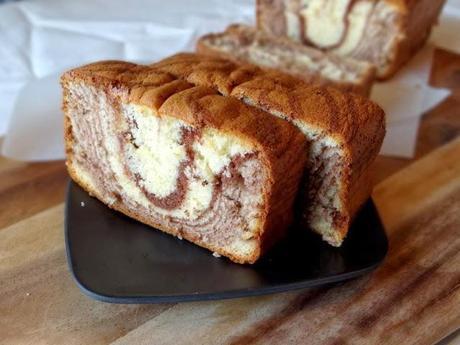
The original recipe says to wrap it in cling film and store it in the fridge overnight to let the flavours develop.
Yeah, right.
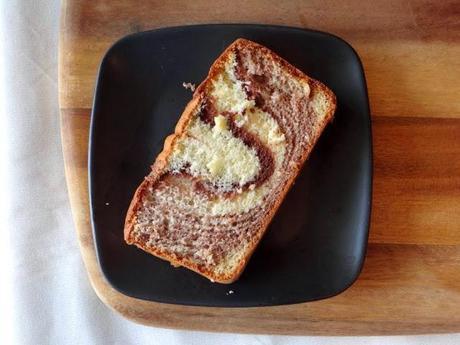
Marbled Chocolate Castella Cake Adapted from Anncoo Journal Makes 1 standard loaf
Note: OK, I may have under-baked my cake a little, only because I was paranoid as to not over cook it. The crust should be a little sturdier, and this might have something to do with the fact that the original recipe called for bread flour and I only had plain on hand. That said, I kind of like it softer as well - reminds me of a chiffon cake. And don't worry about getting the marbling effect perfect. It's all about the taste.
5 eggs, separated 120g caster sugar 100g plain flour (or bread flour, if you have it) 2 tbsp honey mixed with 2 tbsp hot water 1 tbsp cocoa powder (I used Dutch-processed) mixed with 2 tbsp hot water
Preheat your oven to 160C/320F. Line and grease your loaf tin (you have to line your tin here, even if you're using nonstick, because this cake will stick like crazy).
Beat the egg whites until foamy. Gradually add in all of the sugar, beating until stiff peaks form. You should be able to hold it upside down over your head.
Sift the flour into the egg whites and beat until incorporated. Beat in the honey mixture.
Strain the cake batter into a large bowl (yes, all of it) to remove any lumps. Weigh out 120g into a separate bowl. (I did not measure this in cups. If I had to guess, I'd say it was around 1.5 cups of the batter, but please use a scale.) Fold the cocoa mixture into the smaller separated batter.
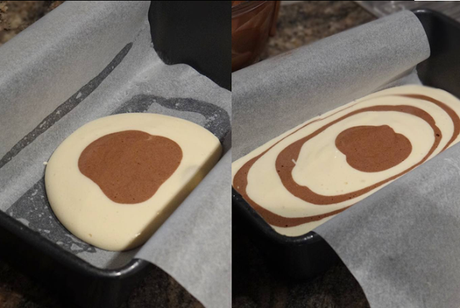
Now for the fun part. Scoop four tablespoons of plain batter into the bottom of your loaf tin, staying at the center. Then put one tablespoon of the chocolate batter into the middle of the mixture, so it looks kind of like an egg. Then add another four tablespoons of plain batter, keeping to the center at all times. Alternate the plain and chocolate batters until it's all used up.
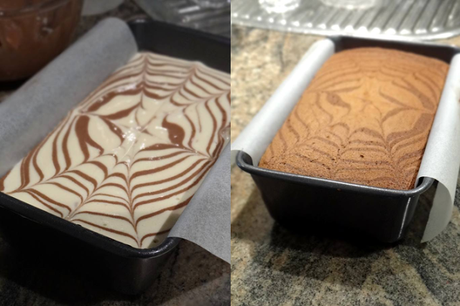
Using a toothpick, draw a spiderweb from the center of the cake batter. Bake the cake for 45-55 minutes, or until a skewer comes out clean.
Drop the cake, still in the loaf tin, from about one foot height onto the counter top or a firm surface. This is to prevent it from shrinking on cooling.
Let the cake cool a little, then take out and let cool on a wire rack. The original recipe suggests you wrap the warm cake in cling film and store it in the fridge overnight for the flavours to develop and to retain moisture.
I say dig in.
