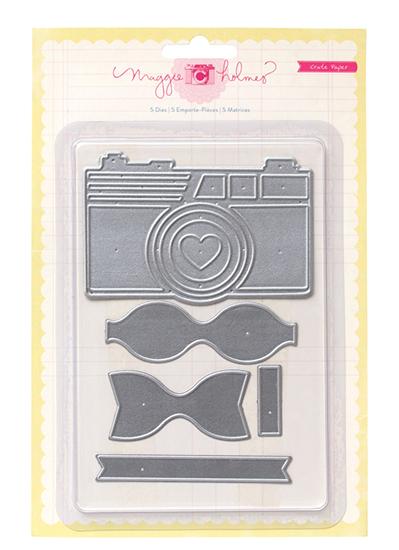
 This is a wafer die that you can use over & over and works with most die cutting platforms.
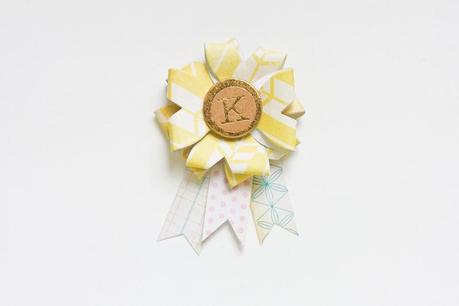 Here is the prize ribbon that we are making today. Cute, rite?
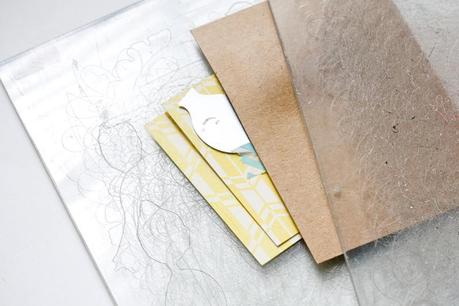 The above picture is to show you how I arranged my plates and papers that I rolled them onto my Big Shot die cut machine. For the prize ribbon, we are using the base of the bow. You'll need 4 pieces to assemble.
 TIP: To secure the die onto the patterned paper, I used washi tape. Here I cut two papers at one go. Just be sure you roll it a couple of times before you remove the plates.
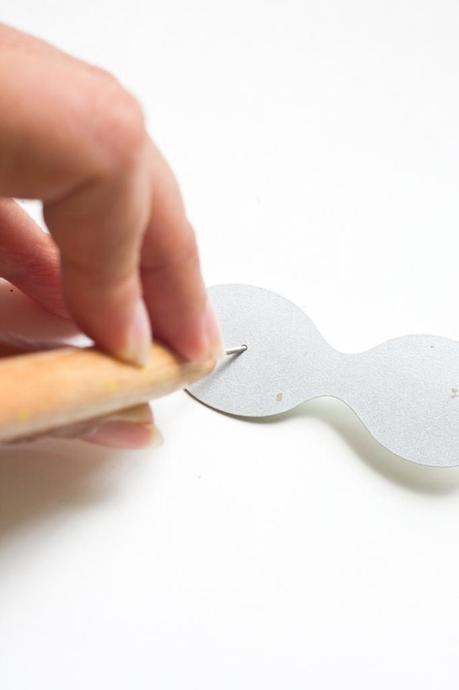
TIP: The papers will get stuck onto the die. What you have to do is to use a piercing tool / needle to gently poke thru the little hole to release the papers.
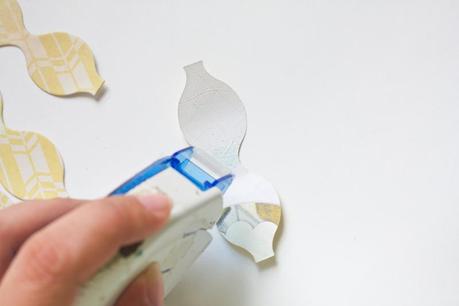 Next, apply adhesive in the middle of the piece.
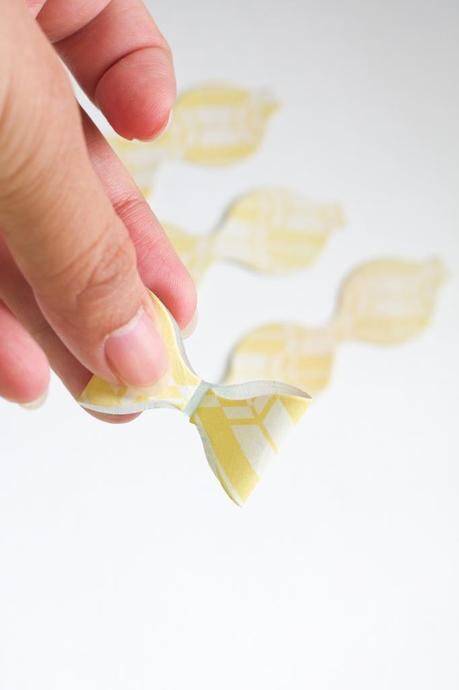 Fold each end inward to form a bow.
 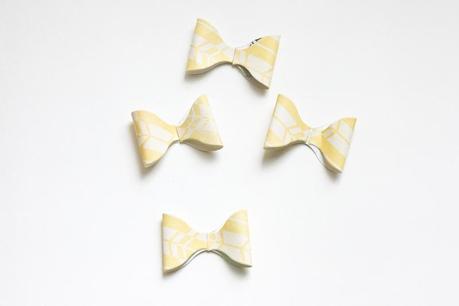 Here is what it will look like.
 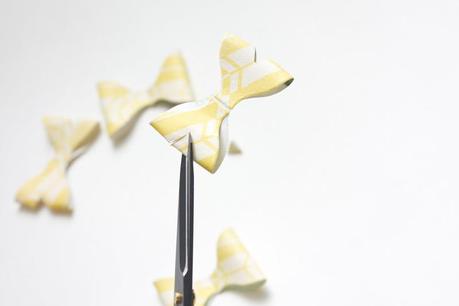 Next, snip a 'v' at each end with a precision scissors.
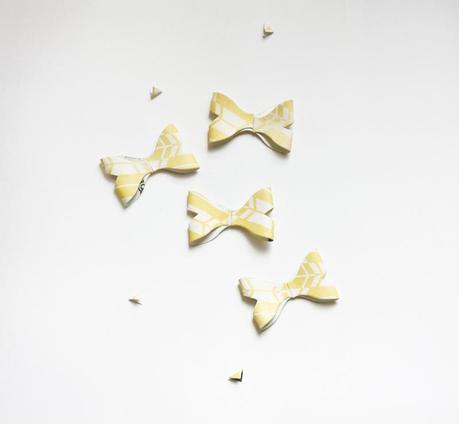
Here is what you will get.
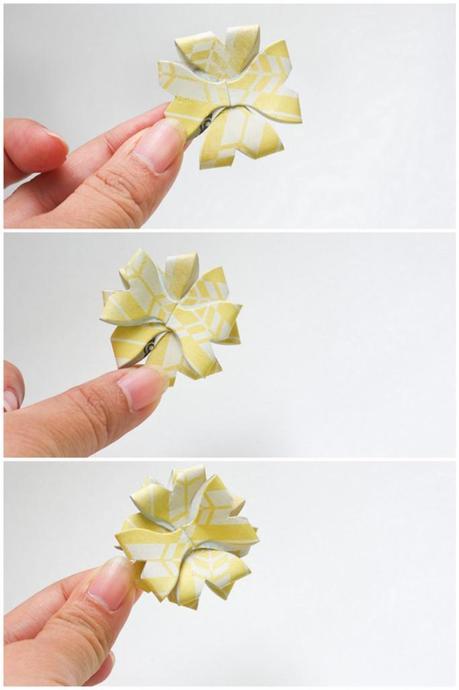
To form the prize ribbon. You'll need to arrange a 't' with the first two bows. Then, you overlap by crossing the third & the fourth pieces on each other.
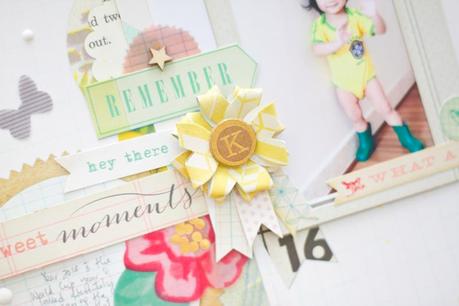
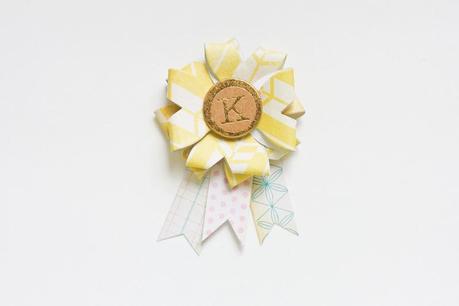 Ta daa... here is the completed prize ribbon. I added the alphabet sticker 'K' in the middle and cut 3 pieces of paper ribbons and added them at the bottom of the rosette.
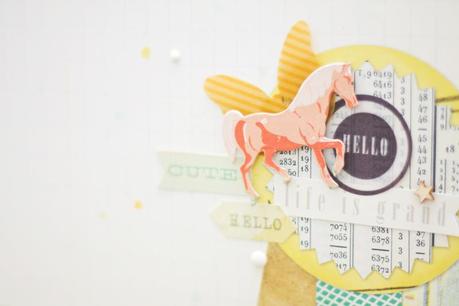
 Here is a look of my completed layout. 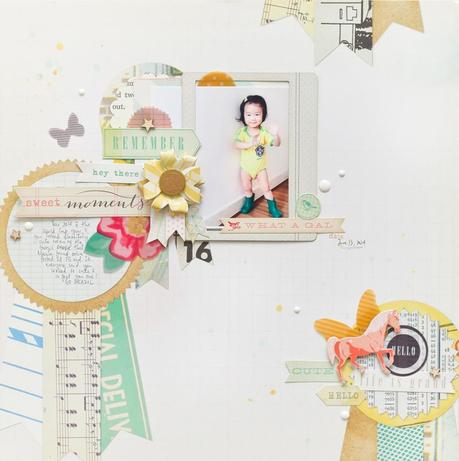
Once again, thank you for letting share with you today! Happy crafting!
Xoxo Jessy
Supplies used:
Maggie Holmes Styleboard Background Build Page
Maggie Holmes Styleboard Inspiration Paper
Maggie Holmes Styleboard Cardstock Stickers
Maggie Holmes Styleboard Die set
Maggie Holmes Styleboard Frames
Maggie Holmes Styleboard Roller Date Stamp
Maggie Holmes Styleboard Vellum Shapes
Maggie Holmes Styleboard Chipboard Shapes
Maggie Holmes Styleboard Thickers - Chipboard
Maggie Holmes Signature 6x6 paper pad
