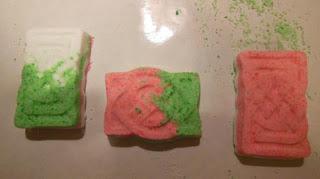
Maybe not the prettiest example, but a nice gift nonetheless!
What you Need:
The Ingredients:
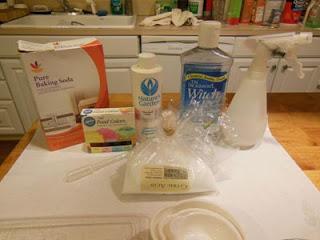
Baking Soda / Sodium Bicarbonate (this helps soften the skin) - found at the grocery store
Witch Hazel - available wherever you find pharmacy supplies; you'll want to put this in a spray bottle (I purchased mine at Target)
SKIN SAFE Fragrance Oil or Essential Oil (assuming you want them scented) - this MUST be skin safe. Try checking the soap supply aisle at the craft store, or you can check any store that sells aromatherapy products. I believe Whole Foods has skin safe essential oils. Whatever you choose, just make sure it is SKIN SAFE!!! A few online suppliers I have used are Nature's Garden Candles, Peak Candles and Wholesale Supplies Plus.
Gel Food Coloring (optional, if you do not want them to be pure white)
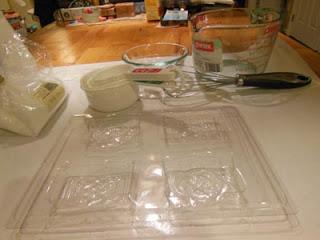
Some sort of mold - the best would probably be a soap or candy mold that should be available at your local craft store
A Bowl to mix everything in
A Whisk (optional - you can use your hands as well)
The Recipe:
You will use 1 part Citric Acid to 2 parts Baking Soda. Fragrance, Color and Witch Hazel are dependent on desired end result and the climate in which you live. So here is a sample recipe that will make approximately 8 bath bombs (I used 1/2 of this recipe for this demonstration):
1 cup Citric Acid 2 cups Baking Soda 18mL (about 6 droppers full) Fragrance Oil or Essential Oil Coloring (to desired appearance - keep in mind that too much will color the water and, possibly, the tub!) Witch Hazel (varies)
The Process:
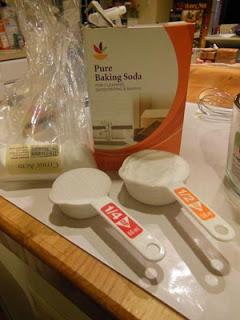
1/4 cup Citric Acid & 1/2 cup Baking Soda
First, you may want to cover the work space with wax paper or a plastic tablecloth. Next, simply mix the Citric Acid with the Baking Soda until it is well blended (if doing this by hand, you may want to wear gloves to protect your nails - it can be rough on a manicure, but can soften hands!). You can mix with a whisk as well. Make sure there are no clumps! You can also use a sifter to ensure the clumps are gone if you'd like. Clumps will create "craters" in the finished product. It doesn't look as pretty, but it will not be harmful in the bath bomb either.
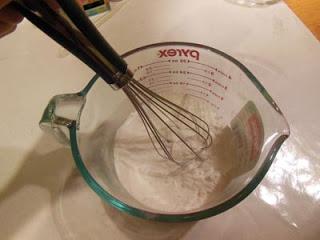
Mix well
Once these 2 ingredients are mixed, add your SKIN SAFE fragrance oil or essential oil - try not to just dump it all in one spot - and stir it into the mixture. It may fizz a bit when you add the liquid, but a little fizzing or bubbling is normal.
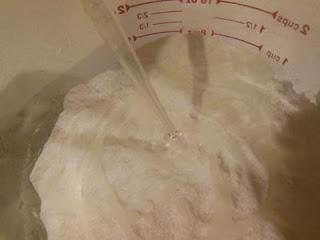
I added "Toffee Apple Crunch" from Natures Garden Candles
with a disposable eye dropper
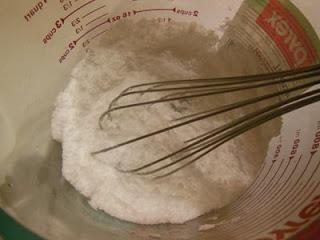
After the fragrance is well blended into the mix
At this point, separate the mixture into 1 bowl for each color you'd like to use. Add the food color to each bowl and mix. The food coloring may also cause the mixture to fizz a bit, but this is normal. Be careful not to use too much coloring because it can stain skin and the tub if an excessive amount is used - I think it takes quite a bit though. It can color water easily though.
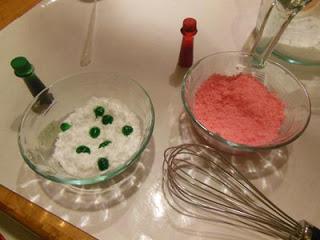
You can see a bit of fizzing in the green food coloring - this
is normal
Now, it's time to check the consistency of the mix. You want something similar to wet sand. Grab a handful of it and squeeze gently. If the mixture holds together pretty well, it's probably ready to mold. If it is loose and crumbles, you will want to add a bit of the Witch Hazel (make sure it is in a spray bottle that will create a fine mist). The amount of Witch Hazel needed will vary greatly depending on the humidity in your area - the more humid, the less you are likely to need. Keep checking the mix and adding more Witch Hazel until it holds together relatively well. Now you're ready to press into molds!
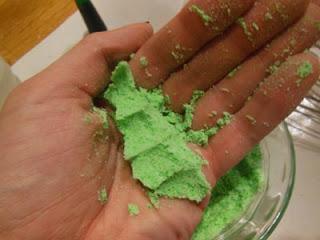
Proper consistency (I didn't need to add any Witch Hazel)
Simply sprinkle the mixture into the mold in whatever manner you would like. Once the mold cavity is mostly full, use the palm of your hand and your fingers to tightly press everything into the mold. Make sure to get the corners as well! Make sure the mold is filled as close to the top as possible to ensure that the bath bomb will release easily and in once piece. Add more of the mixture if necessary.
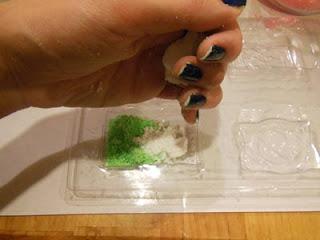
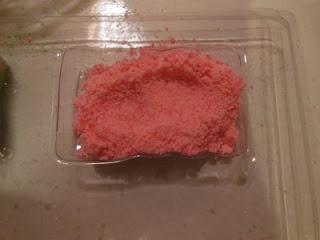
Sprinkled mixture
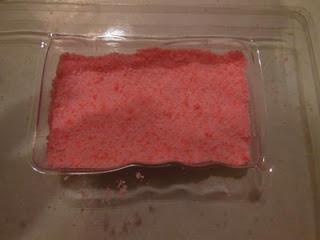
Quantity of mixture shown above, but now it's pressed down
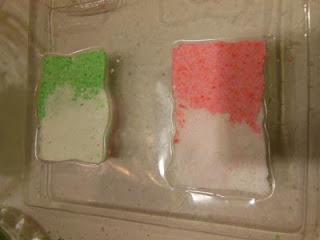
Molds filled to the top
Once the mold is adequately filled, set it aside for 5-10 minutes. After this waiting period, you're ready for the unveiling! :)
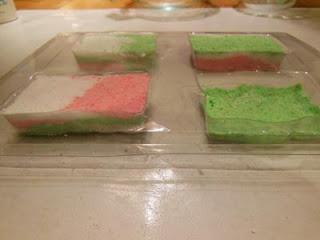
Note: The front right cavity is not full enough & will likely
crumble when unmolded
You may want to put down some wax paper or paper towels on a flat surface to help contain any crumbs. Turn the mold over close to the flat drying surface. Try to cover the cavities furthest from the flat surface while doing this to prevent them from falling out and breaking. Once you've flipped the mold, you can uncover all of the cavities and very gently tap on each cavity until the bath bomb pops out! If one crumbles, you can return it to right consistency with the Witch Hazel and then quickly try to pack the mixture back into the mold. Let it sit for another 5-10 minutes, but it may be a lost cause.
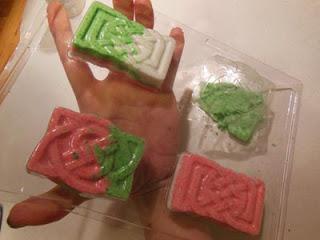
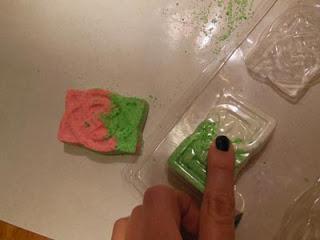
Let them sit undisturbed for about 4-6 hours so they can dry. Now you have a number of bath bombs ready to package and give away as little handmade treasures!!! (These will be quite fragile, so handle them with care until use.)
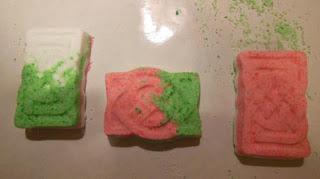
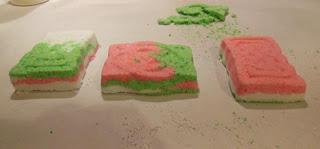
I hope you enjoyed this and let me know if you'd be interested in more posts like this!

