I wanted to personally hand-make as many details as possible for the wedding, I’ve always been quite crafty and enjoy anything hands-on, and what better way to make your wedding day as personal as possible?
The first thing to create was obviously the invitations and RSVP cards; I looked at a lot of professionals’ work, craft websites, how-to’s and DIY ideas for inspiration (the Martha Stewart Weddings website is amazing and provides free print-outs for tonnes of designs), but wanted to keep it quite simple… and also would have up to 100 of some pieces to make!
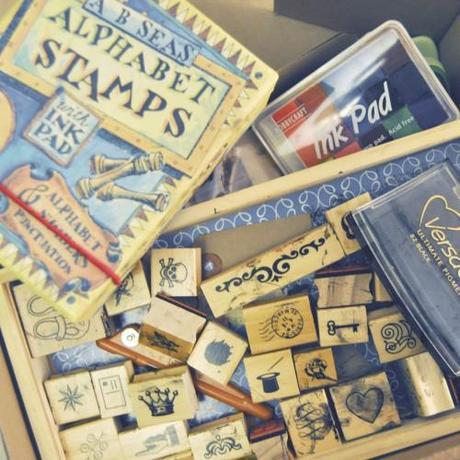
First port of call was, of course, Hobbycraft (my Mecca) and picked out a few bits to get me started and to experiment with, I bought some patterned scrapbook paper, glue, ribbons, lace, buttons and some card blanks. One problem, my hand-writing is abysmal, how could I make what I wanted and make it look half decent if it looks like I’d written ‘wedding invitation’ during some sort of turbulence? I stumbled upon the idea of alphabet stamps, I discovered the perfect set at Cox & Cox and bought them immediately, along with the ‘dingbats’ collection of picture stamps; it also meant that I can use them for every piece I make to ‘tie in’ all the designs from RSVPs to ‘orders of service’.

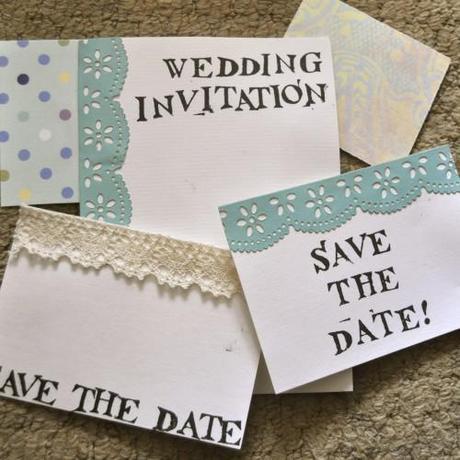
Below are my first experiments, I wasn’t too concerned about colours or patterns matching, just that they all were in a similar style (helped by the stamps). I love the lace border tape but it was discontinued and the patterned paper somehow just ‘wasn’t quite right’.

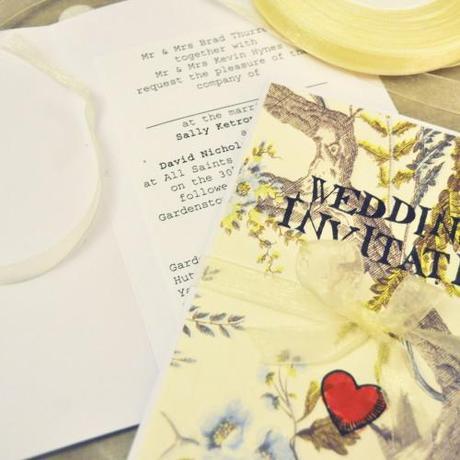
I heard that it was tradition to match the invitation colour to the bridesmaids’ dress colour, which are floral, could I try and match the invitations without making it all too girly? I took my maid-of-honour along with me back to Hobbycraft, by now the bridesmaids’ dresses had been bought so we had an idea of what we were looking for, we found enough sheets of a forest-floral paper with touches of red and blue, similar to the dresses but not too feminine, and we snapped them up along with some cream ribbon to tie the invitations and RSVPs when they were ready to send. The scrapbook paper covered the front of A5 card blanks, I printed ‘wedding invitation’ across the top and a heart below, filled in red with ink and tied the ribbon across the middle, which makes it look a little more bridal. I have also bought a vintage typewriter to help with touches for the day, so printed the wording inside in a similar font.

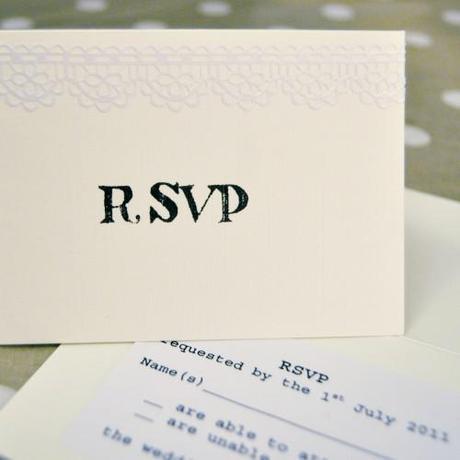
The RSVPs were also very easily done, the lace was bought from eBay, self-adhesive and quite inexpensive, and I made the inside text match the invitations. It’s all very simple but I love the outcome, it’s satisfying seeing something which takes far too long finished and ready to go!

I have a few more touches to share, but as they aren’t finished yet, (100 Orders of Service- I’m thinking of you!), I will be sharing them at a later date. I never thought I’d say it, but I can’t wait to put away my double-sided tape and guillotine for good!!
Next up: the wedding cake.

