Posted by Emma @ Sweet Mabel on December 5, 2012 · 2 Comments

This is my favourite time of year for crafting. Inspiration is everywhere, especially in the shops when you see something that you know you could easily make yourself. I’ve been thinking about Christmas crafts for some time now, it started in August when I was trying to make gifts and cards for my shop. Then I had to photograph them which meant playing around with some decorations.
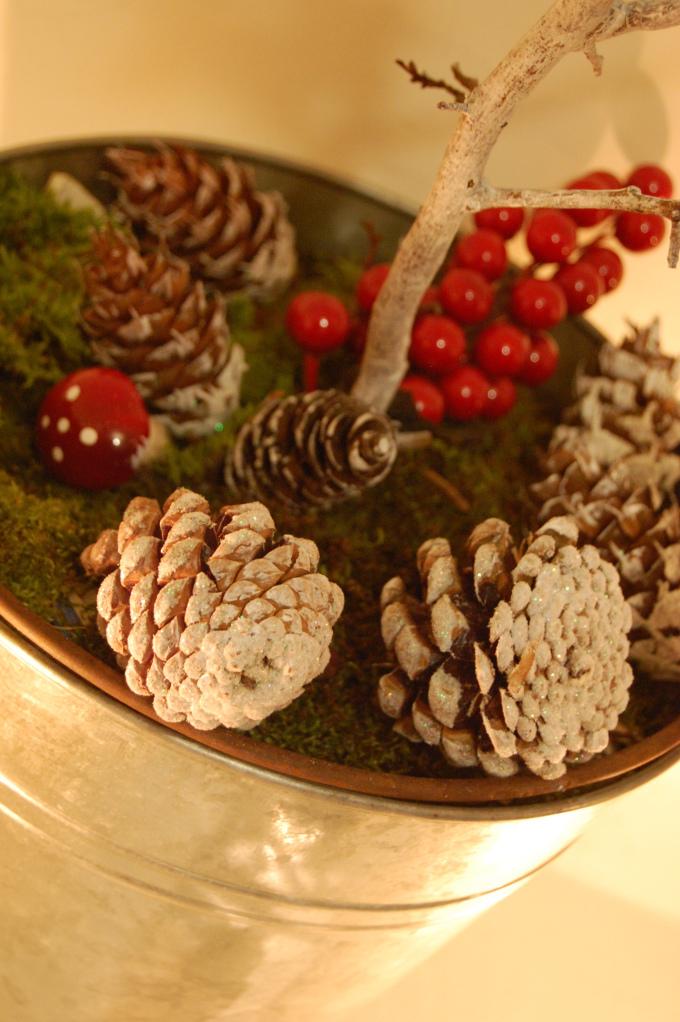
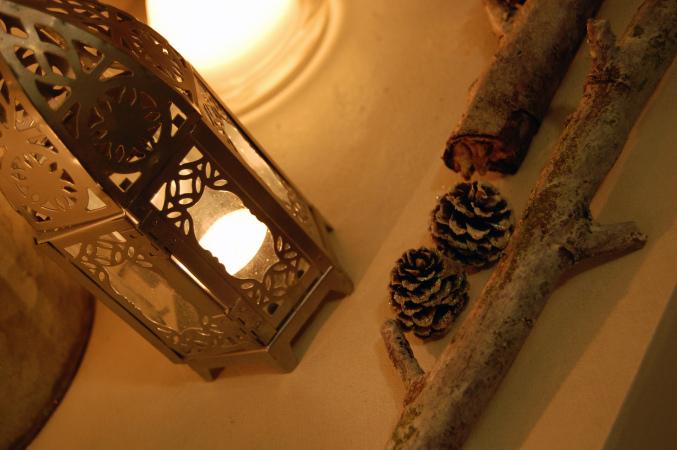
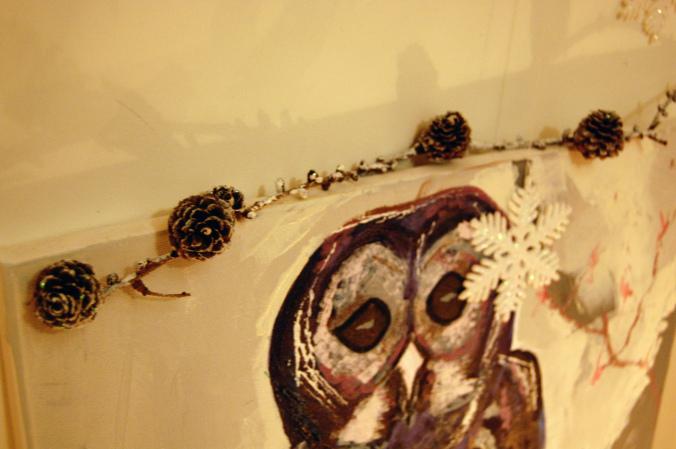
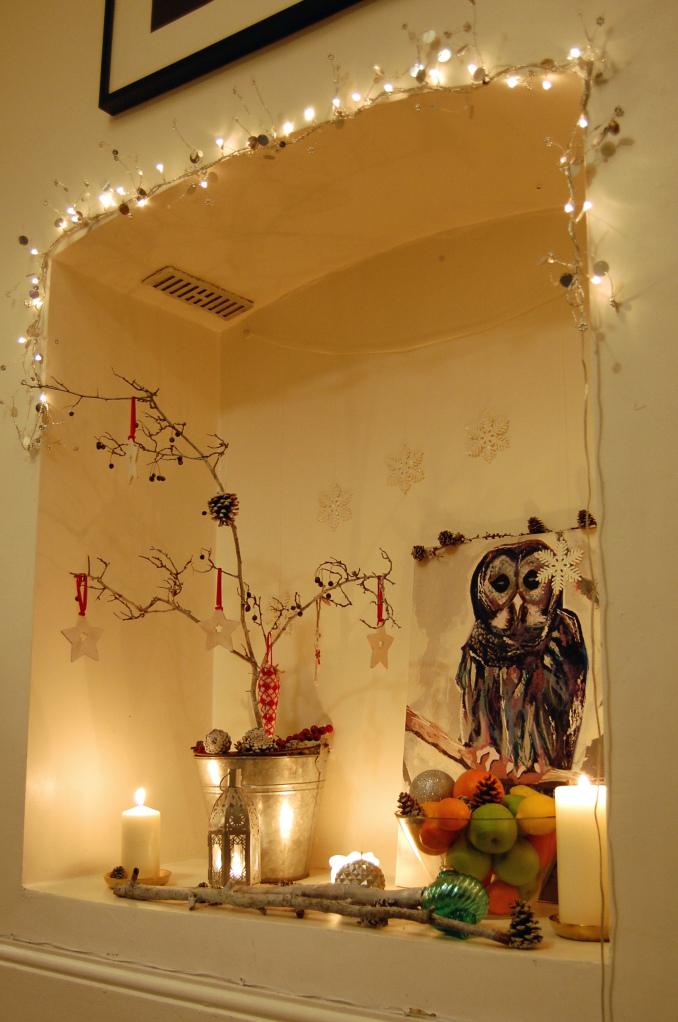
It was then that I came across some pine cones from last year and realised how useful they could be. So I’ve been out and collected some more, it was nice to wander around a forest knowing I was going to make something with them and even better that they were free to collect. I found a couple of ways to ‘upcycle’ these pine cones. You can turn them in to a tree decoration or give them a frosty look, perfect as ornaments or for displays. Here is a quick guide to show you how.
Pine cone tree decorations
You will need;
Natural pine cones
PVA glue
White glitter
Ribbon
Staple gun
Scissors
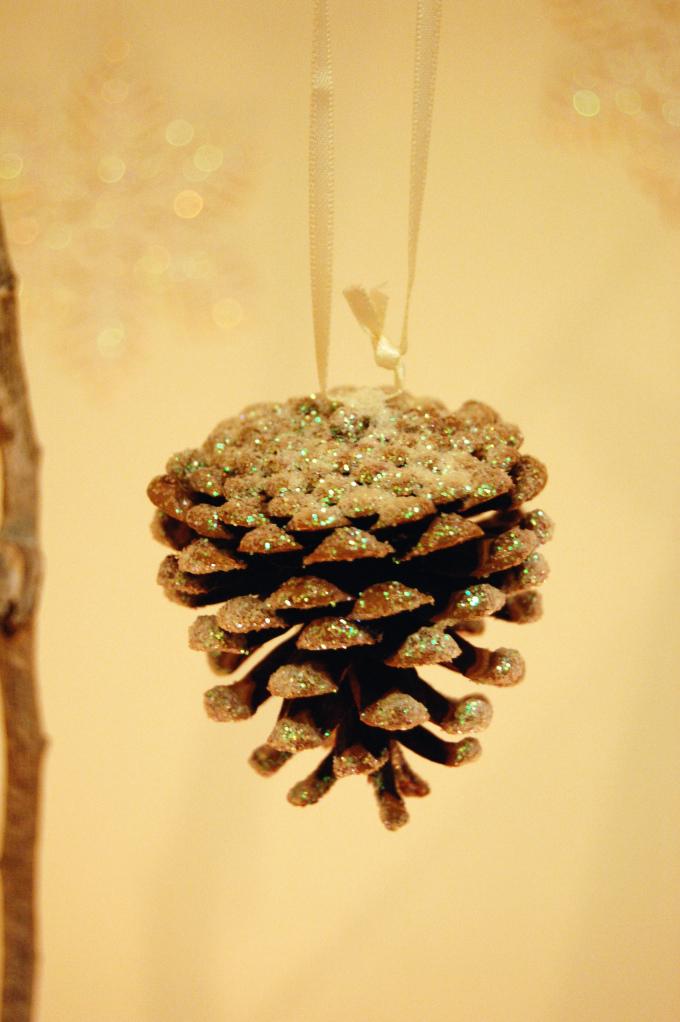
First, make sure your pine cone is clean and free from dirt.
Using a paintbrush gently apply PVA glue to the ends of the pine cone. Make sure you cover all sides then turn it over to cover the bottom in glue. Now you can do the next step two ways. Either dip the pine in to a bowl of glitter or sprinkle the glitter directly over the top. Leave to dry bottom up. Now take a piece of ribbon and cut it to your desired length (mine is about 8-10cm folded length). Tie the ribbon at one end then place the knot on top of the pine cone. Using a staple gun, fix the ribbon in place but please mind your fingers. Your decoration is now ready to hang.
Frosty pine cones
You will need;
Clean pine cones
White paint
Paint brush
Glitter
Glue
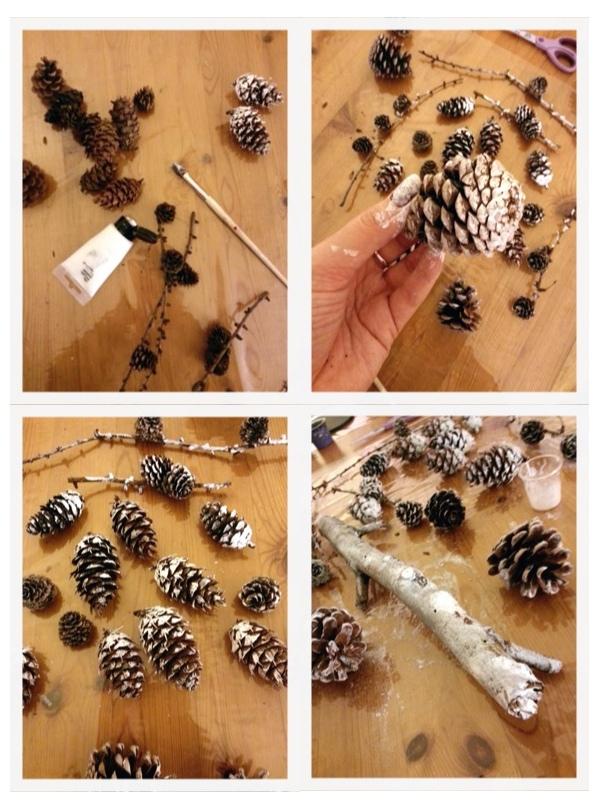
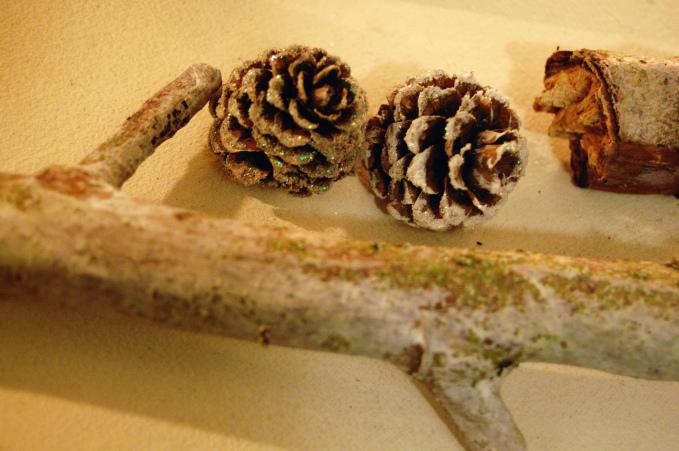
First, dip the paintbrush in a small amount of white paint. You don’t need much as little will go a long way. Starting from the bottom of the pine cone(largest part) apply the paint and spread it out over the top as thinly as possible, dab the ends of the cone with paint and cover all of the sides. You can apply this method to twigs as well, just spread the paint across the branch as thinly as it will go. You should be left with a light greyish colour. Once dry, take your glue and gently dab it over the cones and in parts of the branch/twigs. Sprinkle glitter over the top and allow to dry once more.
