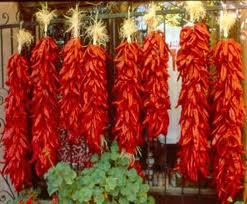
Did you know that it is Hatch Green Chile time? Hatch is the name of a town in New Mexico and they grow the most incredible green Chiles in the world. The Chiles are harvested during August and September each year. There is even a festival dedicated to celebrating the harvest of this wonderful pepper. You may be familiar with the red Chile Ristra used for decoration and seasoning throughout the world.
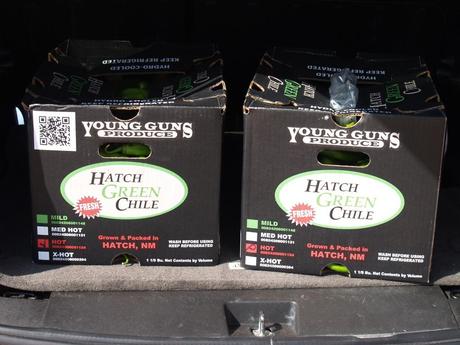
Over the years, I have tried to find just the right recipe that will capture the taste of freshly picked peppers but have come up short every time. That is, until last week. I was reading an article from Dave Cathey, The Food Dude, in the Food Section of the Daily Oklahoman. Dave gave an overview of his recipe and made several recipes with the Chiles as well and it all looked delicious! Here, take a look for yourself: http://newsok.com/hatch-by-the-batch-buy-your-green-chiles-in-bulk-and-store-heat-for-the-winter/article/3702945 I knew this was the recipe to use so I emailed Dave and asked if it was okay to use it and then blog about it – he was very gracious and said it was just fine with him so I made a few calls to my daughter and the next thing you know, she showed up in the driveway with these:
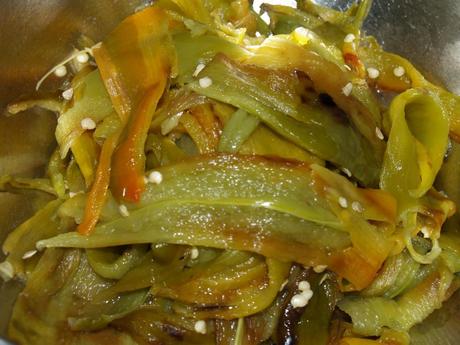
Look in the tutorial tab (to be posted tomorrow) for a detailed description of how to roast, peel, deseed, devein, and prepare for cooking.
Dave’s recipe calls for:
80 Hatch green chilies, roasted, peeled, and seeded.
4 medium sweet onions, dice
1 head of garlic
4 carrots, grated
16 Cups chicken stock
¼ Cup salt
2 Tablespoons ground black pepper
½ Cup vegetable oil
I, of course, did my own thing changing it here and there to make it mine. This is my process:
We take up here with a big old bowlful of prepared Hatch Green Chiles – in this case 160 peppers:
Yep, 160 because my daughter thought a flat of peppers was actually a case of peppers so she had her husband buy 2 cases – that’s a little more than 2 bushels!! Just in case you are wondering, right now I am sick of smelling, eating, and looking at Hatch Chile Peppers.
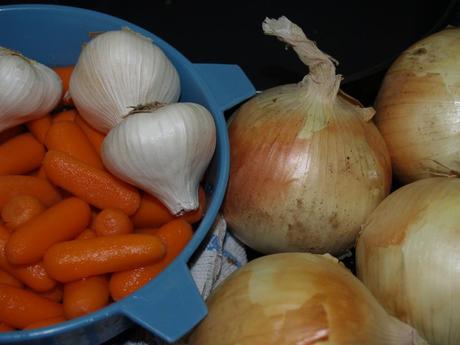
I used a bag of small carrots, 4 large onions, and 4 heads of garlic – and I didn’t really dice or grate any of it.
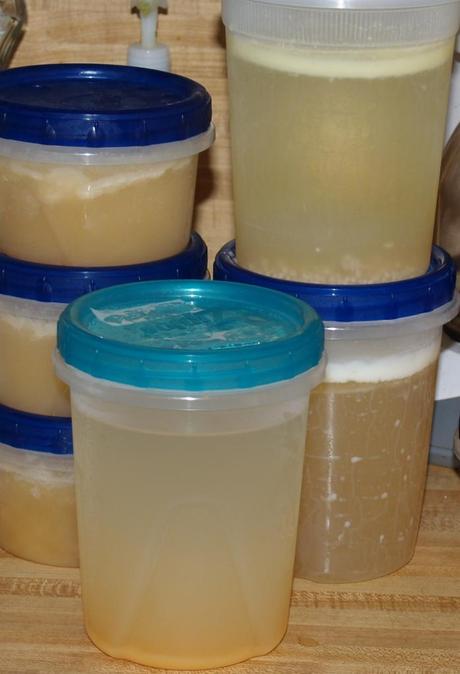
Instead of chicken stock, I wanted it to have a deeper more complex flavor so I used some duck stock (equal to 20 cups) I had made back when I prepared my yearly gumbo – that also served as the oil I was going to use.
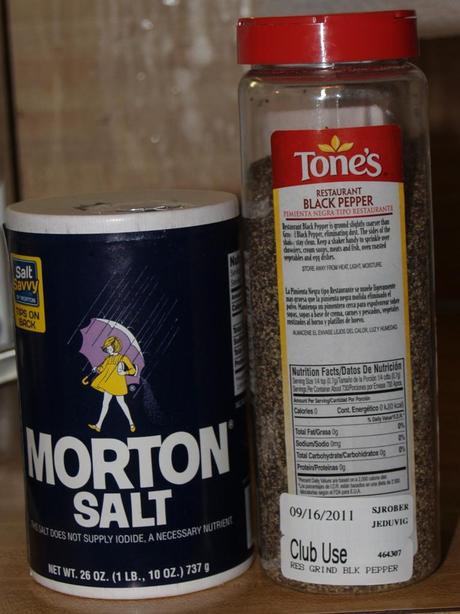
Salt and regular pepper of course and I used about what Dave’s recipe called for because we aren’t big salt people.
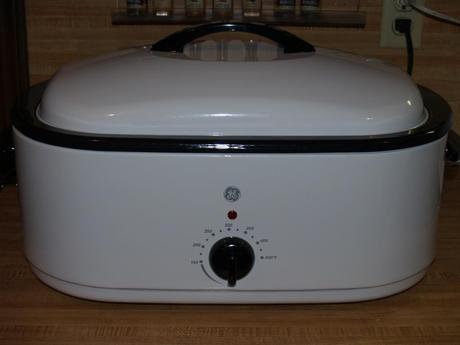
I pulled out my handy dandy brand new bought-for-$8-at-a-yard-sale roaster and dumped it all in. I turned the roaster to 200 F degrees, put the lid on, and ran out the door to the dentist. I returned five hours later and this is what it looked like.
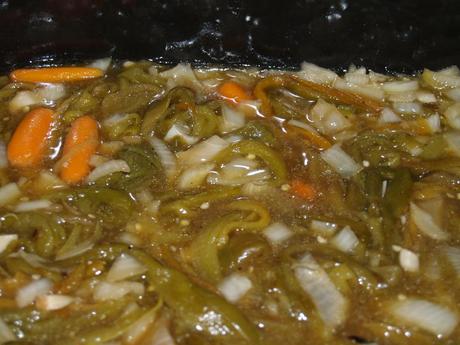
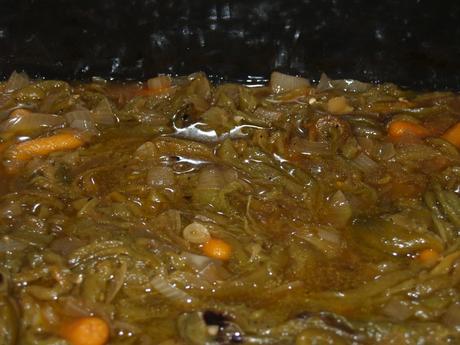
I turned the roaster up to 325 F degrees and went to bed in order to recover from the filling and shot. After three hours it looked like this:
I began using the emersion mixer to puree the whole thing.
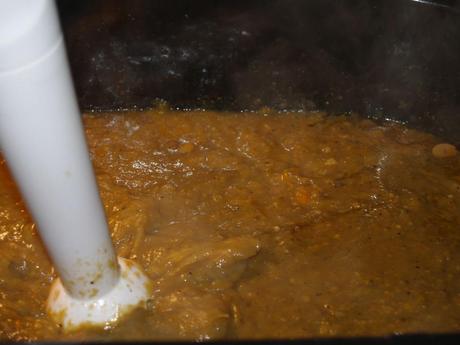
Doesn’t that look good?
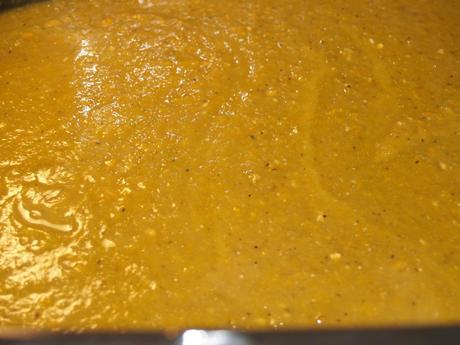
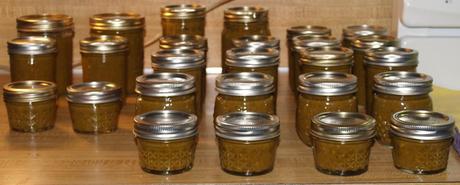
Then I ladled it all into different sized jars for different uses, eventually equaling twenty ½ pints.
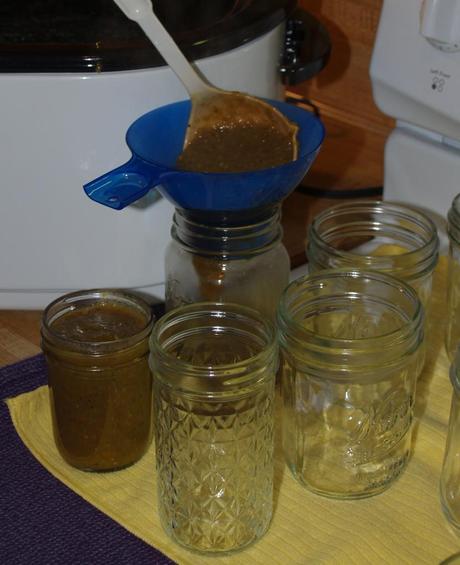
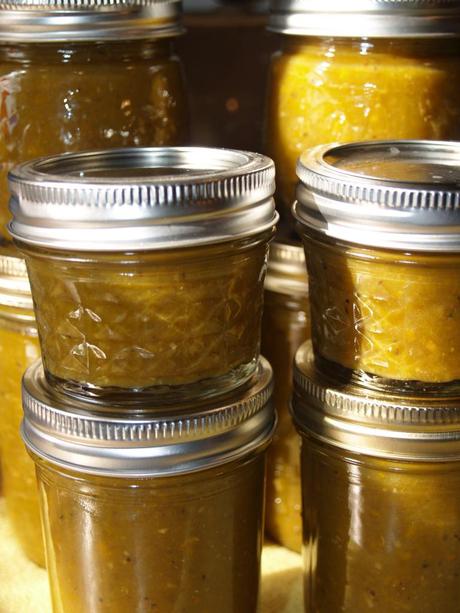
Then I processed them in the pressure cooker according to my cooker’s directions and this is how they looked when it was all finished.
It took three full days of Top Girl and me working together, but we got it done and while there is another full bushel of peppers to be worked up waiting patiently for us in freezer bags, Top Girl, Lawyer Boy, and Mr. Picky-eater will have all the green Chile they want this winter for homemade enchiladas, burritos, tailgate dips, and Chile Verde.
There are still plenty of Hatch Chile Peppers in the stores so why don’t you make some? Just take Dave’s recipe and increase or decrease it to make an amount you are comfortable with. Come on – you can do it!! BTW, these peppers were marked “Hot” on the box and even with them seeded and deveined the word “Hot” pales in comparison to the white strike of lightening that hits my tongue every time I taste them!
