By Tampa Bay Crochet
Materials:
Worsted weight yarn (4) in red & green
Size G crochet hook
Needle
Small photo
Abbreviations:
sl st = slip stitch
sc = single crochet
dc = double crochet
ch = chain
Note: Ornaments made using this pattern may be sold but please link back to this post in the item description.
Ornament Front
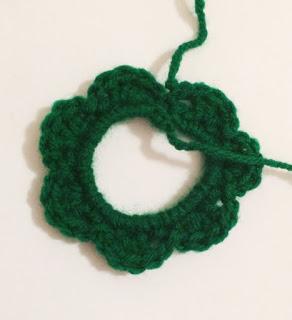
To begin, ch 20 and sl st to first ch stitch to create a loop. Round 1: Ch1, 28 sc in the loop. Sl st to first sc to join the round. Round 2: *Ch 1, skip 1 stitch, 3 dc in following stitch, ch 1, skip 1 stitch, sl st in following stitch* repeat from * to * five times. Then, ch 1, skip 1 stitch, 3 dc in following stitch, ch 1, sl st into the first ch 1 of the round to join. You will have seven leafs in total. Tie off yarn and weave in loose ends.
Ornament Back
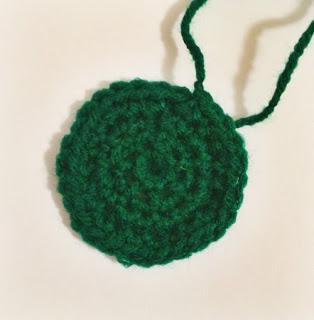
With green yarn, to begin ch 2. Round 1: 7 sc in the second ch from hook. Sl st to first ch to join the round. Round 2: Ch 1, sc in same stitch as ch. 2 sc in next stitch and each stitch around. Sl st to top of ch 1 to join the round. Round 3: Ch 1, *2 sc in next st, 1 sc in following stitch.* Repeat from * to * all the way around. Sl st to top of ch 1 to join the round. Tie off yarn leaving a 12" tail.
 Optional But Recommended:
I recommend stiffening both pieces of your crochet ornament at this point in the project. Stiffening helps the ornament to hold its shape. There are several ways to stiffen a crochet project, below are a few examples:
Spray Starch: Spray both sides of the ornament with spray starch. Lay the ornament flat and allow it to dry completely.
Elmer's Glue Mix: In a bowl mix 1 part Elmer's glue with 2 parts water. Place the ornament in the mixture, lay flat and allow to fully dry.
Glitter Glue Mix: For a little extra sparkle, mix 1 part Elmer's glue with 2 parts water and the desired amount of glitter. Place the ornament in the mixture, lay flat and allow to dry completely.
Ornament Assembly
Using the 12" tail from the back of the ornament, sew approximately 2/3 of the back of the ornament to the front of the ornament leaving an open gap at the top. Place your stitches from the back of the ornament through "round 3" of the front of the ornament. The open gap will become the pocket where you will insert your photo. Tie off green yarn and weave in loose ends.
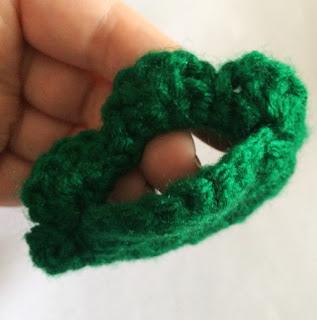
Bow
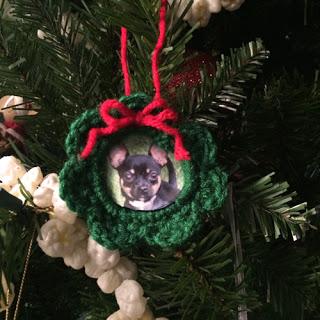
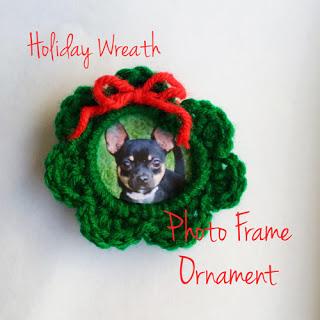
Cut a 10" section of red yarn. Thread a needle with the yarn and starting from the back of the ornament (centered above the photo opening gap) Pull one end of the yarn through to the front of the ornament leaving about a 2" tail. Do the same with the other end of the red yarn. Using both ends, tie a bow in the front of the ornament. This also creates the loop with which to hang the ornament.
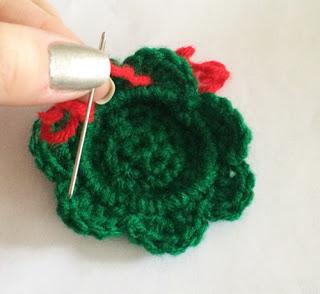 Adding the Photo
Pick your favorite photo and cut it to size. Slide the photo through the gap at the top of the ornament.
