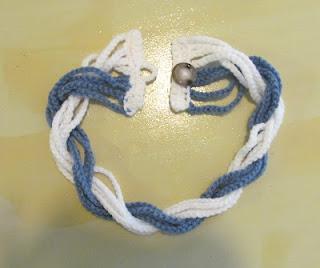
By Tampa Bay Crochet *This pattern may not be resold or copied. Finished items however, may be sold.
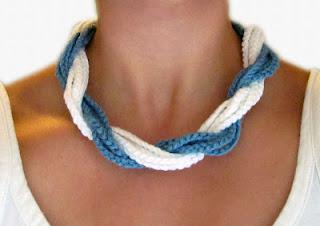
About the Design Chunky necklaces are a huge trend this summer so I wanted to create a simple crochet version. This necklace pattern can be easily customized by adding more colors and adjusting the length of your chains. You could also crochet longer chains and turn it into a belt. The pattern is written in steps rather than rounds or rows. This is because there are several steps that do not involve crocheting (ex. twisting the strands of the necklace). I hope you enjoy this pattern!
Materials: Hook Size G Worsted weight yarn ( I use two colors in this example but you can use as many as you like) Needle - for sewing in ends and attaching the button Button
Abbreviations: Sc = Single Crochet Sl St = slip stitch Ch = chain Sts = stitches St = stitch
Instructions:
Step 1: Ch 115 and tie off. When laid flat your chain should measure around 25”. Gauge is not very important in this project as long as all of your chains are nearly the same length. You may decide to crochet shorter or longer chains depending on the desired length of the necklace.
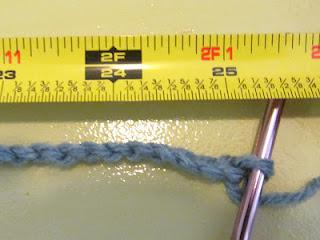
Step 2: Repeat the first step 3 more times until you have a total of four chains of the same color.
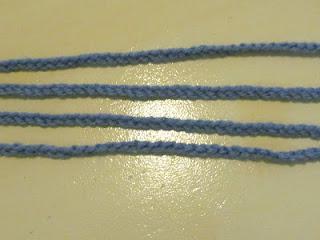
Step 3: With your second color, Ch 115 and tie off. Repeat three more times until you have a total of 4 chains with your second color.
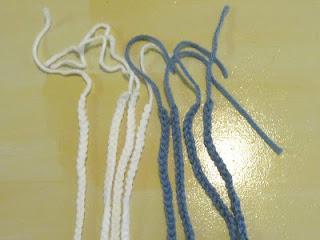
Step 4: Lay all 8 chains side by side and tape one end of them to a flat surface.
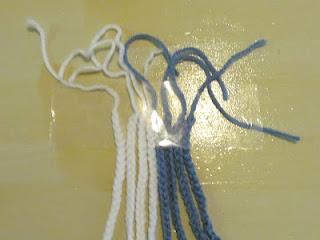
Step 5: Divide the chains up by color and begin to lightly twist them by placing one color over the other until you reach the end.
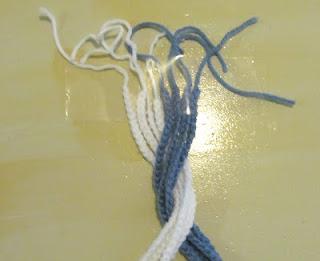
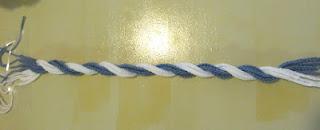
Now, you will begin connecting the chains together by slip stitching.
Step 6: Take your crochet hook and either color yarn and slip stitch through the end of the first chain, then ch 1. Slip stitch through the end of the next closest chain and ch 1 again. Do this until you reach the last chain. Slip stitch through the last chain, ch 1 and turn.
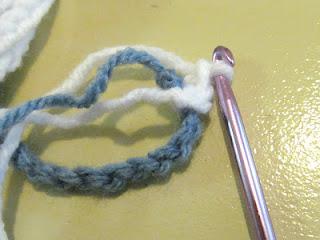
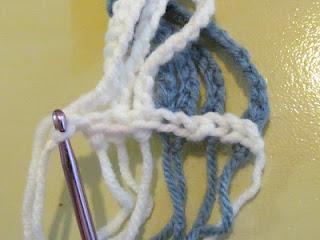
Step 7: Sc in each stitch across, ch 1 and turn.
Step 8: Sc in each stitch across, tie off yarn leaving a 6 inch tail.
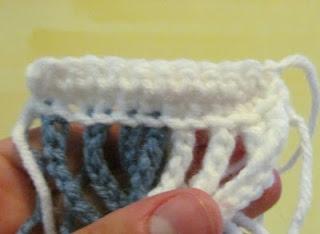
Step 9: Using the tail, sew a button to the center of the end of the necklace.
Un-tape the opposite side of the necklace.
You will now use the same process to finish the opposite side of the necklace.
Step 10: Slip stitch through the end of the first chain and ch 1. Do this with each chain across. Once you have slip stitched through the last chain, ch 1 and turn.
Step 11: Sc through each slip stitch and chain across. Ch 1 turn. This next row creates the loop to hook around the button.
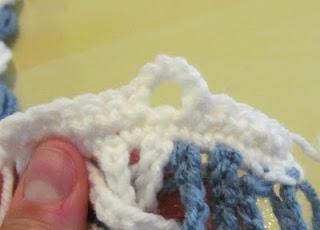
Step 12: Single crochet through first 6 sts, chain 6, skip the next st and sc in the following stitch and in each stitch across. Tie off yarn.
Step 13: Finally, using a needle, sew in all of your loose ends.
