After a few days with OPI You're A Doll, I decided to spice things up a little with some bling and FIMO!
FIMO is just a kind of polymer clay used to make those hardened things we sometimes see on earrings, bracelets and other accessories that go for ridiculous prices (relative to the cost price) and some smart dude or dudette decided that we could use it for nail art too!
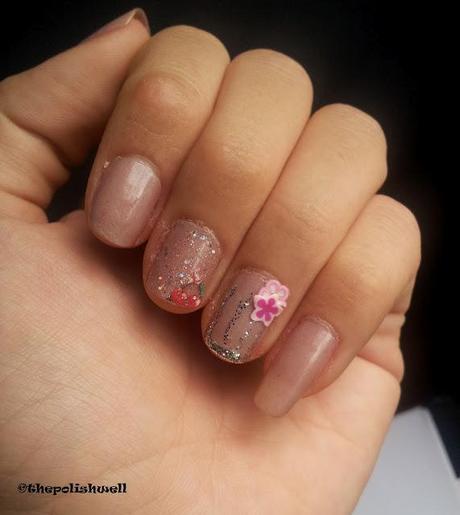
Thankfully, they are much more affordable, largely due to the size. A stick that can be cut into more than 100 pieces is going for less than a dollar at some places! So here is what it looks like after I stuck two on:
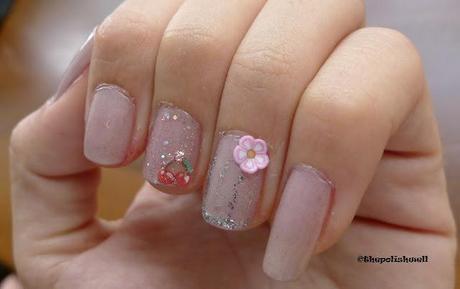
I stuck the FIMO on with generic nail glue. One word of caution: DO NOT get nail glue on your hands! I got some on my finger and thought it was alright, but was I wrong! It burnt a hole! The whole area was numb. So, do take care.
That aside, for layering, I used OPI Teenage Dream on the nail of the middle finger.I have reviewed this awesome glitter polish earlier, and have also recently used it for Chinese New Year.
I drew on the nail on the ring finger with a silver glitter nail art pen that I have reviewed earlier (PR French Nail Colour). Then I put on the top coat. Because Teenage Dream's solution has a tinge of pink, you can notice that there is a very slightly different base color of the nail on middle finger.
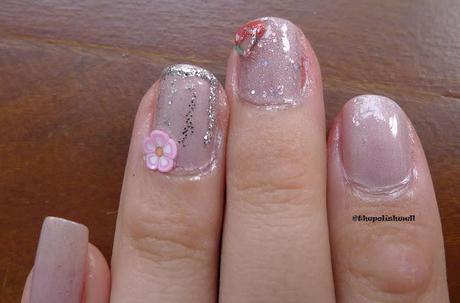
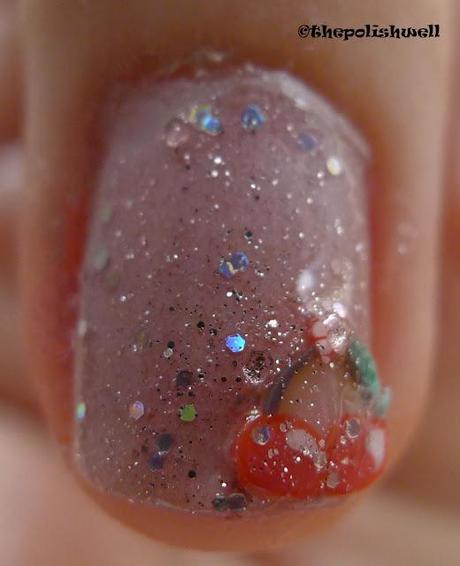
Here is an awesome picture of the rainbows (you can see two here - top right and bottom right of nail) on Teenage Dream glitters!
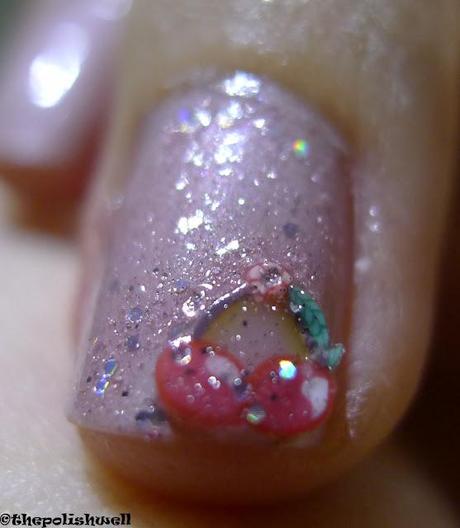
Actually, my point was to emphasize that some FIMOs, like the cherry one used here, have transparent parts that cover the base color. If I had chosen a dark coloured base, and if the FIMO is too thick (they come in varying thickness sometimes), then it would look quite odd (if you can imagine). Here, layering Teenage Dream over everything made the contrast less obvious, but still observable. But I believe most people do not look closely enough to be able to tell the difference ;)
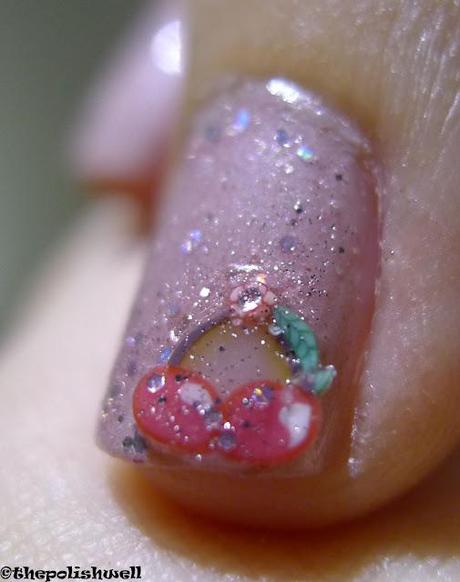
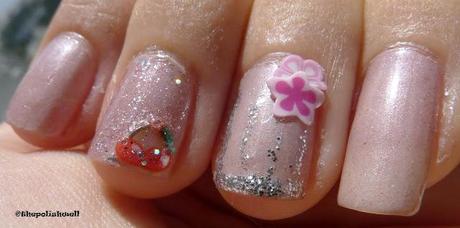
Frontal view of cherry with Teenage Dream! Oh the bling!! =^_^= Makes the cherry looks shiny and juicy too haha.
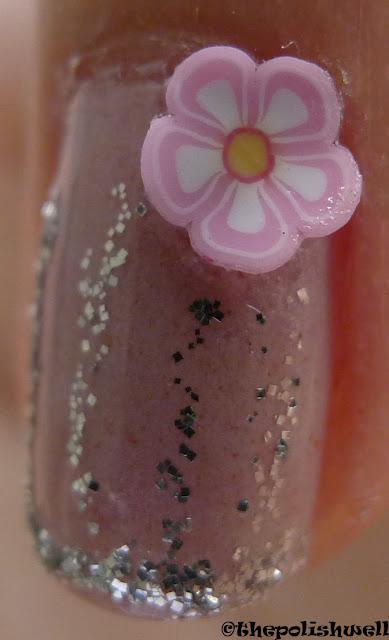
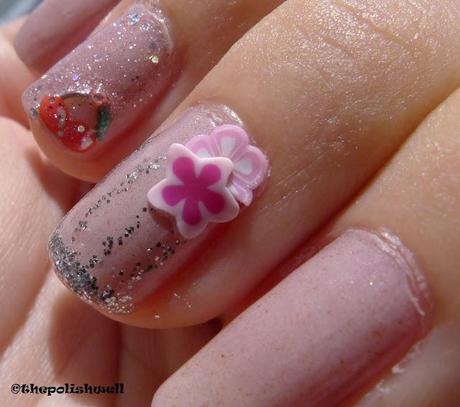
Here is a picture of the flower with the squarish glitters from the nail art pen. Doesn't go too badly with the red specks, yes? =)
And so I headed out of the house. By the time I got into the car, one-and-a-half petal of the flower FIMO fell off!! I was super upset.
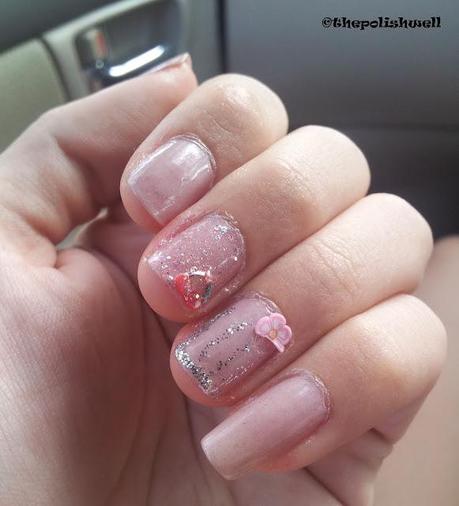
Root cause? An earlier photo tells the story:
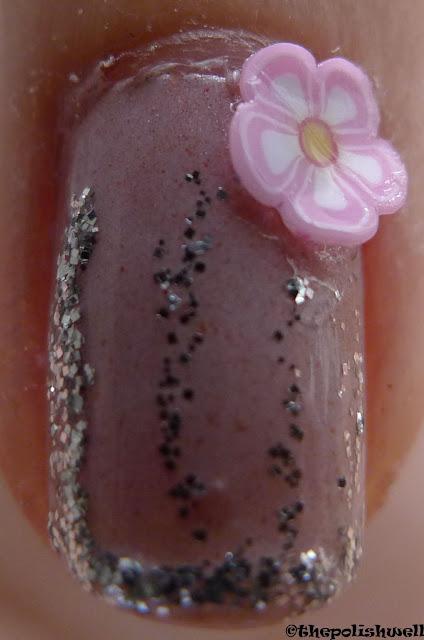
The lower petals were not glued properly onto the nail! The thing about FIMO is that it is FLAT and very difficult to bend, whereas most parts of our nails are curved. And if you have not-so-big nails like me, then you would be hard pressed for a place to put your FIMO if you want it to adhere completely. Oh well. So when I got home, I went to stick another FIMO on the sad half-FIMO as such:
So this is a close-up on the final result of my first venture with FIMO:
Do y'all have any tips and advice to share? I would be glad to know more before I embark on my subsequent adventures with FIMO (since I still have hundreds of pieces)!
More soon! =D
xoxojayo
