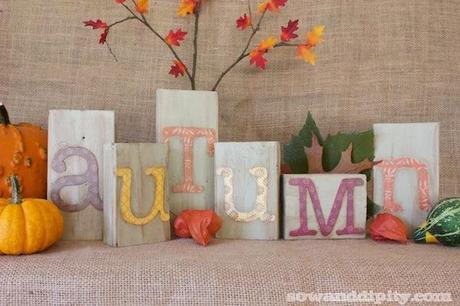
Scrap lumber is perfect for making wooden block letters. Adding a font is easy with colorful papers, a printer and some mod podge. Make these adorable letters in an afternoon and add them to your fall displays.

After I made my DIY Recycled Wood Pumpkins, I still had a bunch of end pieces left over.
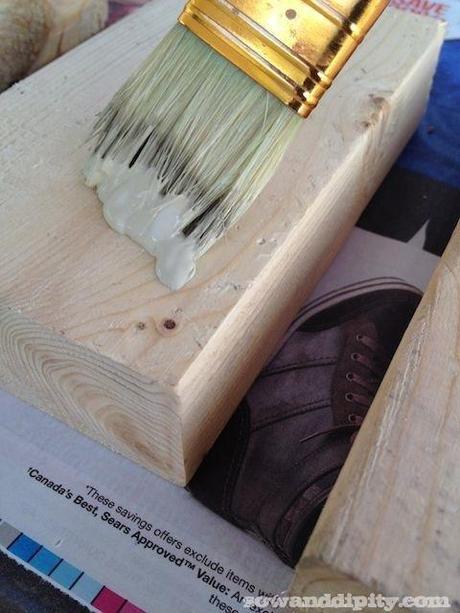
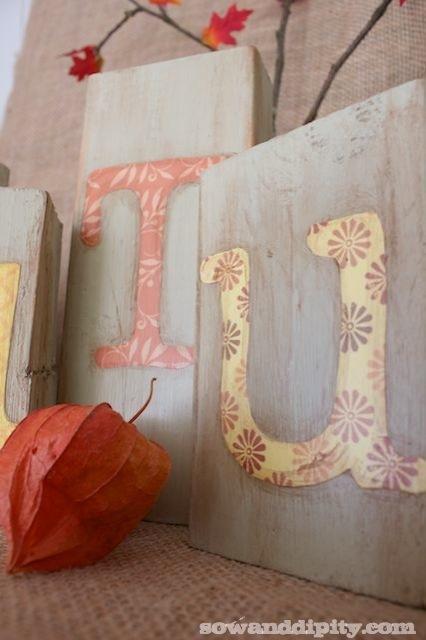
So, I just slapped on some oatmeal colored chalk paint, gave them a quick sanding and went over them with some brown mixed with an antiquing medium.
I don’t have a fancy stencil cutter (yet!), so I just printed out the word I wanted on regular printer paper and put that on the back of my pretty fall colored papers, using a pencil to draw a hard line that I could see.
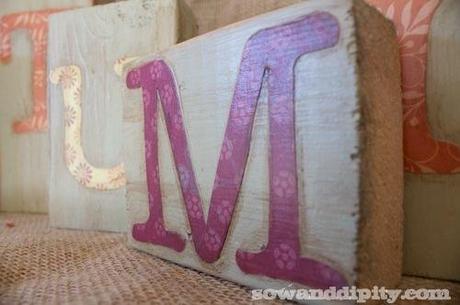
Since I did this on the back of the card stock, I simply used my pencil to shade out the lines so I could see them clearly, then I cut them out.
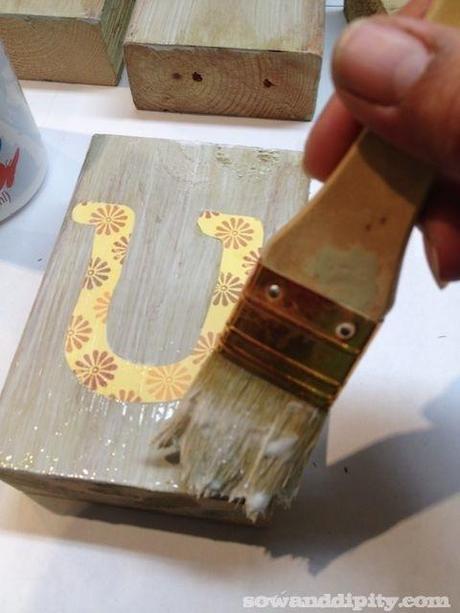
I used decoupage with a matte finish and stuck the letters to the blocks.
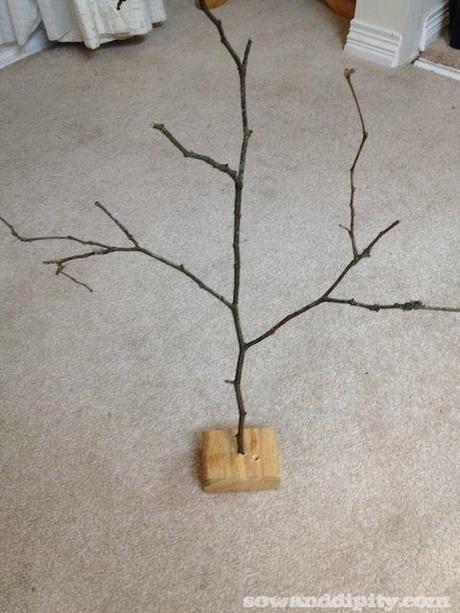
To add a little more to my arrangement, I hunted down a branch and drilled a hole into a small block for it to stand up in. I had a package of faux leaves from Michaels and created this cute little fall tree.
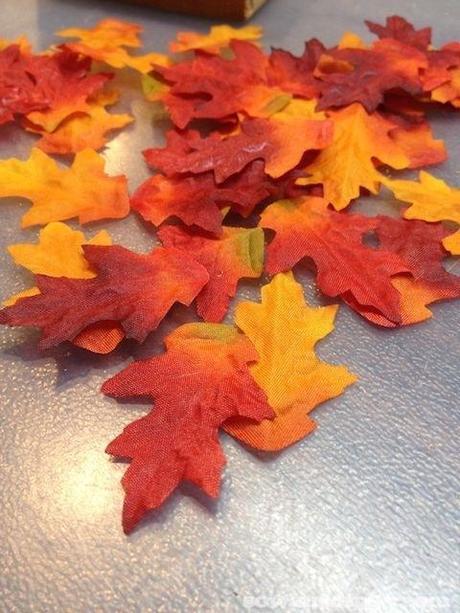
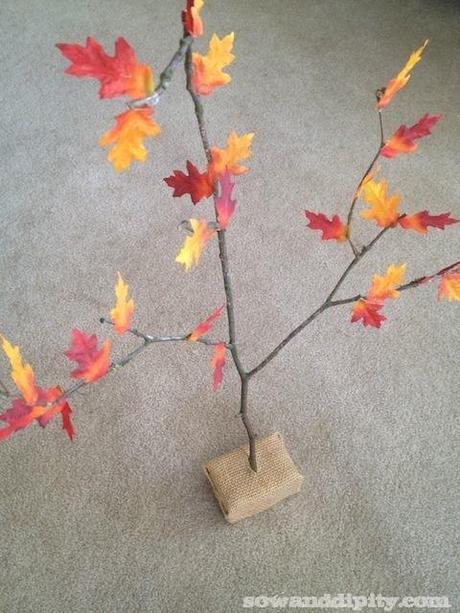
That’s it! How simple is that? It took no time at all and I love my little autumn blocks.
Peace Love Garden
In: Craftinista, Dipity, Holiday DecoratingBy: Shelley Levis Comments: 0« 22 Fall Garden InspirationsDIY Spooky Books »Leave a Comment Cancel reply
Name*
Email* (never published)
Website
Give me more Garden Digs!
Notify me of follow-up comments by email.
Notify me of new posts by email.

