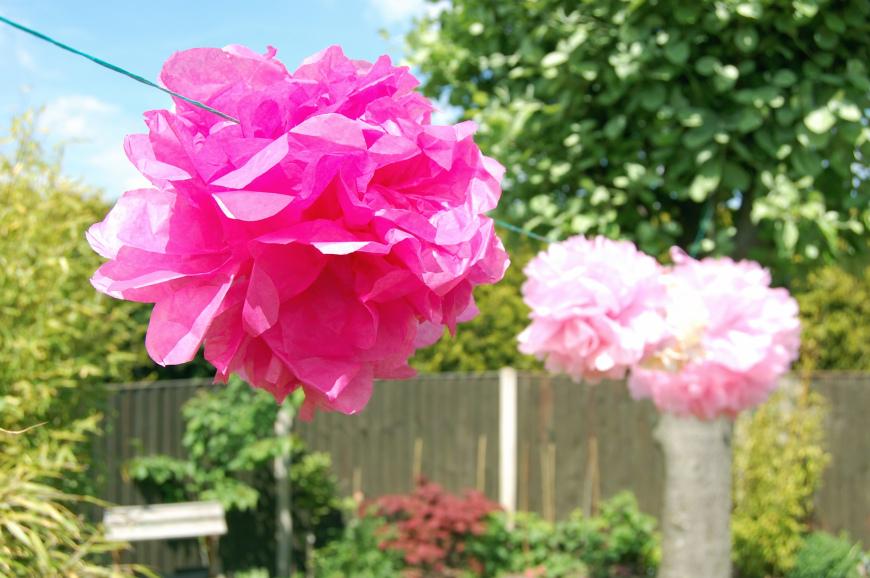
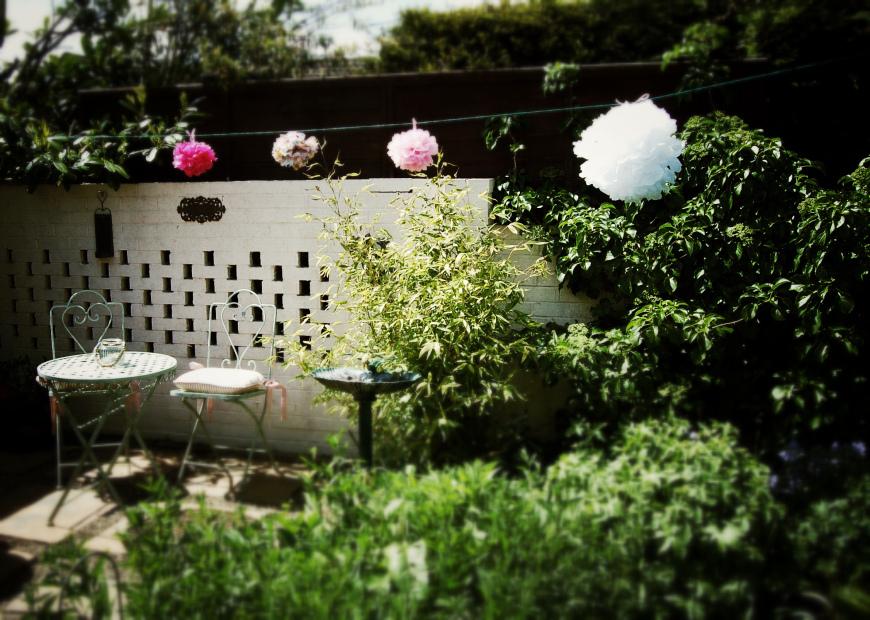
The party decoration of the year!

I made these pom poms for my mums birthday last weekend. They were very well recieved and everyone who came was very interested to find out how I made them. They may look complicated but they were so easy to make, I thought I’d show you how.
You will need;
Tissue paper (8 Sheets per pom pom, 50cmx70cm for large ones)
Twine or ribbon
Scissors
Place eight sheets of tissue paper on top of each other.
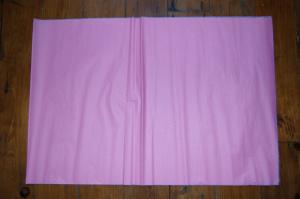
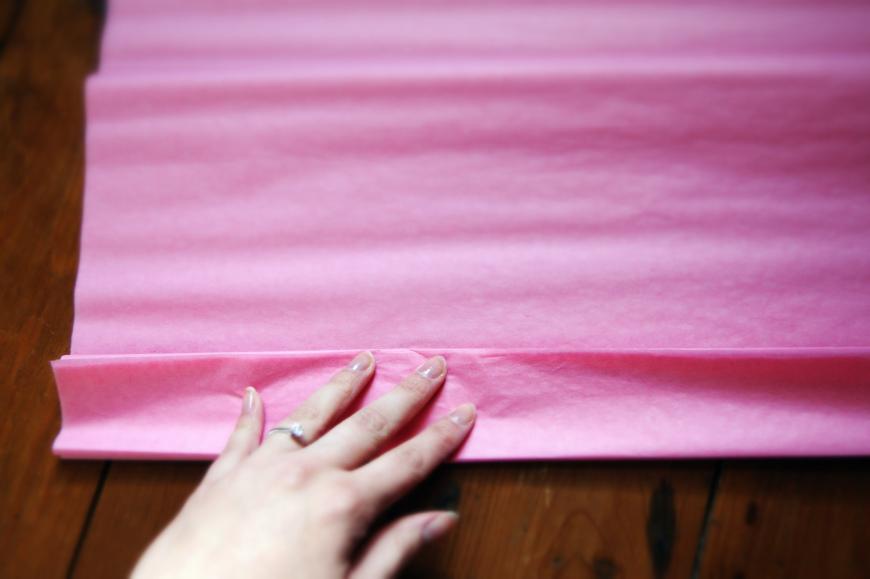
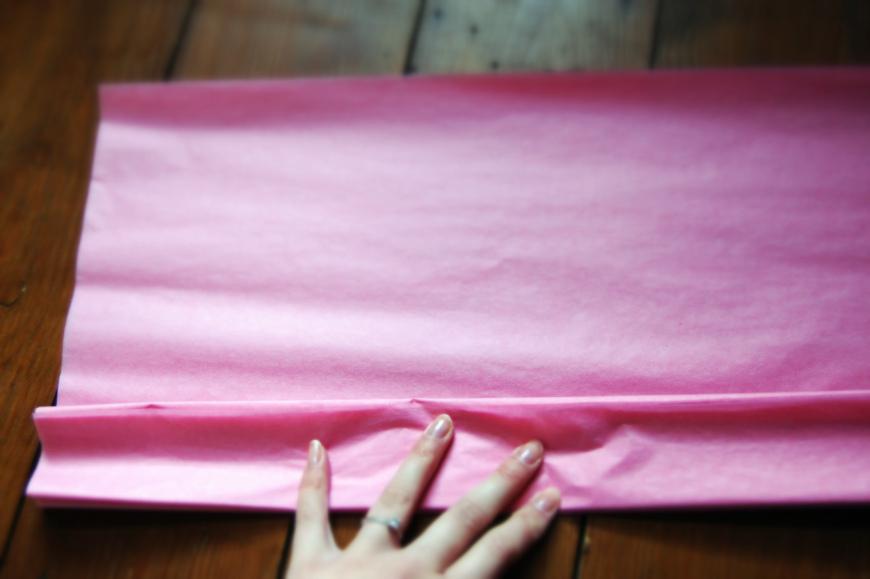
Now fold them all together in a concertina style in widths of about 5cm. Keep folding back and forth until you then have one long strip.
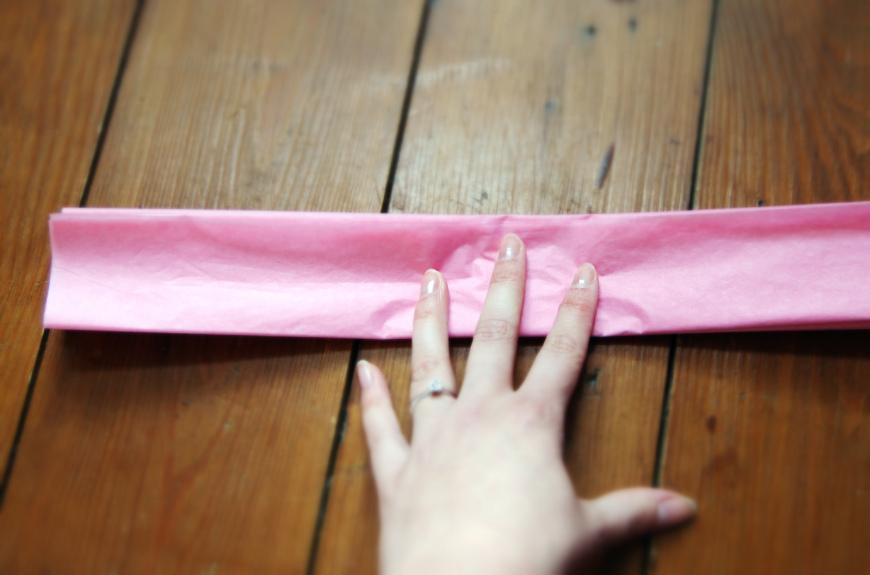
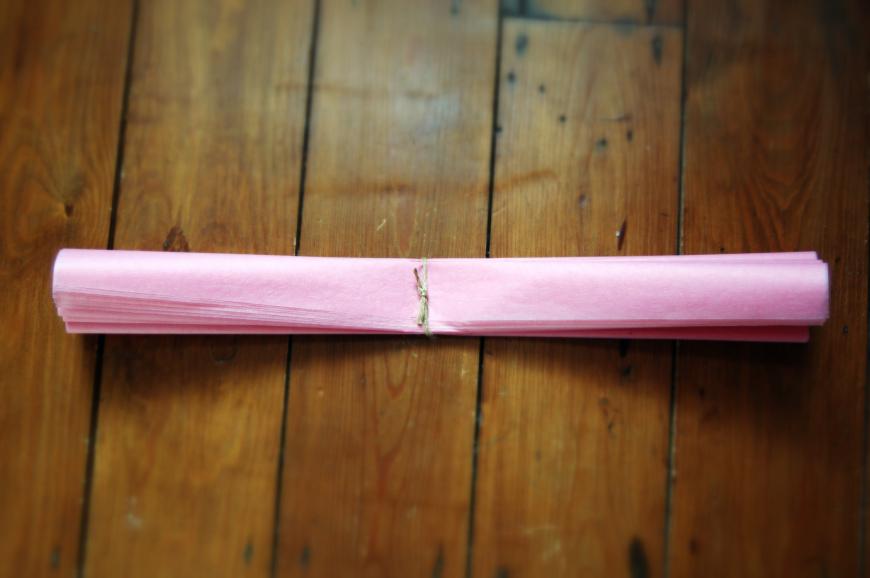
Take a piece of string, twine or ribbom and tie it securely around the middle of the strip.
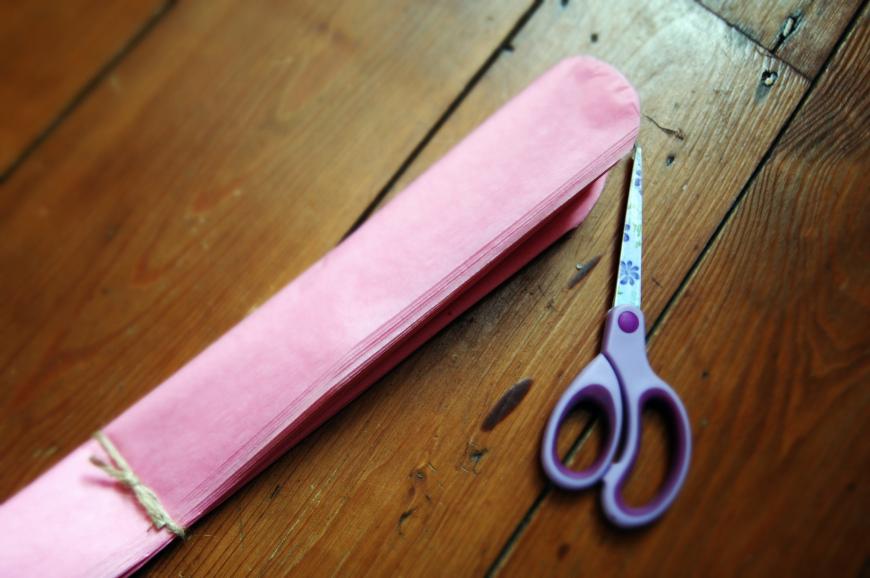
Cut each end of the paper into a curve. Use strong scissors and keep the paper as straight as possible.
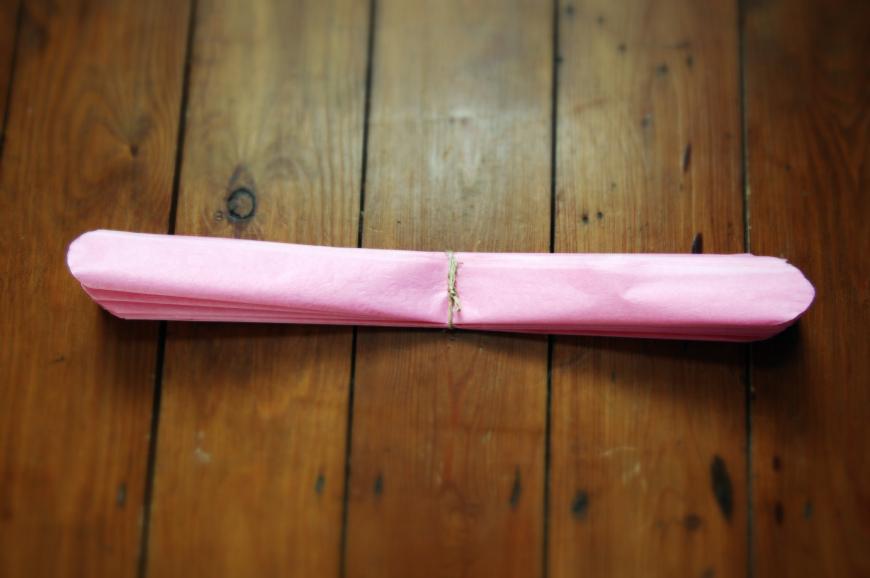
Fan out each side.
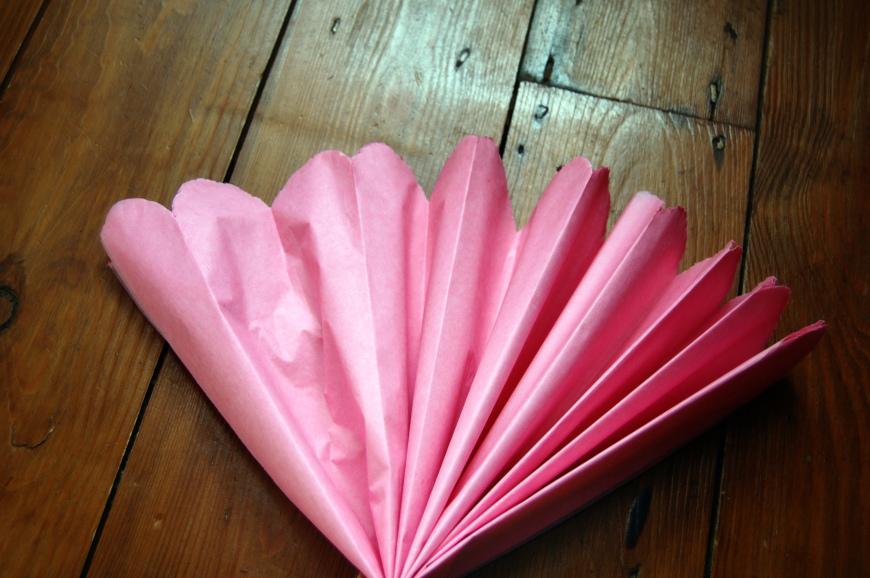
Gently tease each layer of tissue paper out as far as they will go. Be careful not to tear them.
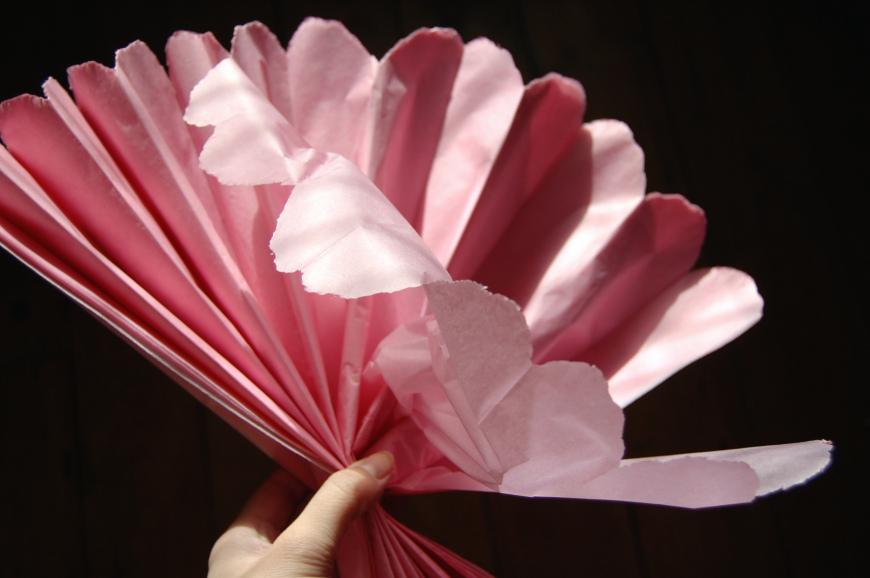
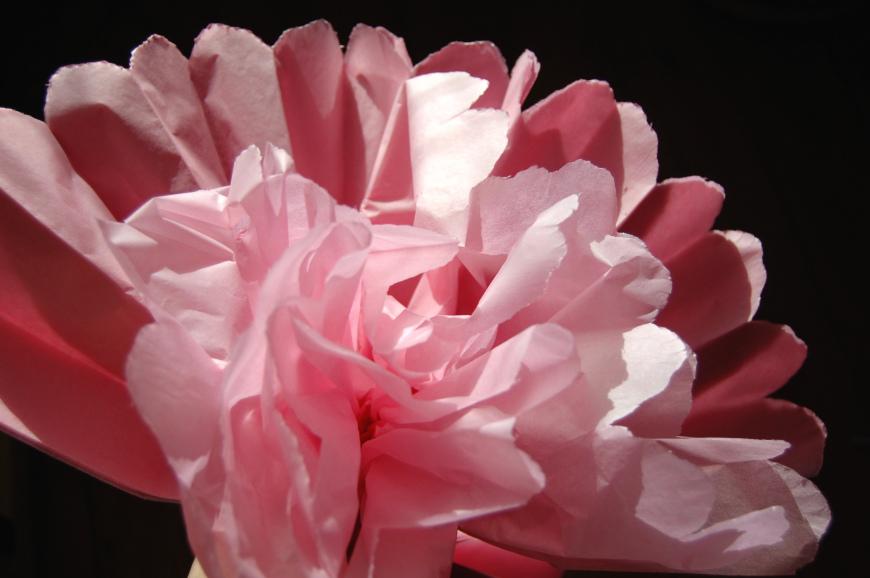
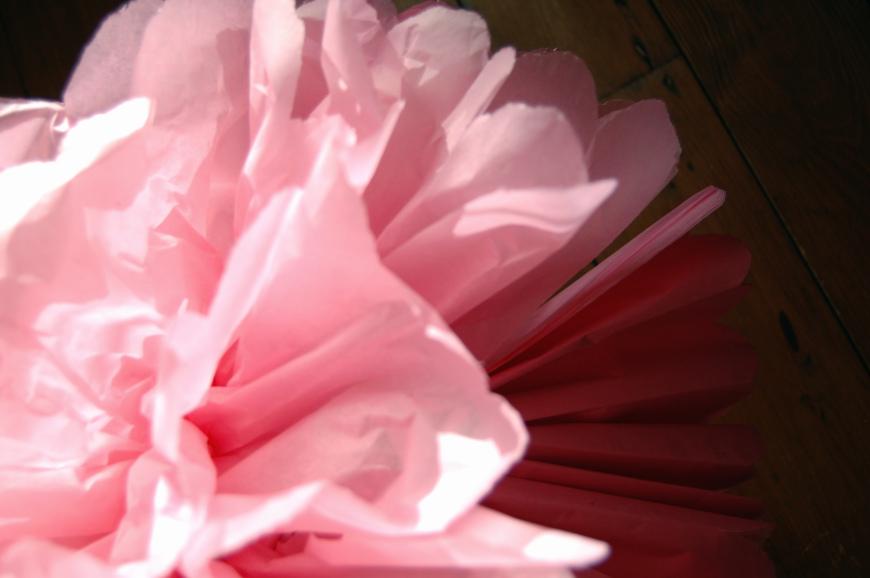
Puff it up with your fingers and attach another piece of ribbon to the middle tof the pom pom to hang.
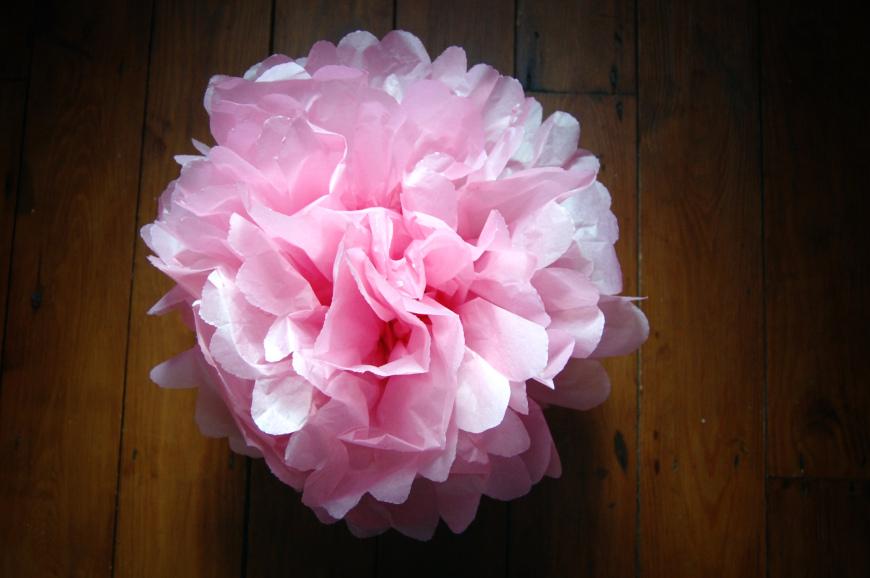
Gorgeous!
