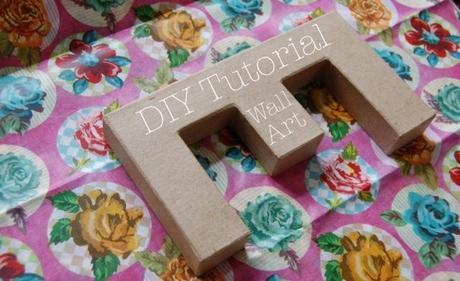
I’ve been looking for news to jazz up my walls recently. As I’ve mentioned before I live in a rented house so decorating isn’t always an option. Even though I have a very easy going landlord who has allowed us to paint the odd wall it can get very expensive and you never know when circumstances may change.
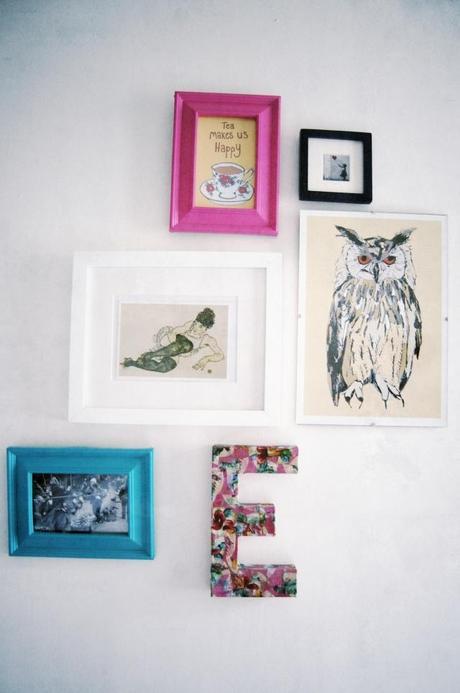
I wanted to do something different from the typical picture in a frame so here is a cheap and easy way to brighten up and personalise your wall.
You will need;
A cardboard letter (available from most art shops or RE.)
Coloured tissue paper preferably patterned (mine is from Paperchase.)
PVA glue
Paint brush
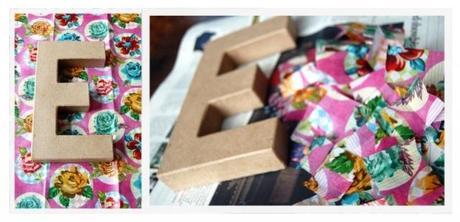
Take your tissue paper and cut up into tiny pieces. They need to be small enough to place on your letter. Using a paint brush place your glue directly onto the cardboard letter and add a piece of tissue paper. Make sure the tissue remains flat and doesn’t become creased.
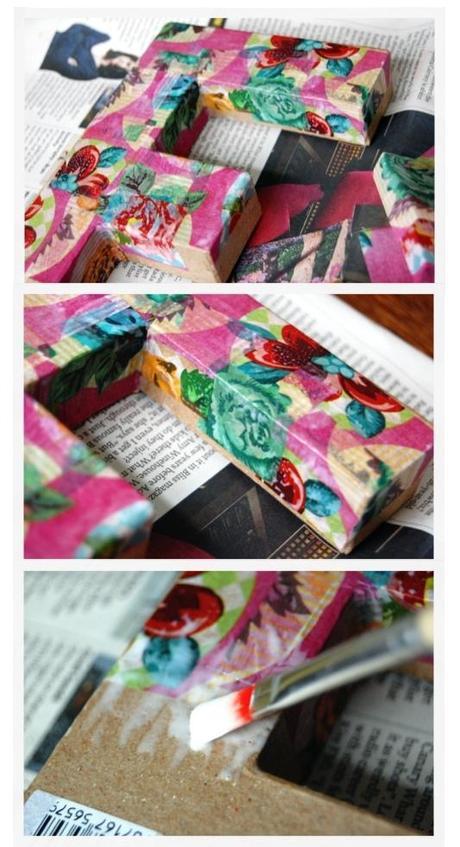
Repeat this step, allowing the pieces of tissue to over lap. When you have covered the letter, allow it to dry before adding another layer. Finally, cover the letter with layer of PVA glue to make it shiny.
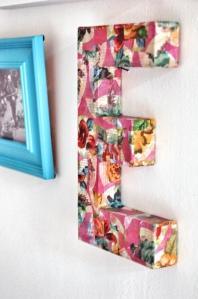
You could do this with numbers too or why not spell out a word and hang on your wall.
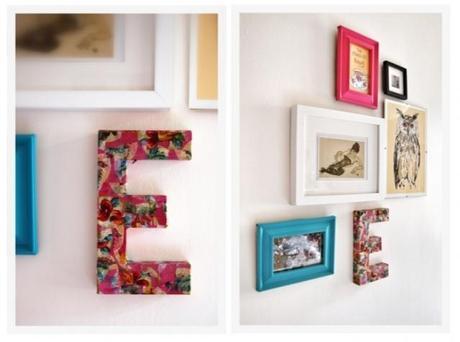
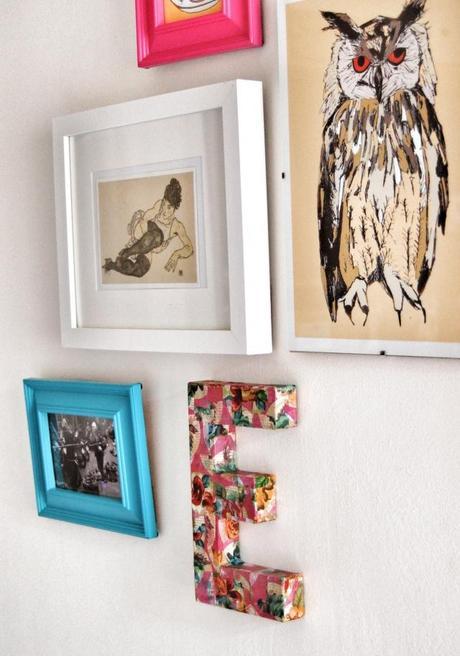
**NOTE** You mayneed to place a hole in the back of your letter, it depends which it is. Obviously my letter ‘E’ hangs nicely on a nail thanks to it’s shape. If yours doesn’t, carefully use a craft knife to make a hole in the back, just big enough to slot a nail in. This should do the trick.
Happy crafting! xxx
