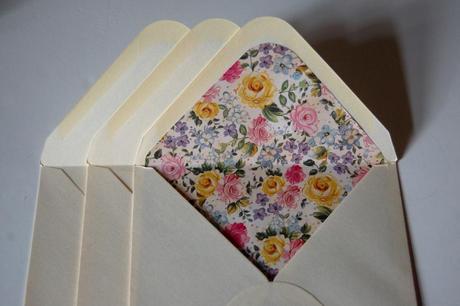
This is a lovely idea if you’re making your own invitations for a party or wedding. I recently did it for my wedding invitations and thought it finished them off beautifully. Obviously it’s much less time consuming if you only have a few to do but it is a simple task that is well worth the effort.
You will need:
Envelopes
Deorative paper (I printed my own pattern to match my invitations)
Scissors
Cardboard
Double sided tape. (It’s much easier with one of these dispensers.)
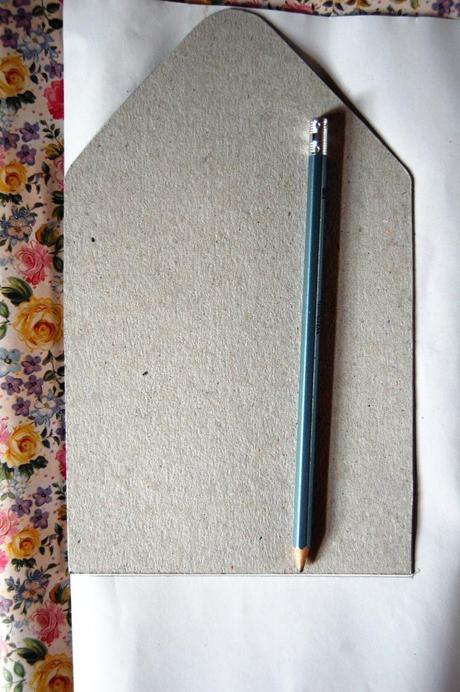
First, take your envelope and make a template out of card.
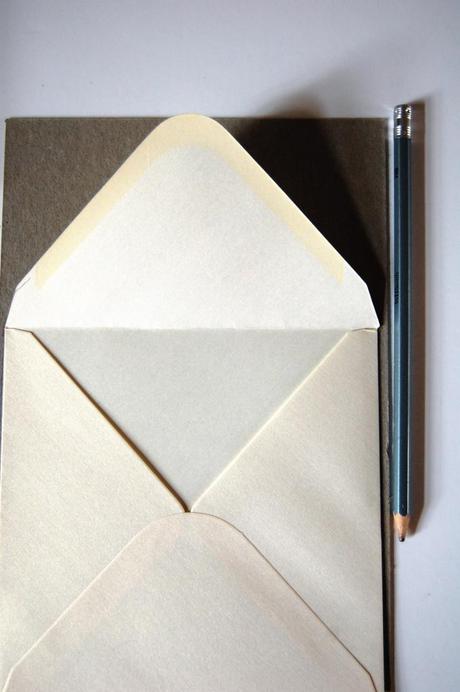
Do this by drawing around the envelope on to the card with a pencil. Then cut out with scissors.
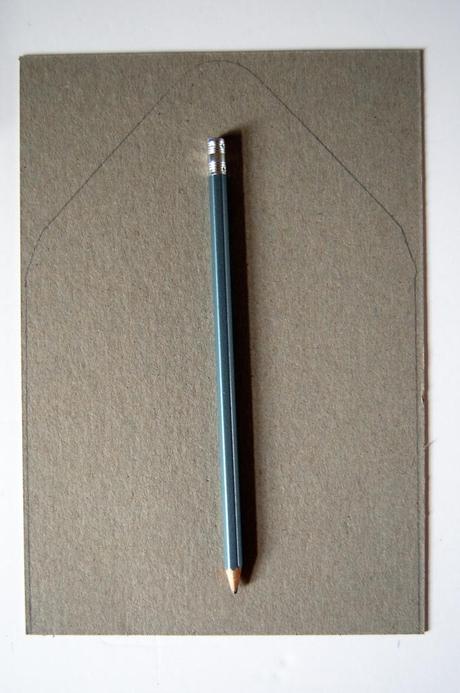
Leave a 1 cm gap from the top of the envelope so not to cover the sticky seal around the flap.
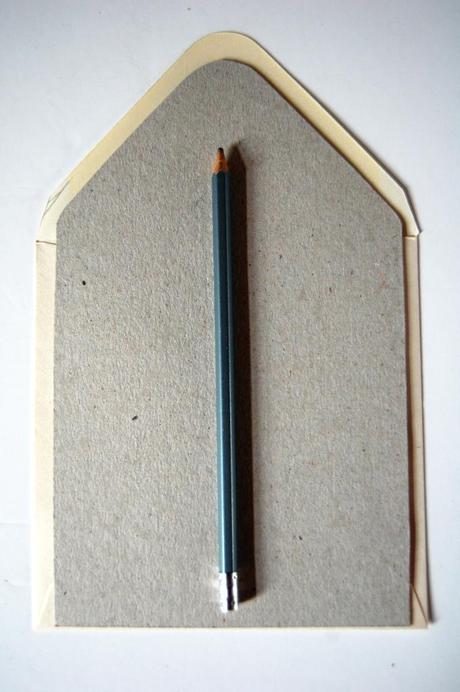
Choose your pretty paper and draw around the template on to the paper.
Cut out and you should have your envelope liner.
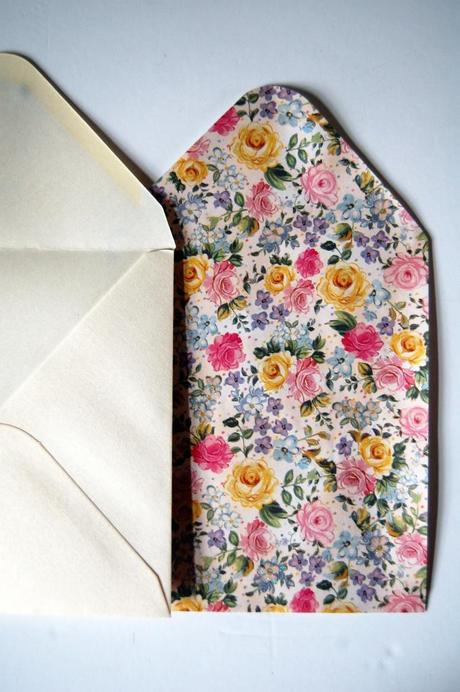
Slot into the the envelope and fold the flap over to make a crease in the paper.
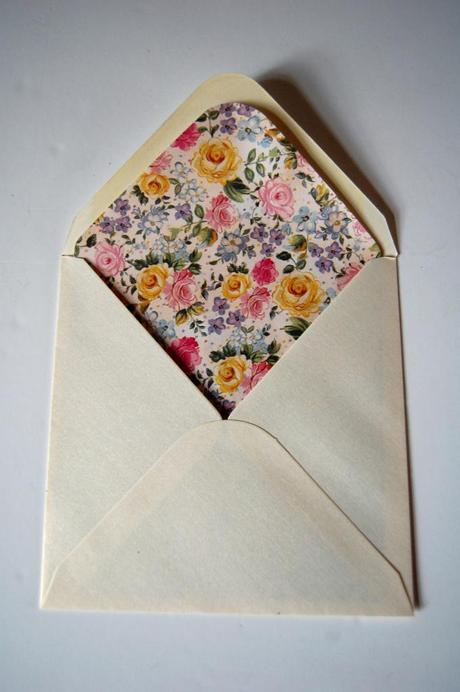
Glue the top of the paper to secure to the envelope.
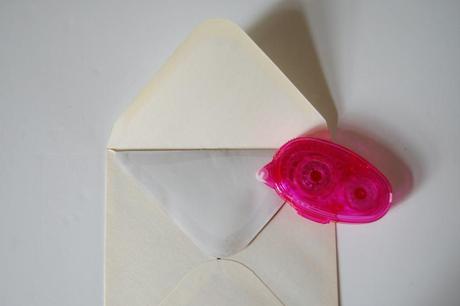
Press down to make sure it sticks.
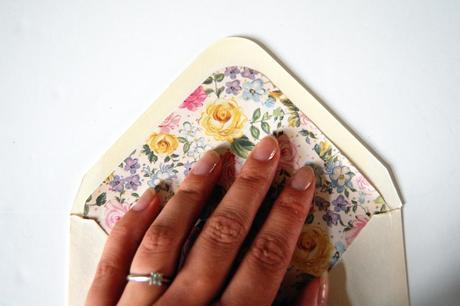
Ta da!!! Now it’s ready to send.
