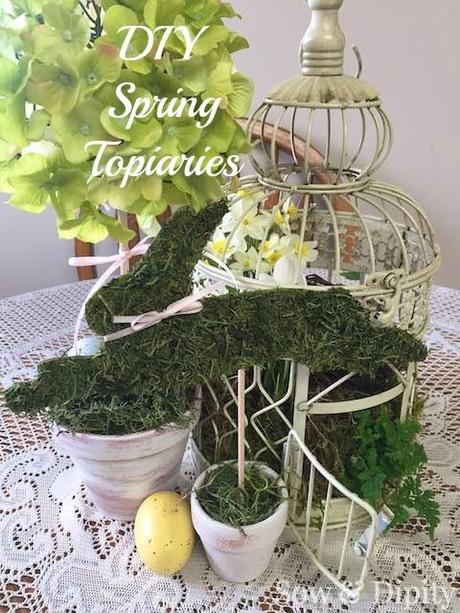
These simple but pretty decor accessories are a cinch to make and will spruce up your home for the spring. When the Easter weekend arrives, you can pop in a couple of themed items for a vignette that lasts throughout spring into the holidays.
Find out how to make these DIY Spring Topiaries and create a fresh look for the upcoming season.
I love terra cotta pots, natural or painted. Just smear on a little white paint and wipe it off with a cloth to create this look.
I have gotten into the habit of saving pieces of Styrofoam from packaging for projects, but in this case... the dollar store had one that fit my 4″ pot perfectly.
The faux Hydrangea was bought from Walmart for about $5. I just pulled the blossom off the top and glued it to a wooden dowel.
Then I pushed it into the foam, added a little pink bow and topped it up with some decor moss. That's it! Super cute right?
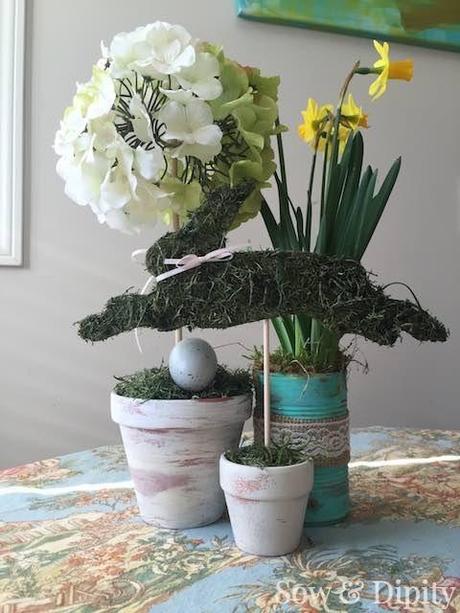
The second topiary was made in a little 2.5″ Terra-cotta pot. I found a clip art of a jumping bunny and cut out the silhouette onto a piece of thin cardboard. I gave the cut out a quick coat of moss green acrylic paint so that the background would blend with the moss.
I just glued loose moss bought from the dollar store on to the cut out with Elmer's glue, but you can buy sheet moss that would work great too. I'm all about cost cutting, so I just used what I had.
This cute little guy was attached to a dowel and pushed into a piece of Styrofoam in the mini Terra-cotta pot.
These two spring topiaries are a great pair and were easily made with limited materials. I did them both for under $10 re-using items I already had and buying the items I didn't from a dollar store.
I created a centerpiece for a tablescape using my spring topiaries with a birdcage planter. If you have an ornamental birdcage, try turning it into a feature by lining the bottom with a large plastic coffee can lid and a plastic shopping bag.
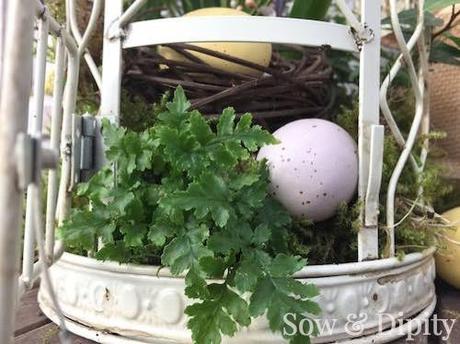
This is not a permanently planted container, just a temporary one so no real dirt or serious watering will be needed. I just want to use it over the Easter weekend then dismantle it. Since this is going on my dining room table however, I wanted to create a barrier to prevent moisture from getting through.
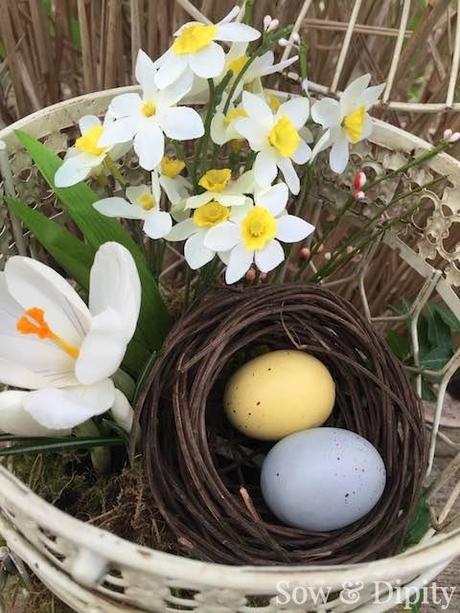
Buy 4" potted bulbs and place them inside the cage still in their pots and cover with moss. Then add a few spring accessories. I used a mini birds nest, faux Easter eggs and beaded pick that I got from the dollar store.
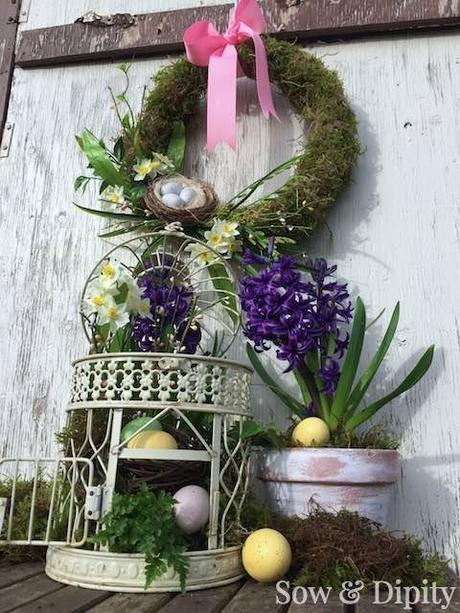
That cute wreath was super easy to put together as well, you can find the tutorial here:
Have a wonderful spring and if you're one of those folks buried in snow right now, I hope this helps remind you of warmer days to come!

