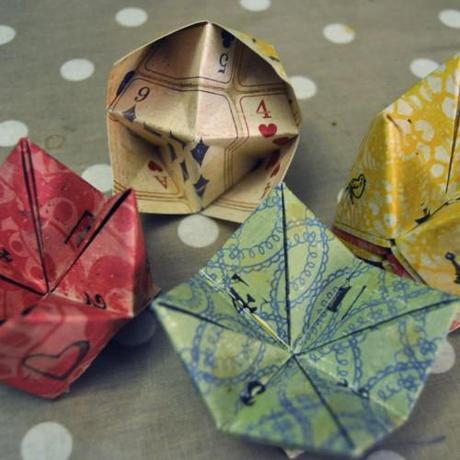
On one of my favourite sites, Cox & Cox, I had seen origami fortune tellers as a conversation piece to put on each table for the guests to play with, I remember making them when I was younger and thought ‘why not?’, they’re simple to do and a nice way to get guests talking.
So, here is my how-to if you wanted to make them yourself, they only take a minute or so each! I bought 6”x6” scrapbook card (you could go larger, just make sure it’s square), easily found in places like Hobbycraft, eBay or art shops, and used my rubber stamps with black pigment. I chose colourful patterned stock but you could make them look contemporary and more bridal with cream or white card.
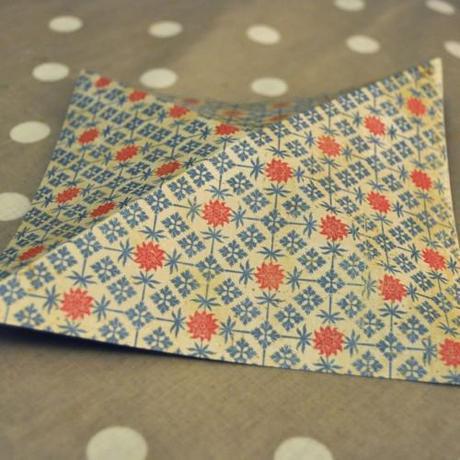
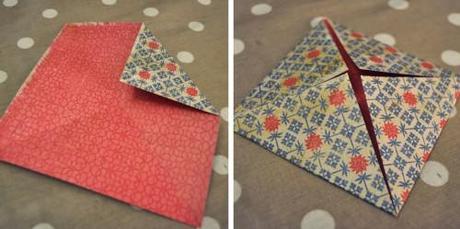
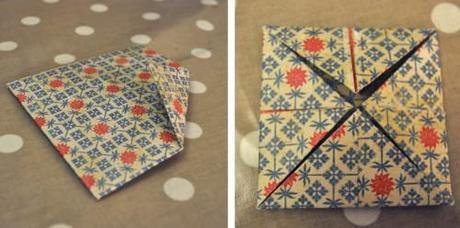
1. Take the card and fold it diagonally each way, if you keep your folds as accurate at this point your fortune teller will look neater when it’s finished
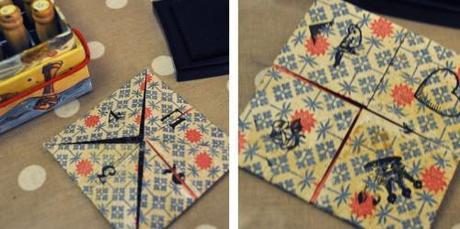
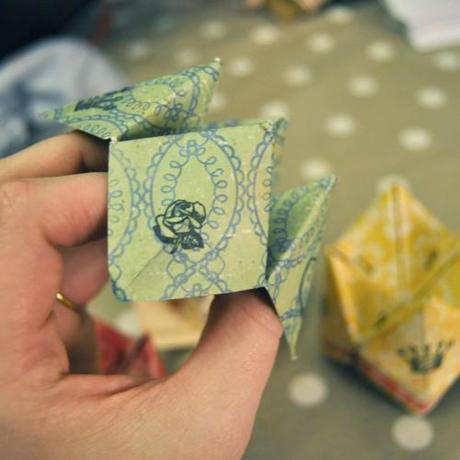
I think I’ll make three per table (all with different fortunes) so everyone has access to one, and I hope they get people talking. Let me know what you think and whether you may ‘give them a go’ and use them for your day too!
Next up: Keep calm and drink tea.
Sally xx

