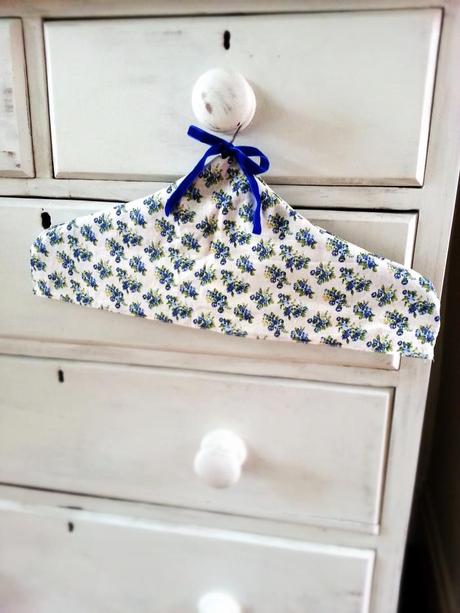
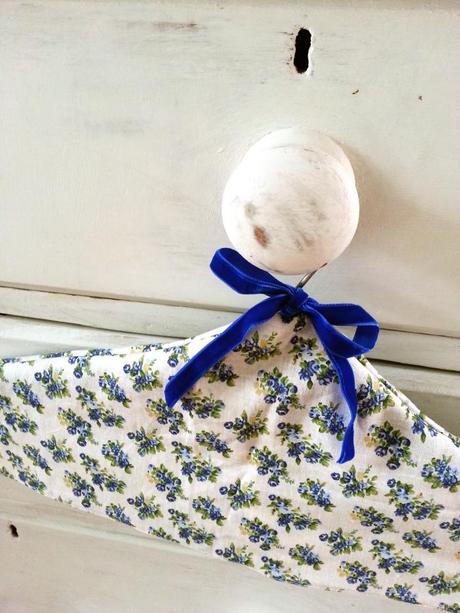
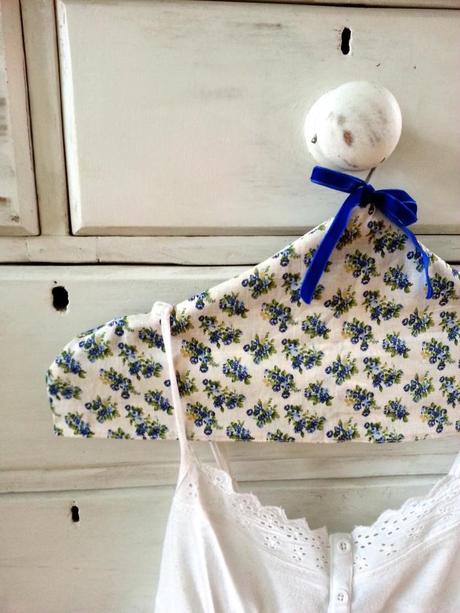
This little slip cover is perfect for keeping your favorite dress in perfect condition, It looks good too and is a great idea to jazz up the inside of your wardrobe. Make a few using different fabrics and patterns to compliment your clothes and you’ll never complain about having a dull wardrobe again.
You will need;
Pretty fabric
Ribbon (optional)
Hanger
Tailor’s chalk or a pencil
Fabric scissors
Pins
Iron
Sewing machine
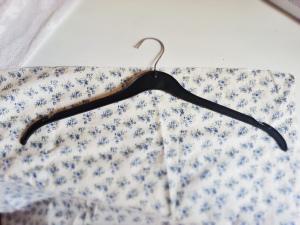
Lay out your fabric right side down and place your hanger on top. Use it as a template and draw round the top curves, extend the sides from the base of the hanger by about 5-10 cm. You should have a cape shape. Leave about 2cm around the shape and cut out. Use this piece as a template and cut out another cape shape for the back of the hanger cover.
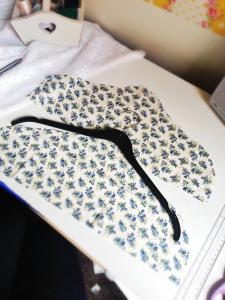
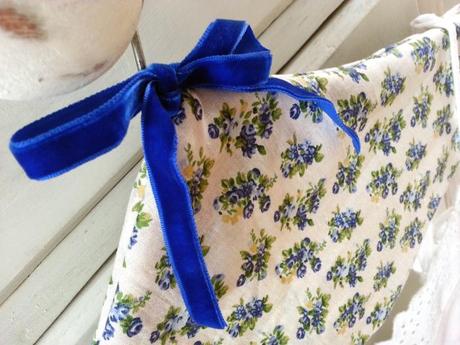
Turn over a 1cm hem around the edge of each piece of fabric and pin in place. Using your sewing machine, sew to the hem to secure. Align the two hemmed pieces with their right sides facing and put the sides together, leaving the bottom free and a 1cm gap at the top to thread your hanger through. Sew each side together. Turn the cover inside out and iron flat. Pop it over your hanger. Attach a pretty ribbon to compliment your fabric and tie in place at the top of the hanger.
Now it’s ready for your best dress.
