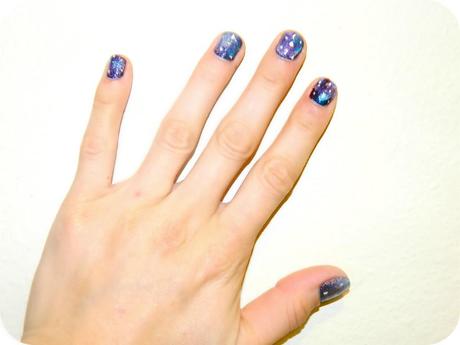
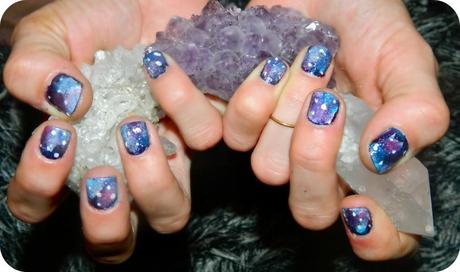
Everyone who knows me knows that I am borderline obsessed with galaxy prints, it is no secret. I have been dying to have some of my very own galaxy print nails, but kept putting it off, as I thought it would be way past my artistic abilities. I finally sucked it up and decided to give it a try… and guess what? It was a breeze! Actually, it is ideal for the less artistic of individuals, because even a slip up looks good. Here is the step by step on how I did it, hope you enjoy & please share your galaxy mani’s on the Fashionlushxx facebook.

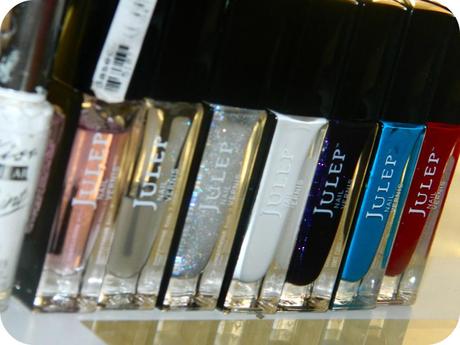
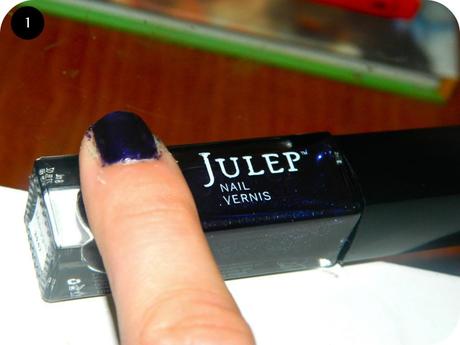
- Prep: Gather your supplies. I used Julep polishes Maggie, Gwen, Amy, Brigitte, and Vanessa. You will also need nail polish remover, a q-tip, and either a make-up sponge or a small piece of a kitchen sponge. To start prep your nails as you would for any manicure (file, clean, and apply base coat).
- Step 1: Paint your nails using your base color. The color I used was called Maggie, a navy/purple color with tiny pieces of glitter.
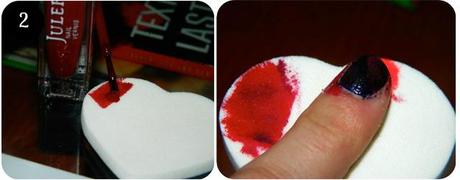
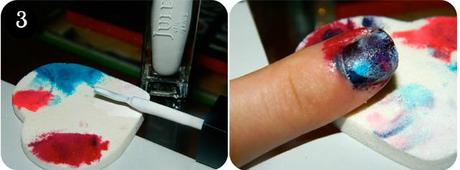
- Step 2 & 3: Paint your first cosmic color, mine was Gwen (dark red), onto a small piece of your sponge. Sponge that color over your dry base color in random places. Repeat this step with your second color (I used Amy, a teal/blue), and white your white. When you get to the white, don’t worry if you add too much, just go over it with another one of your darker shades. Also, don’t worry about the mess on your skin, you will clean that up at the end.
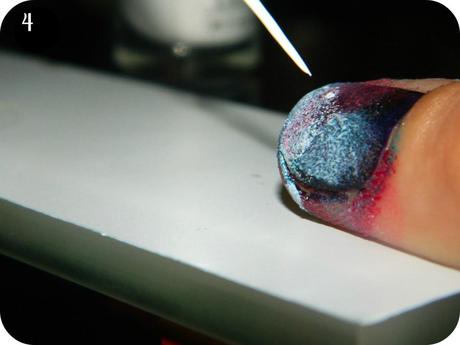
- Step 4: Using either an art brush, or a toothpick, you now need to add your stars. Simply add random dots of white to various spots on your nails. I just did 5 stars, but you can add as many or as little as you want.
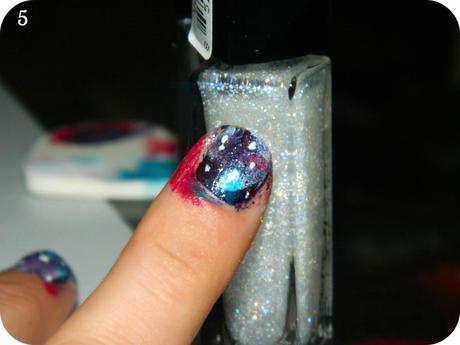
- Step 5: Paint a coat of a clear sparkly polished (such as Vanessa) to add a little sparkle to your mini galaxies.
- Finally: Using a Q-tip & acetone, clean things up a bit around your nails. Once that’s taken care of, throw on some top coat, and go show off your fabulous mani.

