Hello Little White Whale readers. My name is Jane and I blog over at Always With Yoo where I share laughter and musings from the perspective of my family as we settle our roots in the Washington D.C. metropolitan area. I am excited to be here to share a little DIY project while Gloria is away on her trip to Asia!
Currently, my husband and I belong to a 15 year old cocker spaniel named Piri. He kind of runs the show around here and he likes to look dapper while he’s ordering his humans to go fetch him his drinks and treats. He has a couple that we bought for him, but I thought it would be nice to pick out some fabric and make some for him, too. One great thing about this DIY is that it doesn’t require sewing, which saves a lot of time!
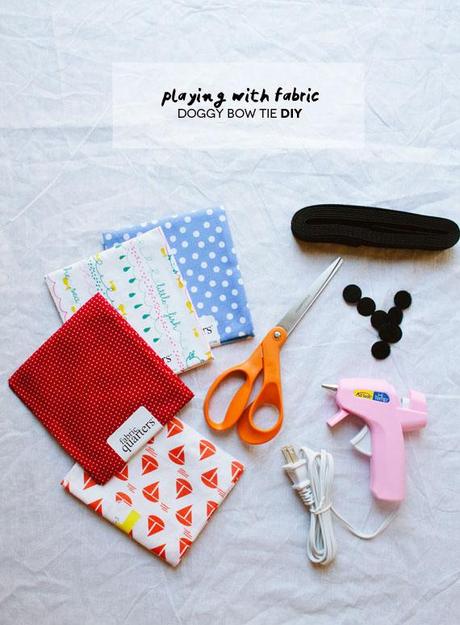
Here is what you’ll need:
+ Fabric
+ Fabric scissors
+ Hot glue gun
+ Non-roll elastic band
+ Velcro
+ Ruler
+ Pencil or pen
Directions
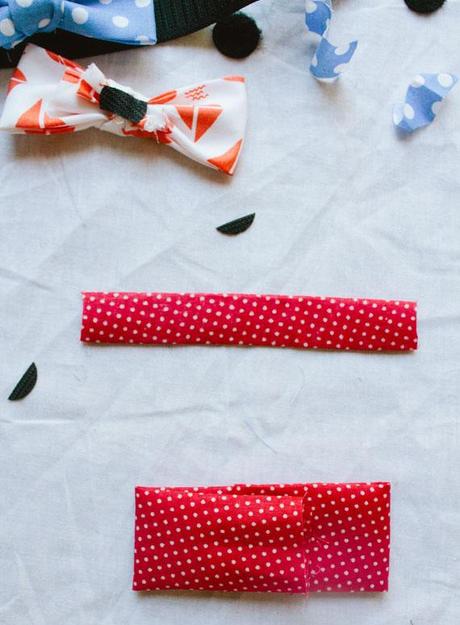
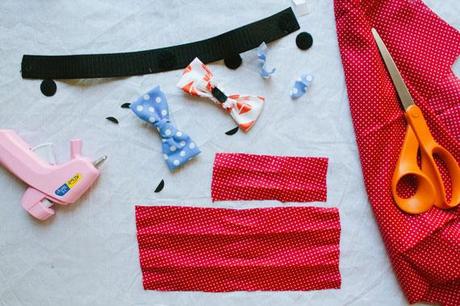
- Cut a piece of fabric depending on the size of your dog. Mine is a medium sized cocker spaniel and cutting a 4 x 9 inch strip seemed like just the right size.
- Cut another piece, this one a bit more thinner. I cut mine approximately 2 x 5 inches long. Set aside.
- Fold the 4 x 9 inch fabric in thirds — horizontally first, and then tucking in the ends. You’re overlapping them so that you’re tucking and hiding the rough edge of the fabric. Set aside.
- Fold your thinner piece of fabric in thirds as well, just horizontally. Non need to hold the ends.
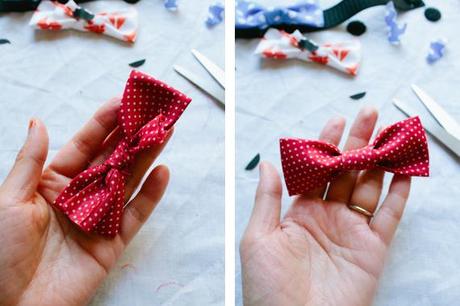
- Going back to your bigger fabric, pinch the middle and make the kind of bow you want. I played around with this part of the DIY process a little bit and liked making a little crease in the middle to give it a little shape.
- Once you have the shape that you want, hold it in place and tie it with the thinner piece of fabric. You may need to trim the ends if it’s too long.
- Measure your dog’s neck and cut the non-roll elastic band accordingly. Make sure you leave a little room and not measure exactly to your dog’s neck size. You want to make sure that it’s not too tight and rests comfortably around their neck.
- Hot glue a scratchy side velcro piece at the end of the elastic band. Glue the fuzzy piece of velcro on the opposite end of the band but on the other side so that they will stick together.
- Take another set of velcro – hot glue the fuzzy side on the middle of the elastic band and the sticky side to the back of your bow.
- Put the finished bow tie around your dog’s neck and attach the ends of the elastic bands together and that’s it!
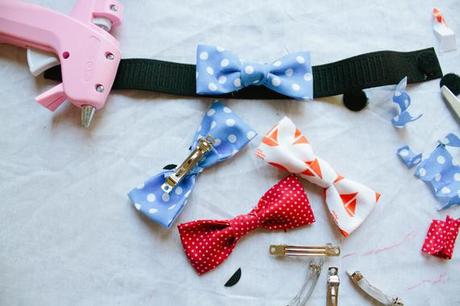

Because you’re using velcro, you can alway switch them out to fit a certain season or outing.
And just one more thing! Because I had some fabric left over, I thought I’d be all matchy matchy with Piri. I bought a package of 50mm Barrette Nickel and hot glued a bow tie to make myself a hair pin.
Thanks for reading! And thank you Gloria for having me on your blog!
Adapted from Pretty Fluffy.
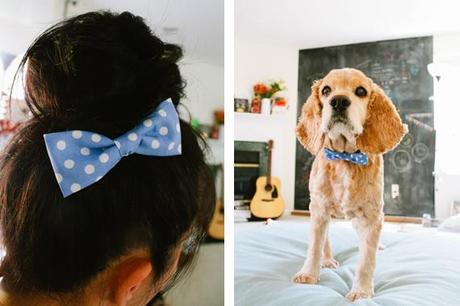

Jane’s blog Always With Yoo never fails to make me smile with its lovely stories and snapshots of her family’s life in DC. And as a fellow dog mama, she totally understands my obsessive doting over Toby :-) Go visit her now for more Piri cuteness!

