Aromatherapy soap is more than just a nice smelling alternative to commercial soap. It's a great way to add the healing power of essential oils to your regular bath or shower. Transform your ordinary bath into a spa experience.


Why Use Aromatherapy Soap?
Many therapeutic aromatherapy soaps are made from all-natural ingredients, so they're gentle and healthy for the skin and great for treating skin ailments like acne and psoriasis.
You can easily find brands that are biodegradable and that contain no animal byproducts. Be sure, however, that what you're purchasing is truly all natural.
Many tout their products as "organic," "botanical" or "natural" but still use chemicals to preserve them. Check the label to be sure, or better yet make your own.
You'll find that good aromatherapy soaps cost more than their mass-produced supermarket counterparts. That's because they contain a better grade of cleanser and should have higher quality ingredients.
Many contain skin-softening glycerin, a component that's typically removed from most soap.
Essential Oil Combinations


There are many scents and healing properties to choose from. Rosemary mint soap is a good choice for a fresh invigorating result. A combination of patchouli, rose, and geranium creates a sensual aroma and relieves insect bites as well.
Lemon poppy seed and peppermint combine to create soothing relief from sunburn pain. Lavender is ideal for sensitive skin and for relieving eczema. You can add hemp oil too if you like.
People with sensitive skin should avoid most floral scents, which tend to irritate the skin.
If you have dry, rough skin, you may choose a bar of butter or oil soap. Your options include coconut oil, olive oil, cocoa butter, and shea butter, among others. They're usually white or yellow and have a warm natural aroma.
Tea tree oil is a natural antiseptic so it's a go-to ingredient for people with minor rashes or acne. Plus, it has a fresh clean scent that many find refreshing.
If you need guidance to find the right soaps for you, visit your local health food store to get answers to your questions. Employees are often fairly knowledgeable and passionate, so they'll be happy to share the information that will get you started off right.
Once you know what you need and what you like, there are growing numbers of products available via the Internet.
If you prefer not to purchase the ready-made kind, you should know that aromatherapy soap-making is a fairly intense undertaking. It involves hours of labor and close contact with caustic substances. That said, there are many resources available if you decide it's something you'd like to learn more about.
DIY Aromatherapy Soap Recipes
In the meantime, you can get a feel for aromatherapy soap-making by starting with a hand-milled soap process. Plus, you can still customize it with your favorite essential oil for the scent and healing properties you prefer.
Cucumber Aromatherapy Soap
Shred the white soap in a food processor. Add the food coloring and stir well so that the color is evenly distributed. Heat the milk in a double boiler over simmering water. Stir in the aloe vera gel and the fragrance oil. Add the soap and allow it to soften, stirring occasionally.
Once the soap becomes creamy, spoon the mixture into molds and allow it to harden for about 6 hours.


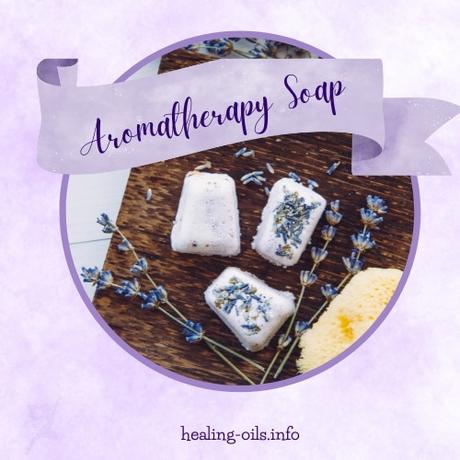
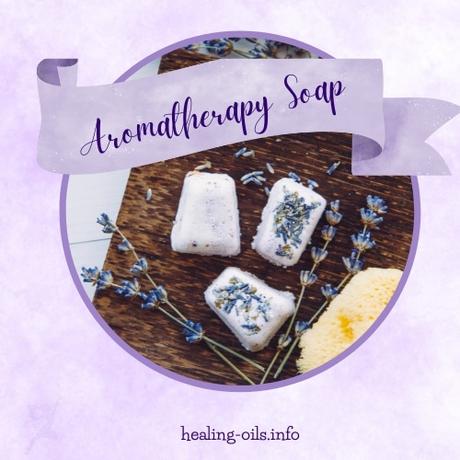
Lavender Aromatherapy Soap Balls
Use a grater to grate the soap into a big mixing bowl. Mix in the lavender, and then add the essential oil.
Be sure to mix it well so that the essential oil is well distributed throughout your soap. Slowly add the warm water and stir.
Roll about 1 tablespoon of the mixture into a ball and place it on a cookie sheet to dry. Repeat with the remaining mixture.
The balls will take about 2 days to dry completely and be ready for use at home or as lovey homemade gifts.
Bath Fizzy Bombs
Equipment:


Sift the dry ingredients into the mixing bowl and stir them to be sure they're well blended. Set aside. If you want to add color, you can do that now.
Put the water into the squirt bottle and add the borax BEFORE you add anything else. Then add the fragrance or essential oil and vegetable oil. Shake until the entire mixture is creamy.
Squirt a few drops of the creamy mixture into the center of the dry ingredients. Start whisking immediately to stop any fizzing. Keep adding the liquid, constantly whisking, until you've added it all.
At this point, your mixture will be the consistency of wet sand . . . just damp enough to stick together. Test a handful by smooshing it together. If it clumps, and remains clumped, it's fine. If it's too dry, add a couple spritzes of water.
You can purchase a mold at your local craft store or online and be creative. It's not important what shape you choose, although most people opt for spheres.
Overfill your molds and press together to get a really dense pack. Let the mold sit for a couple minutes then tape the side with a tablespoon. The side of the mold will gently lift off. Repeat on both sides.
If your bath bomb crumbles, just crush it, and remold it. If they all come out too crumbly, add a few drops more water and start again. Spread the finished bombs onto a paper towel-lined cookie sheet.
Dry them overnight, and they're ready to drop into the tub for a nice soothing bath!

