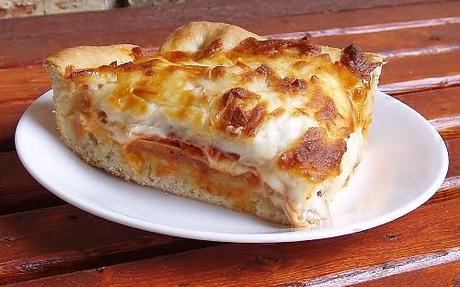
I hope all my American friends had a lovely 4th of July. We stayed home, Mr. Picky Eater working on projects for a show we are participating in July 20th and I was just taking it easy. Those of you who have followed me for a while know that last year I was very sick. I spent a great deal of time in different medical facilities where at first phlebotomists could not find my generally big fat veins and then I got stuck so many times new sites had to be found. Now it seems my little issue has returned with a vengeance – so irritating! I will be fine but in the meantime I feel crappy most of the time and have issues passing out at the most inopportune times – of course I can’t really think of an opportune time to do that, can you? Let’s get on with the recipe because it’s great AND I promised my co-worker I would post it this weekend.
If you follow my FB page and have seen my yard sale albums, you might remember that I purchased these two iron skillets at a sale a month or so ago for $1 each. Such a great buy because the skillets are in pristine condition and they sell for about $30 each in stores!
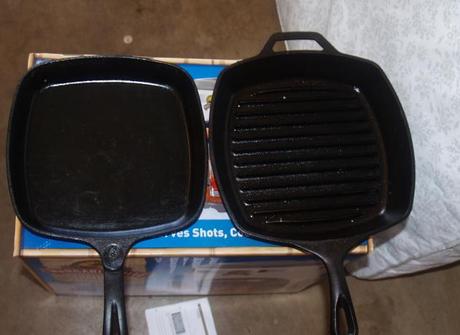
I’ve always wanted one of those iron skillet grill things to make Panini sandwiches and since the non-grill one fits perfectly into the one with a grill on the bottom, it’s so easy.
You can make this pizza after you get home from work in the evening and still eat at normal time, I promise!
Ingredients:
1 packet Pizza Crust Yeast – I used Fleishman’s
About 2 Cups of all-purpose flour
1 ½ teaspoons Sugar
¾ teaspoons salt
2/3 Cup very warm water
3 Tablespoons of oil – I used olive oil
Pizza sauce
Mozzarella cheese and toppings.
Directions:
Pre-heat oven to 425 F and oil iron skillet getting it in the corners really well.
Combine 1 cup of the flour, un-dissolved yeast, sugar and salt in a bowl.
Add water and oil and mix with a wooden spoon for about a minute.
Add some of the rest of the flour, a little at a time, until it makes a ball but is still a little bit sticky.
Flour your board or clean cabinet and put the dough ball on there kneading until it is not sticky but soft and pliable. For those like me who didn’t know what “soft and pliable” meant for a long time – just do it for about 4 minutes and you’ll see the difference.
Put the dough in the iron skillet and work it evenly up on the sides of the skillet. Notice there was no rising time?
Pick your pizza sauce. I make my own and if you want to then here’s my recipe.
Ingredients:
2 tablespoons unsalted butter
1/4 cup onion, grated
1/4 teaspoon dried oregano
1/2 teaspoon kosher salt
4 garlic cloves, minced
1 (28 ounce) can crushed tomatoes (this time I used fresh tomatoes and it was great!)
1/4 teaspoon sugar
2 tablespoons fresh basil, chopped
1 tablespoon olive oil
Directions:
Cook it until it reduces at least by half.
You can leave it chunky, or smooth it out like I do with either a traditional blender or an immersion blender.
Here’s a picture of what mine usually look like. I only use about half of it because we like light sauce and I freeze the rest for another night.
Back to the pizza:
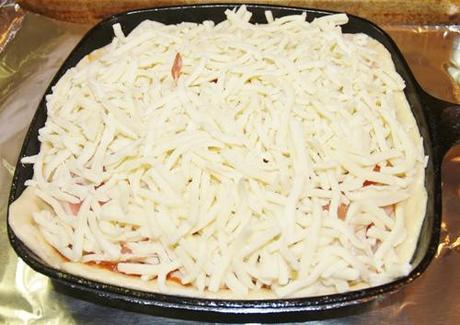
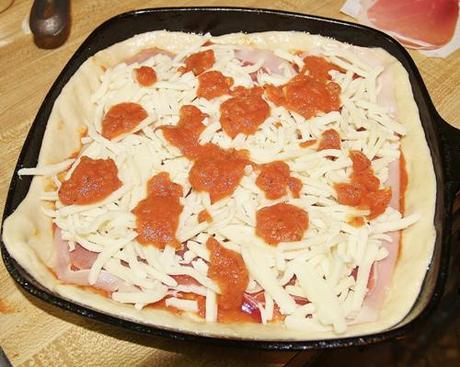
Spread some pizza sauce onto the dough.
Add some cheese then whatever toppings you want – we used Canadian Bacon.
I add a few more dollops of sauce and more cheese because it is deep dish and can hold it.
Put it in the oven to cook for 15 – 25 minutes. Watch it after 15 minutes because it will depend on your own oven how long it needs to bake. Mine took the full 25 minutes.
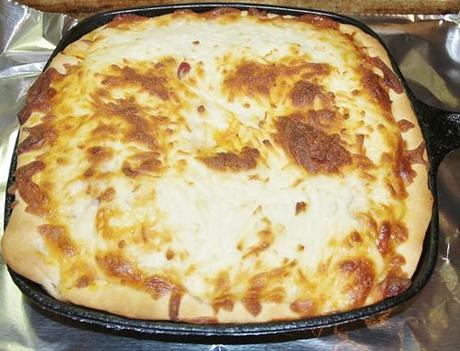
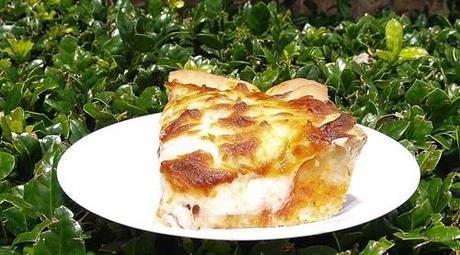
It was wonderful! I froze a couple of pieces individually and took them for lunch last week – they were prefect!
Try it soon – you are going to love it! It tastes better and is much cheaper than delivery!
Okay, last thing – we are getting ready for a show with a bunch of our repurposed and upcycled furniture. I’m the idea person and Mr. Picky Eater is the muscle. I’m showing you these pictures because I want your honest opinion – so give it to me! I do know a lot about camouflage-wear but I do know that it is popular across the country and especially here in Oklahoma. We took this broken Lane cedar lined chest from last week’s move of the neighbor – MPE fixed it – and two curbside chair finds that had nothing wrong with them at all and put my spin on camouflage on them. I’m more artsy than crafty so I had no intention of making any of it look like manufactured camo but after he finished doing what I asked – I loved it and he hated it! What do you think? I want your honest opinion!
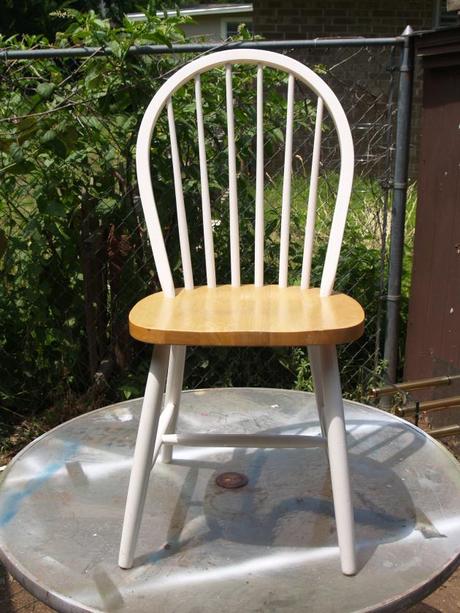
Curbside Chair – Before
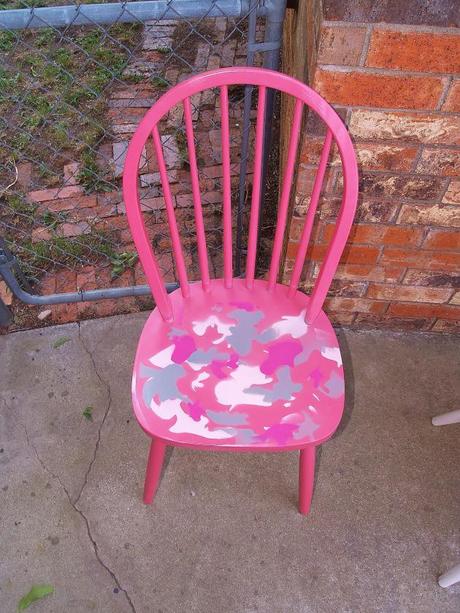
Chair number 1 – After with stylized camo
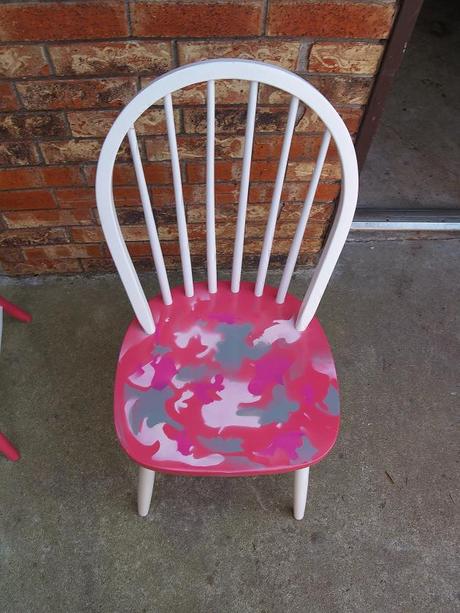
Chair number 2 – After
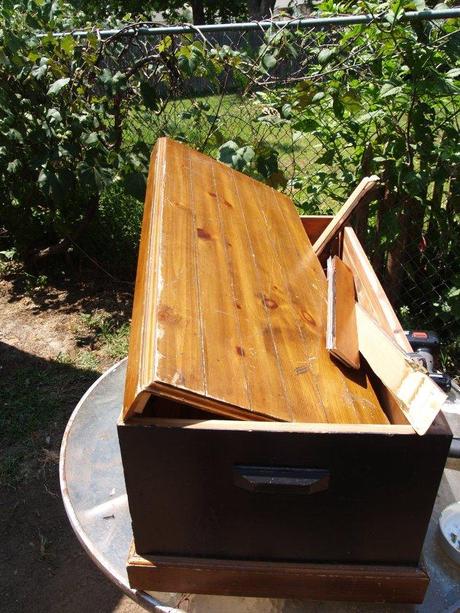
Lane Cedar Lined Chest – Before. Just a pile of rubble!
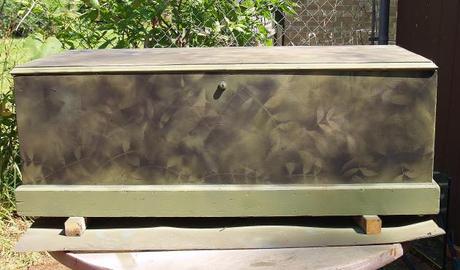
Lane Cedar Lined Chest – After


