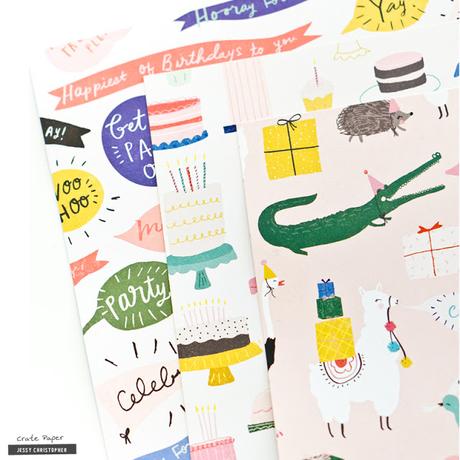
As always before I start to design my layout, I will have a rough idea on how I want my layout to look. To begin, I chose this really cute patterned paper called Fiesta. I really loved all those cute party animals. I purposely chose all the animals that were facing in the same direction. Next, I positioned all the fussy cuts on top of this colorful patterned paper to bring out the fun! I decided to fill it from top to bottom and filled the gap with the rest of the fussy cuts. After I'm happy with the fussy cuts, I stuck the 2 photos of my youngest daughter who just turned 2 last July. Isn't she the cutest? To complete the layout, I adhered foam & cardstock stickers to add more texture to the layout. And lastly, some gold mist splatters all around the layout.
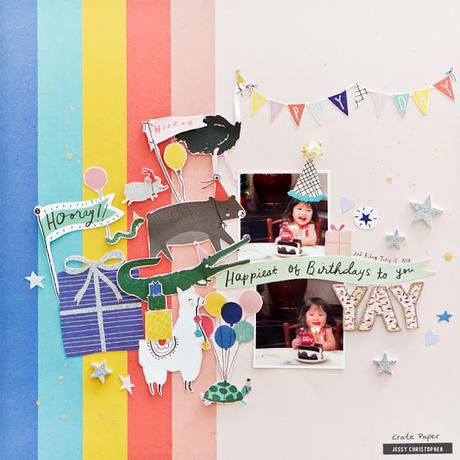
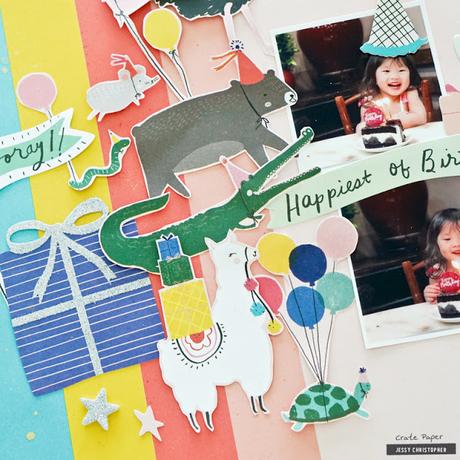
TIP : Whenever I cut the illustrations out, I'll be sure to cut the rough outline first. Then, I will smoothen the edges by cutting the balance of the paper nearest to the illustration. Just be sure to move or turn the paper illustration as you cut and not your scissors. That way you'll get a nice thin edge.
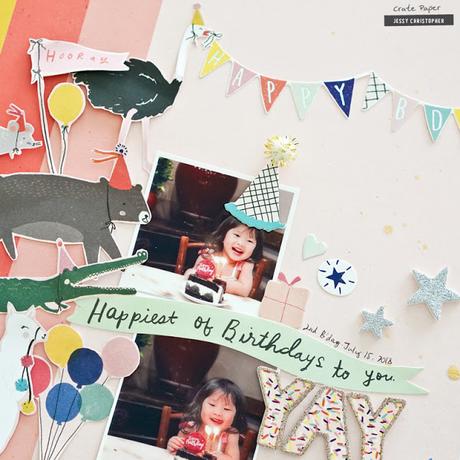 I just love how the foam stickers gave so much dimension to my layout! That party hat dimensional sticker is just too cute on her cute head!
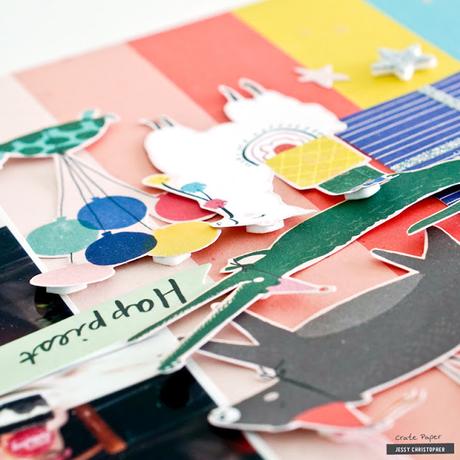 TIP: To add dimension to the paper fussy cuts, I added some foam dots to the back. That will instantly create 3D look to your project.
So yeah, don’t be afraid to use your scissors and cut. It’s pretty theraupetic if you ask me. Thanks again for letting me share today!
