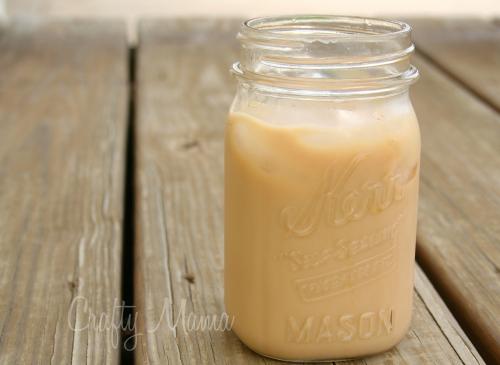
Spring is finally here, along with warm weather. What better way to kick it off than some cold brewed coffee!
For this you’ll need:
Coffee grounds
Room temperature water
Large bowl or tub with lid
A fine mesh strainer (though I’ve found a regular colander will work, but takes more time to drain)
Cheesecloth or paper towel
The ratio that I grabbed from the Pioneer Woman’s website is 1 pound of coffee per 8 quarts of water. If you cut it down, that’s 2 oz. of coffee per 1 qt (about 1/4 cup measured, to 4 cups water), or if you just want to try a small amount, you can cut it down even more, about a tablespoon of coffee to 1 cup of water.
Cold brewing takes a bit longer than traditional brewing, but in the long run, it saves time. You need to prepare it ahead of time (it takes a good 8-12 hours to sit), but if you make a large batch, it’s always ready (which means no more waiting on the coffee pot!) I usually start a batch in the afternoon, and strain in the following morning.
Start with a good strong coffee. I like to pack a lot of punch, so I use this espresso blend. So far it has served me well. It has a nice taste to it, lots of caffeine, and because it’s cold brewed, no bitter taste.
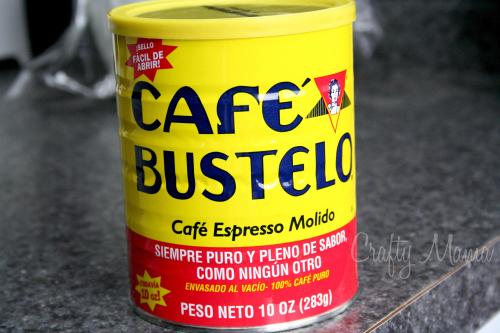
Measure out your coffee grounds in a nice large tub or bowl. Make sure it can easily be covered, you don’t want flies getting into your coffee! Add your water, and mix.
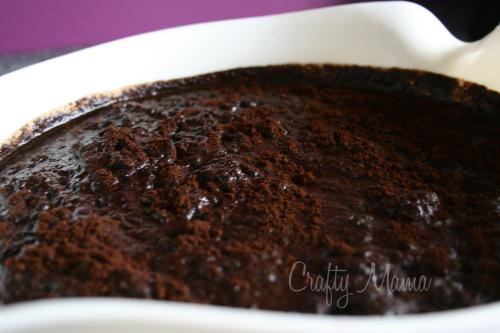
This will make your kitchen smell HEAVENLY. You know that coffee aisle smell? That. Not the somewhat skunky smell of coffee when it brews, but the delicious smell of fresh ground coffee. And if you use a flavored blend (like the Starbucks Caramel coffee, another highly recommended one!), it smells even better.
Now cover it tightly and let it sit. It really only needs to sit for about 8 hours or so, but I’ve let mine sit as long as 24 hours, and it only makes it absorb the flavor better.
This is what it should look like once it’s been sitting a while.
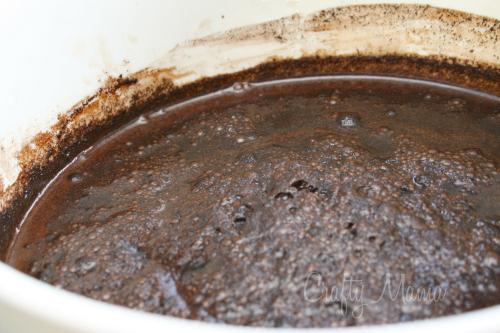
Once it’s time to strain, you’ll need to find your strainer and another large bowl or tub.
Line your strainer with paper towel or cheese cloth. If you’re using paper towel, I suggest double layering it.
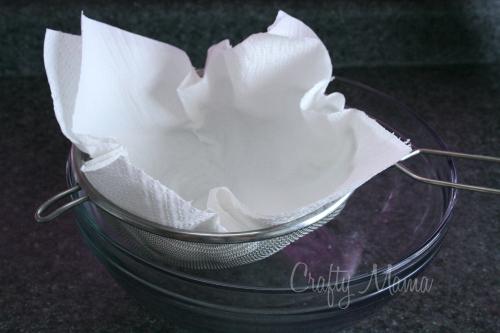
Pour your coffee through your strainer and let it drain into the bowl. The paper towels should catch most of the coffee grounds.
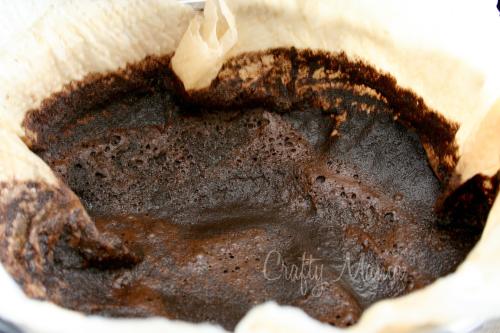
I always strain mine twice, because there’s always those pesky grounds that fall through. This is what it looked like after a second strain of my batch.
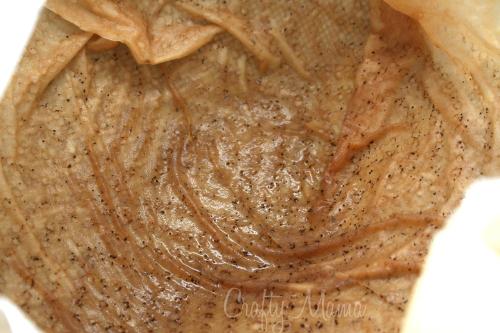
See? No one wants that in their coffee.
Once it’s been strained, store it in an airtight container in the fridge. I just use a large tub with a lid on it. You can normally find them in the tupperware aisle at the store. The one that the Pioneer Woman has is gorgeous. It’s huge, and has a spout on it for easy pouring.
Now, you can prepare your cold brewed coffee any way you like. You can add some ice, caramel, and cream and blend it in a blender to make a frappe, or just drink it on ice with cream.
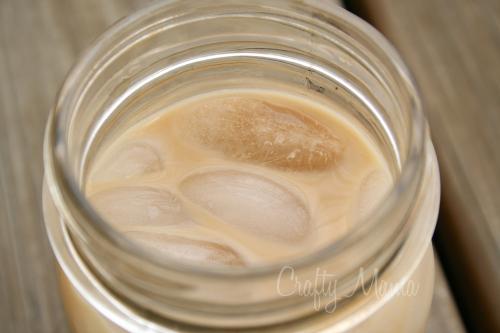
My favorite way is cream and unsweetened vanilla almond milk. The almond milk gives it just a tad bit of sweetness (and the unsweetened vanilla almond milk is very low carb). The cream adds just a little bit of creaminess to it. If I’m really in the mood for something sweeter (like later in the day), I’ll add some sugar free vanilla or caramel creamer. YUM!
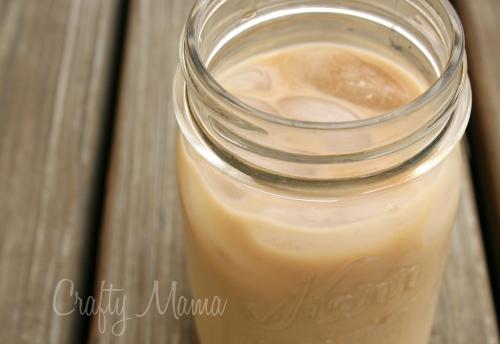
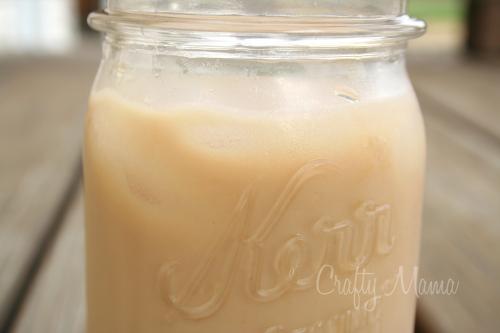
Look at all those gorgeous creaminess.
There are SO many ways to enjoy your cold brewed coffee. Give it to a coffee lover as a gift, blend it up with some ice and cream, drink it straight, or use it in a recipe. It is ALWAYS good.

