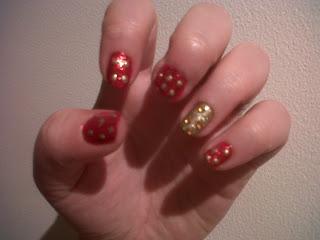
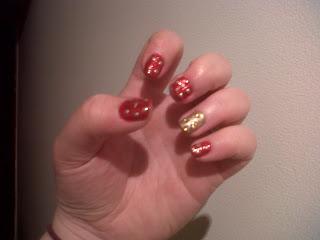
Hopefully they'll last me to Christmas day - if I have to touch up then so be it! I was puzzling over what to do, but as I have come into some new nail varnish additions to my collection recently, I thought I would use a few different ones to create a simple yet festive look.
Gold and red, sparkles and gems...perfect!
I used a combination of brands, including Rimmel, Maybelline, Nails Inc and new obsession, Nail Art (most exciting nail brand I've used in ages) to achieve the finished look. I didn't want to go too OTT, but I wanted them to have that pretty festive look.
So, here is what I did and what I used step by step. Are you going to do anything special with your nails for Christmas? Do you like playing around with a bit of nail art? Enjoy x
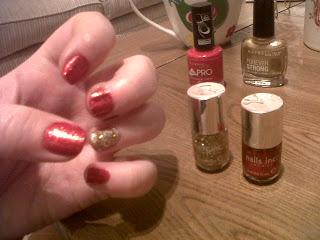
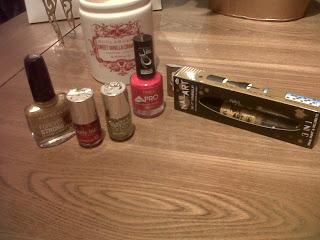 From left to right, I used: Maybelline Forever Strong Pro in The Winner Takes it All, Nails Inc in Covent Garden Market, Nails Inc in Fleet Street, Rimmel Lycra Pro in Pink Amazon and Nail Art 3 in 1 kit using the gold shade.
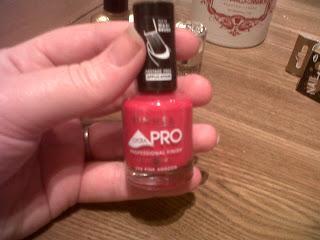
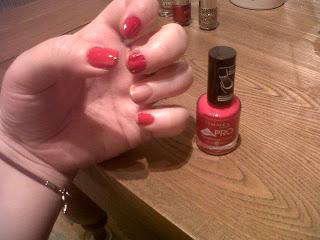
Rimmel Lycra Pro in Pink Amazon
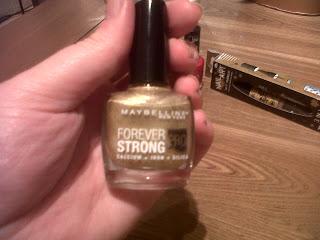
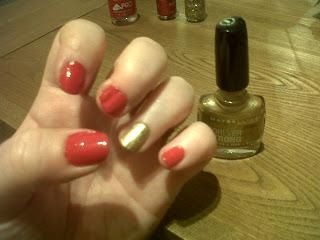
Maybelline Forever Strong Pro in The Winner Takes it All
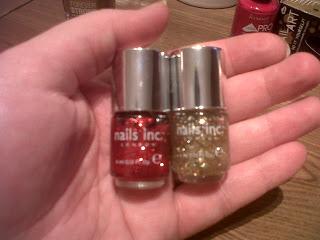
Nails In in Covent Garden Market and Fleet Street (from the Stylist set)
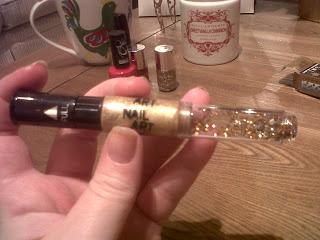
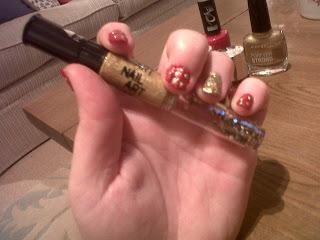
Nail Art 3 in 1 pen (dotting tool for decorating, nail varnish and gems for decorating)
