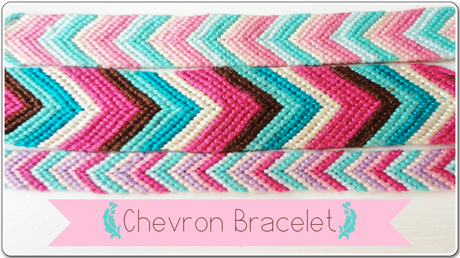
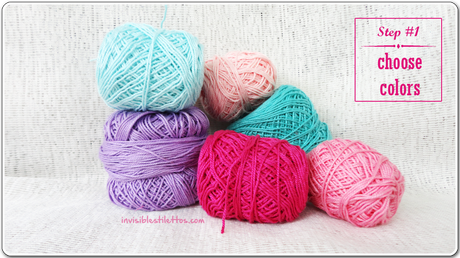
First you will need strings, lots of it! Embroidery floss or crochet threads are perfect. Today, I decided to use this color combination which kind of reminds me of "My Little Pony" and unicorns! I love unicorns!
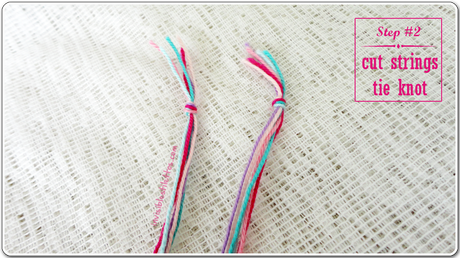
 Next, we have to measure our strings. For one bracelet, we typically need one arm's span of string per color. Cut two of each color that you chose. Here, I cut two light pink, two mint, two turquoise, two purple, two fuchsia, and two hot pink. I have got six different colors so this would be 12 strings in total. Now, group these strings in to two with each group having each of the colors that you chose. Tie a knot at the end of each group.
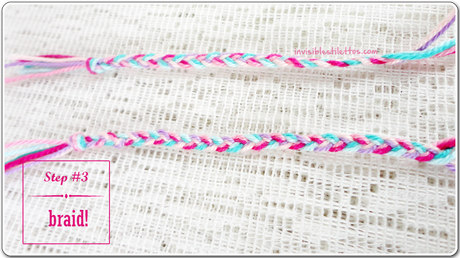
 Now, you would have to braid each group. Just do a regular braid, dividing each group into three so each now has two strings then braid as you would normally do a braid. Your braid should be at least three inches. This would be the closure of our bracelet later.
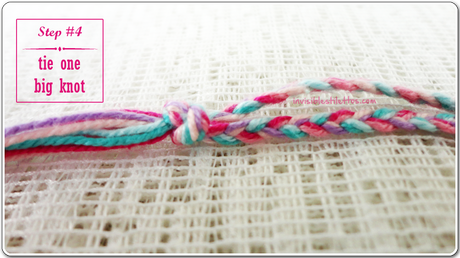
After braiding each group, bring the two together then tie one big knot to secure it in place. Now we have got all strings in one single knot.
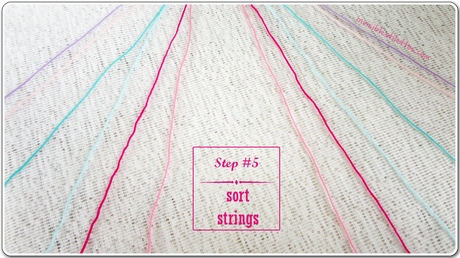
We will again divide are strings into two groups, the left side and the right side with each side, having one color the same as the other side. Here, you would now decide the series you want for your bracelet. I did mine as purple first, so the purple is on the outermost side, followed by light pink then turquoise, mint, fuchsia, and then hot pink, so hot pink would be at the center closest to each other. Make sure you do the series correctly or the chevron "wings" will not match to the other side. Just remember your series for now. Later on, this would be easier to do as the strings would normally align themselves.
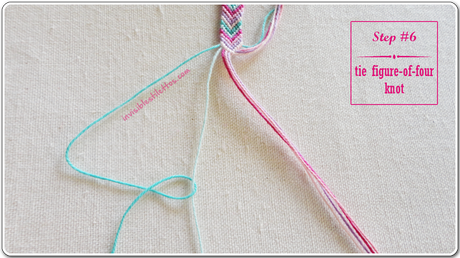
Next, is creating our chevron pattern. Start with your outermost string and the tie a figure-of-four knot. You can do this by grabbing the outermost string and then tying it to the string on its right. Do this knot two times on the right string and then move forward to the next string on the right tying it still with your outermost string. Here, I've already started my bracelet such that the outermost string is now the turquoise. I tied two figure-of-fours to the mint, then to the fuchsia, next the light pink, and then the purple. Remember to tie the figure-of-four two times on each string.
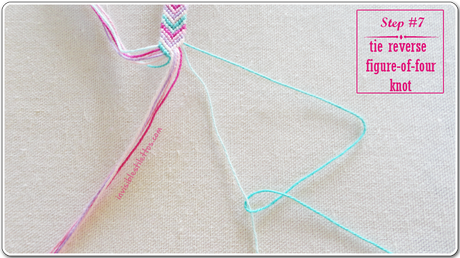
Once you are done with the left side, set that aside then do the same thing on the right side but this time, you would do a reverse figure-of-four knot. The same series should be the same on the left side; mint, fuchsia, light pink, and then purple. Again , tie two knots one each string.
Now, you are done with your first chevron pattern. You will now notice that the outermost strings are now at the center. All you have to do is tie a double knot. Just do it like you would tie your shoe laces. Do it two times to secure the chevron pattern. Repeat steps 6 and 7 for the remaining strings. Just remember that all you have to do is to bring outermost string to the center by doing two figure-of-four on the left and two reverse figure-of-four on the right, then once the outermost strings are side by side, tie a double knot. Repeat these steps until you reach your desired bracelet length.
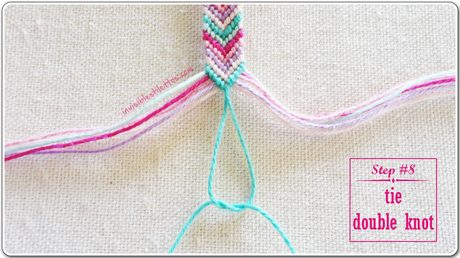
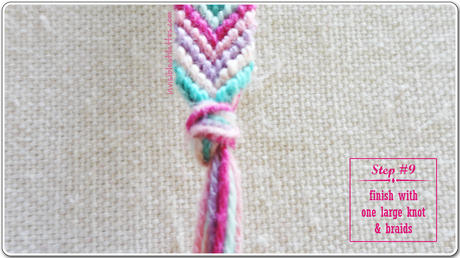
Once done with your chevron patterns, just bring all the strings together then tie one big knot at the end the same way you did when we started our bracelet. Then again, separate the strings into two groups and do two regular braids and secure with a knot on each group as we did on step 3.
Congratulations! You are now done with your bracelet! :) Here, I have got two other chevrons I made before. You can now mix and match them with your outfit of the day (OOTD). One reminder, if you decide to make thicker chevron patterns like the one I did on the right, you should have longer strings for each color, I suggest cutting two arm's span at the least.
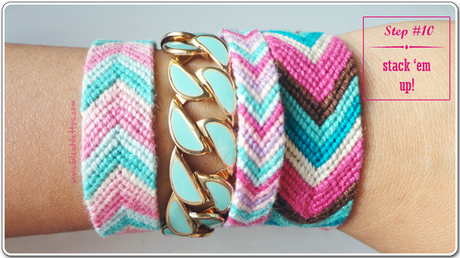
Enjoy your new bracelets! Have fun doing them :)
